Sailor’s Journal · Checklist
Strange Sightings
Plants, scenery and stories. Chinese-server data. English names are provisional.Progress0 / 72Plants 13 · Scenery 41 · Stories 18
BatchSelect a picture to mark it collected. Progress saves in this browser.
No entries match these filters.
Progress saves in this browser and is shared with the Chinese journal.
Find missing entries
Choose a category, search by English or Chinese name, then select a picture to mark it collected. Use Missing only to see what remains.
Records in game order
Strange Sightings records
Open a record for collection tips and map links where available.
Plants 13 entries
Show entriesHide entries
![Mushroom illustration]() Plants #1MushroomOpen
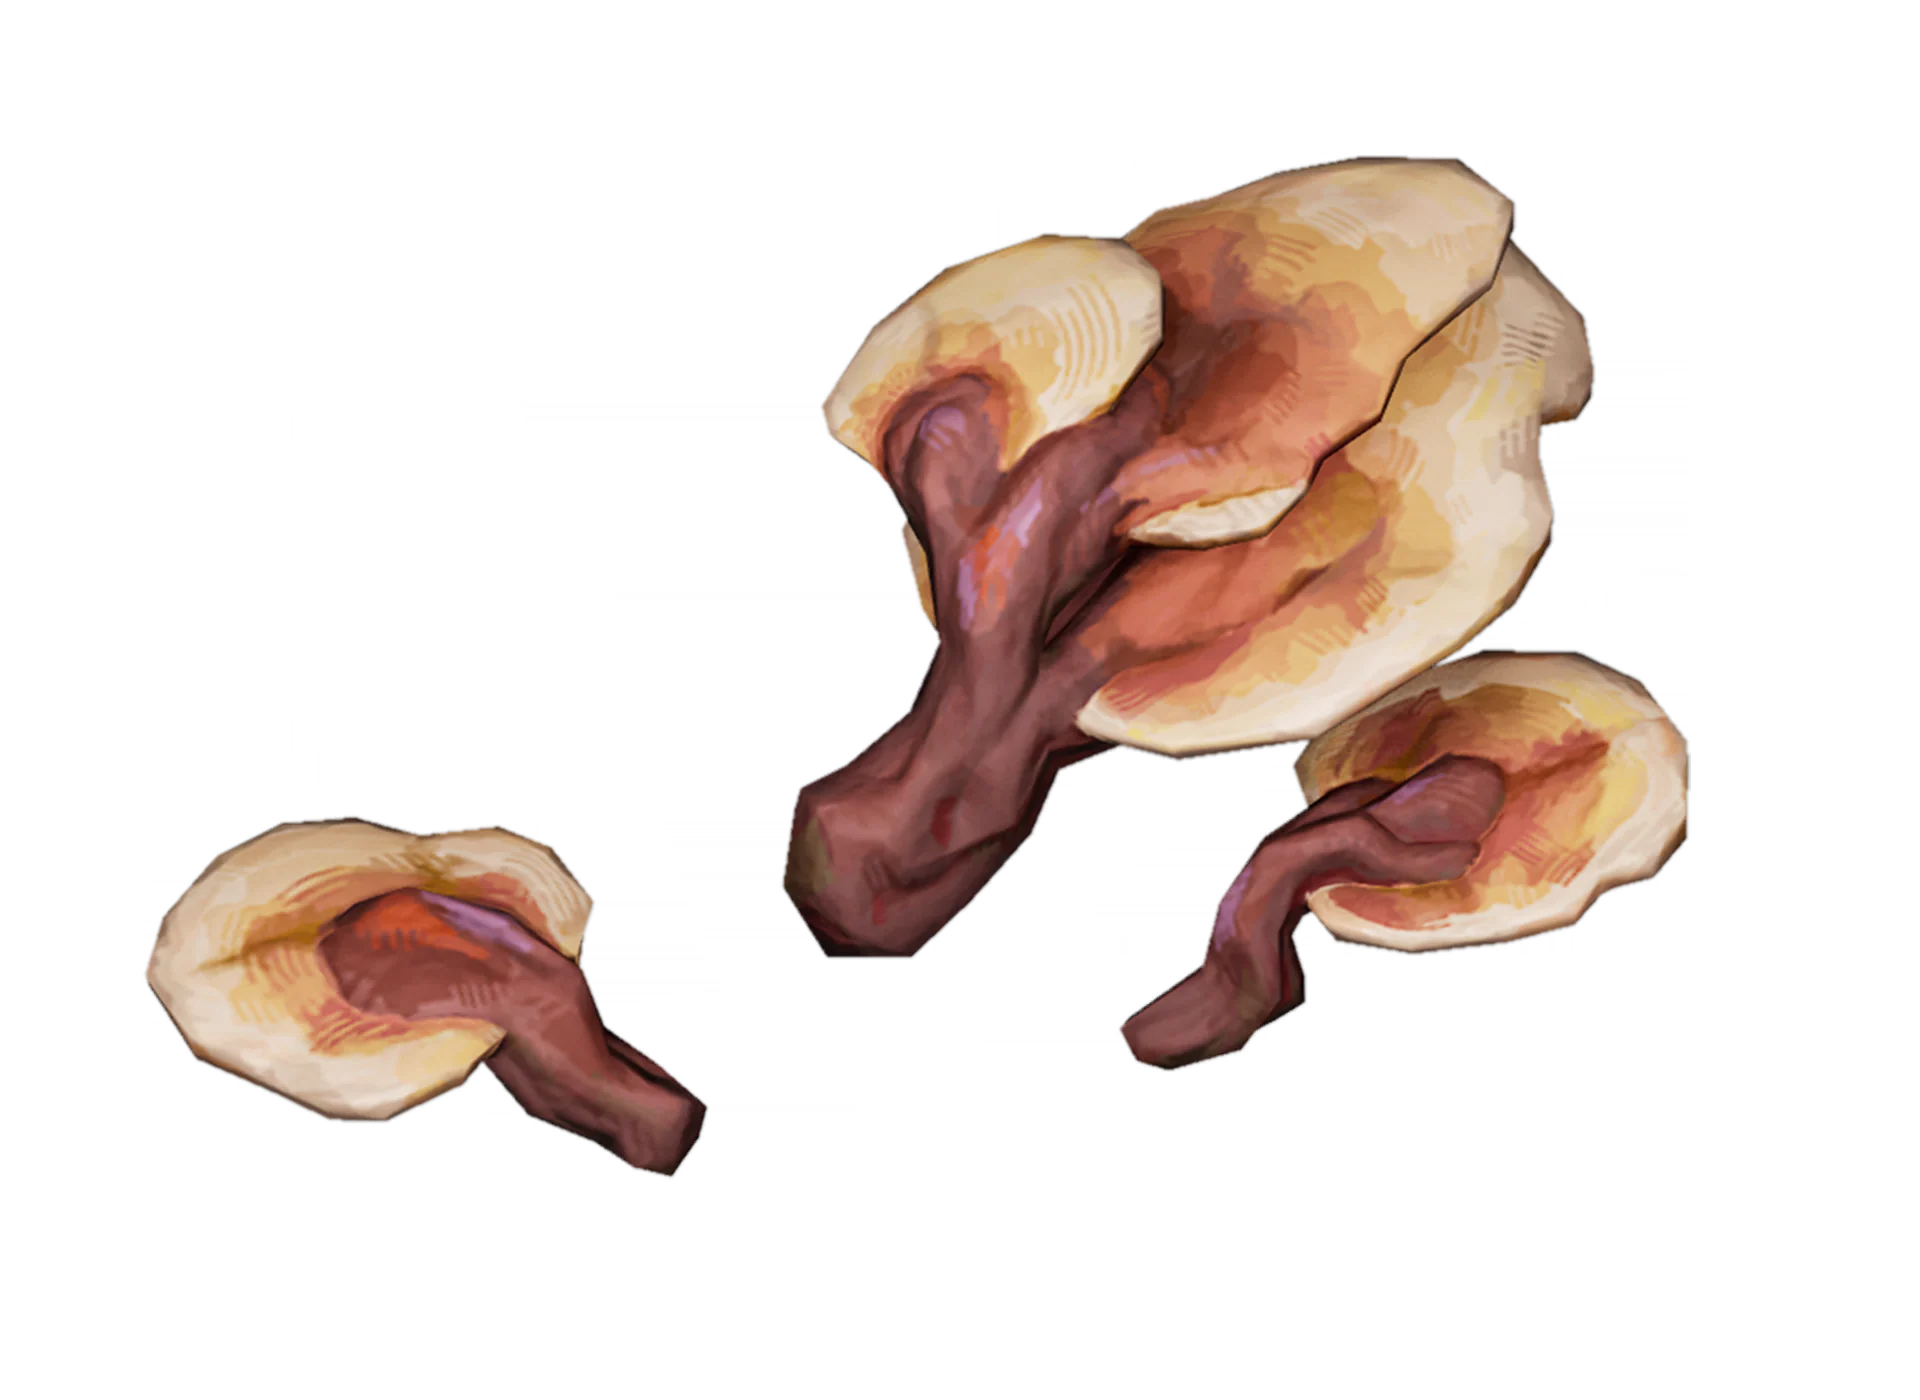
These mushrooms grow on damp, rotting wood all over the rainforest. Some can make you see the ground roll like the sea if you eat them by mistake. A rare sight, I suppose.
Collection tip: Approach the plant to record it. Compare its appearance with the journal picture.
![Blazing Star illustration]() Plants #2Blazing StarOpen
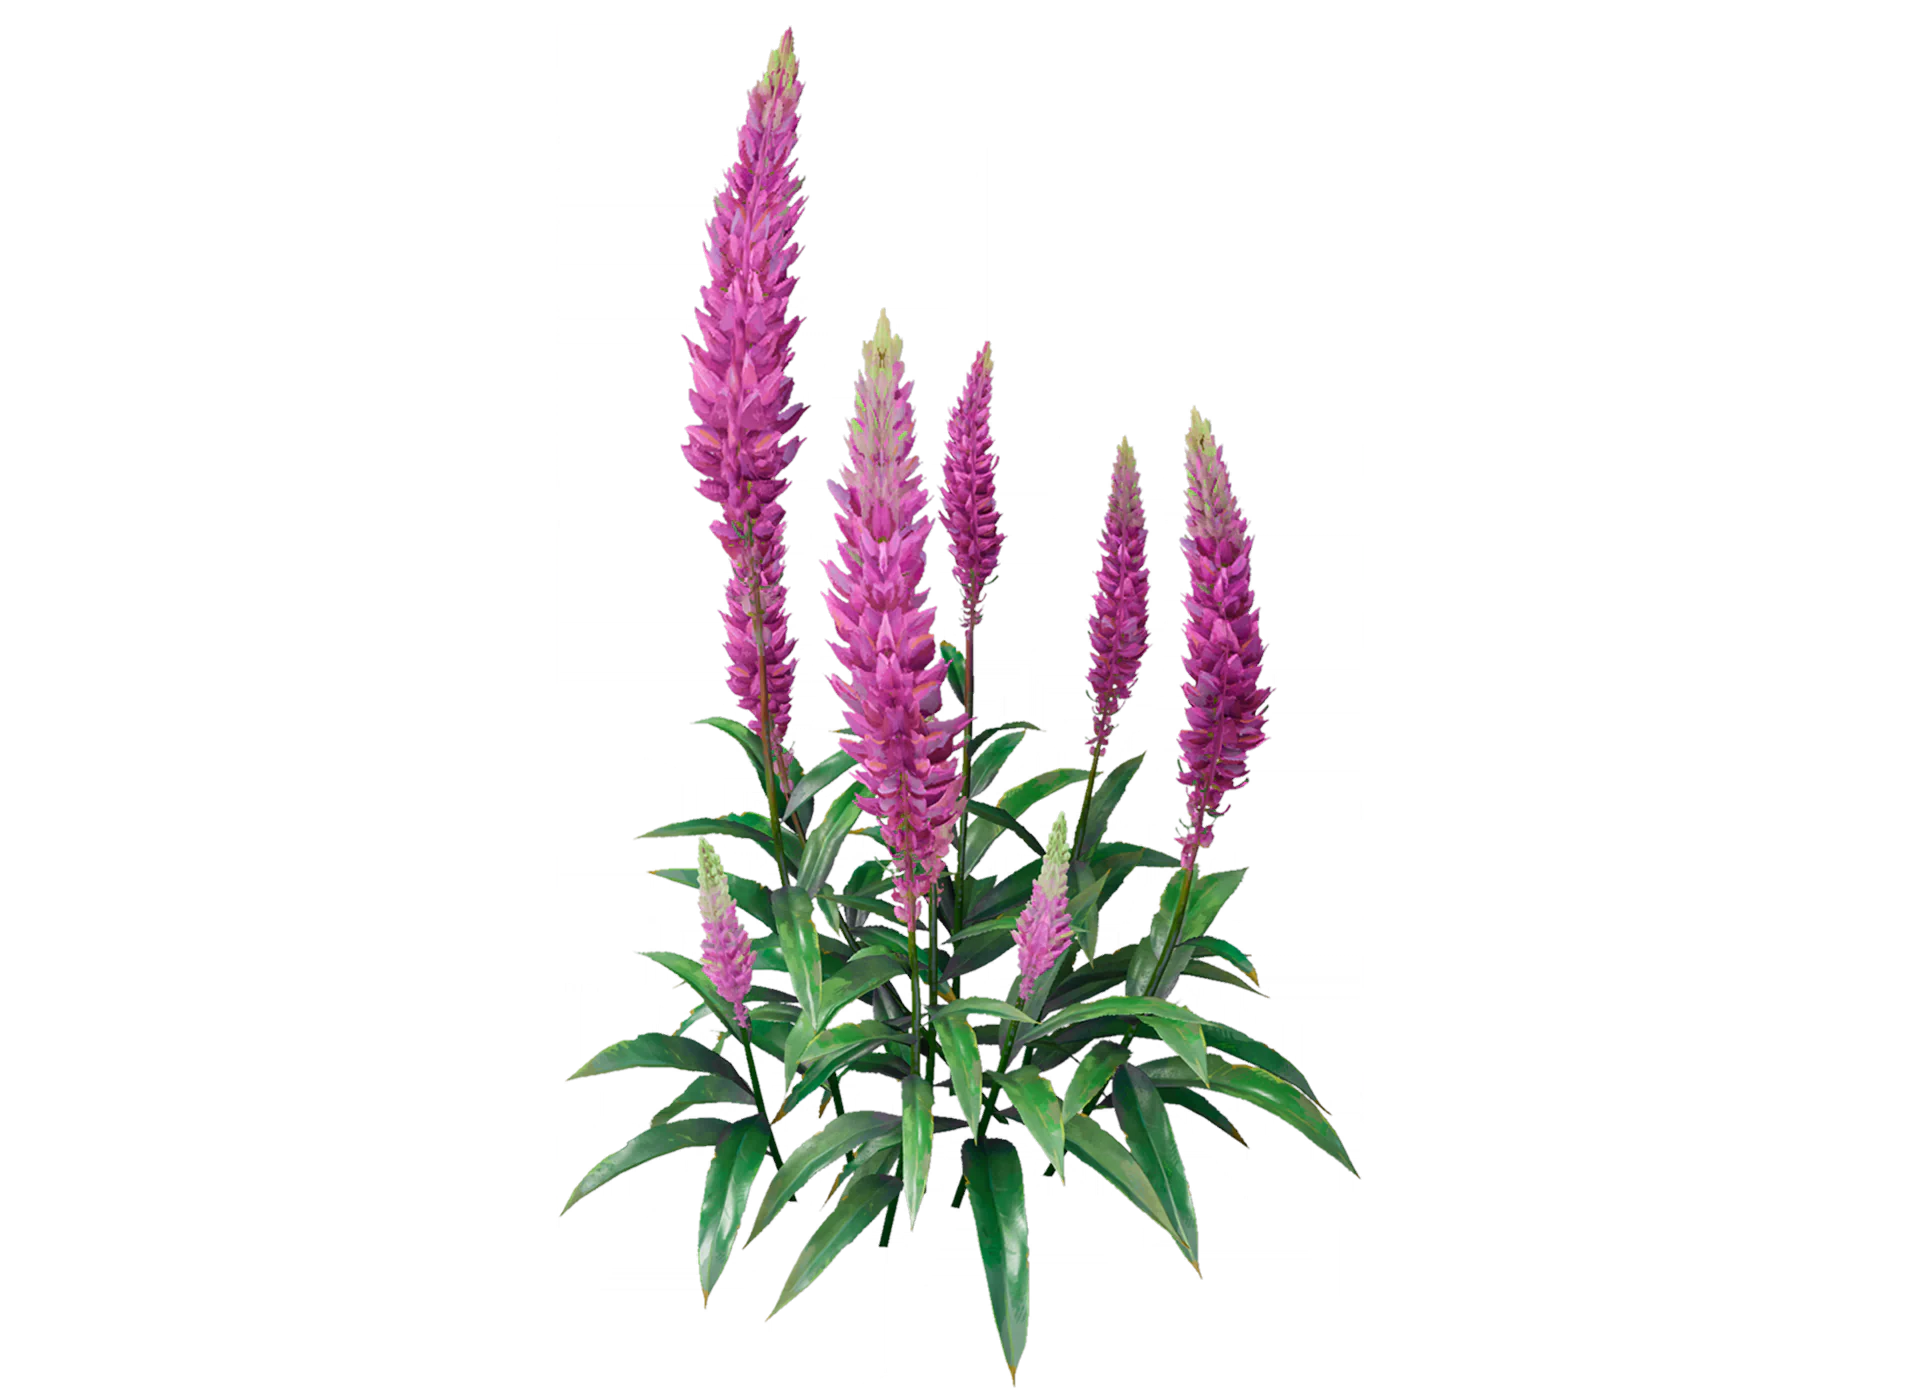
They say a seed fell into a rattlesnake's shed skin and grew into this peculiar plant. No wonder it looks like a rattler's tail. It won't bite and isn't harmful. I still refused when Ais offered me a taste.
Collection tip: Approach the plant to record it. Compare its appearance with the journal picture.
![Sage illustration]() Plants #3SageOpen
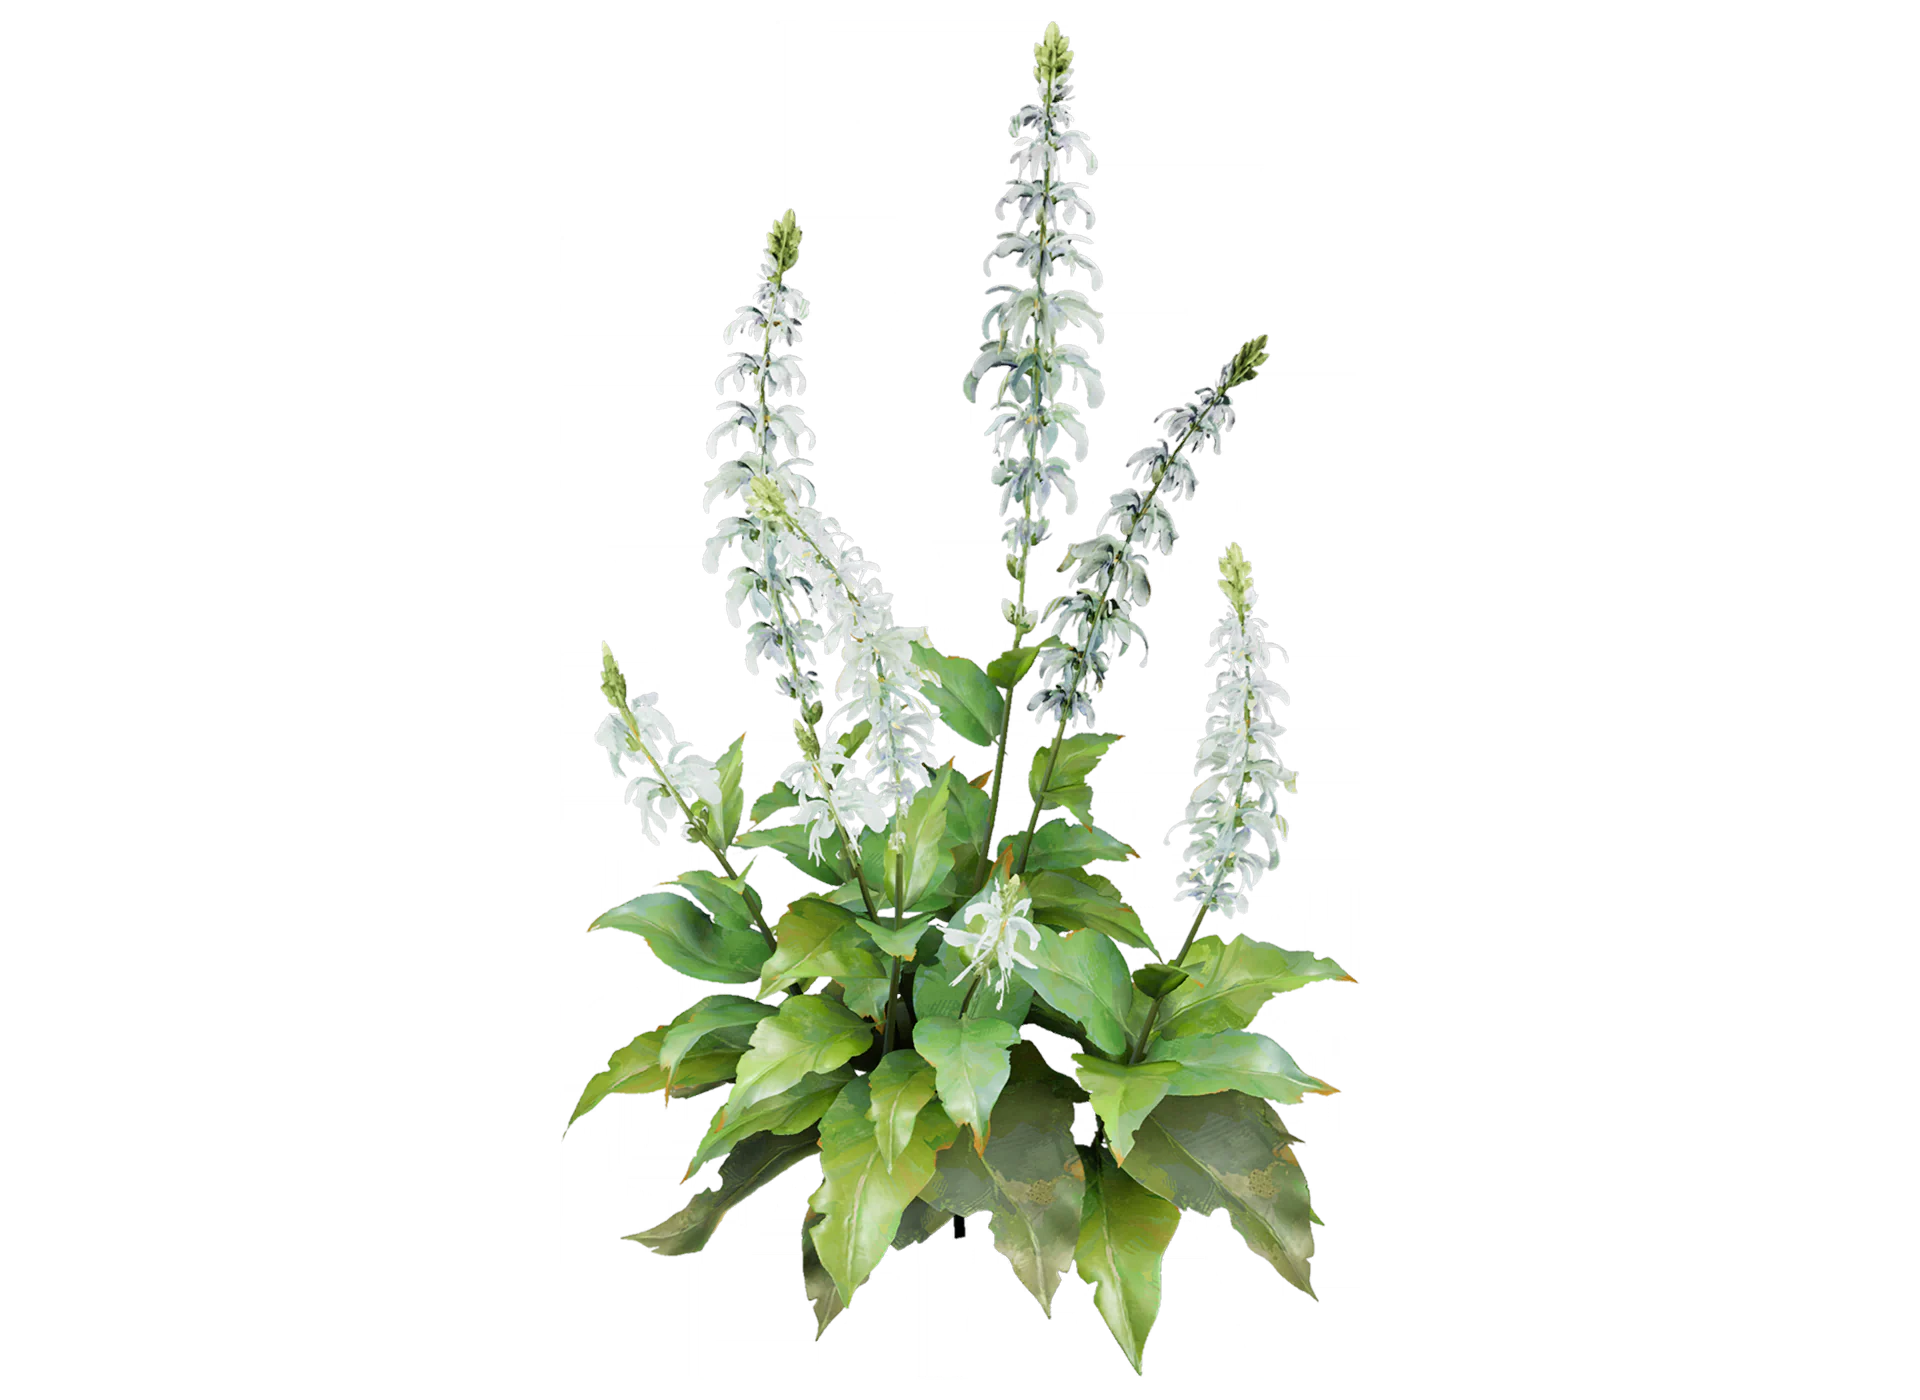
Islanders use this faintly fragrant plant as a herb. Get too close and you won't stop sneezing. We haven't got used to this peculiar treatment.
Collection tip: Approach the plant to record it. Compare its appearance with the journal picture.
![Flame Tree illustration]() Plants #4Flame TreeOpen
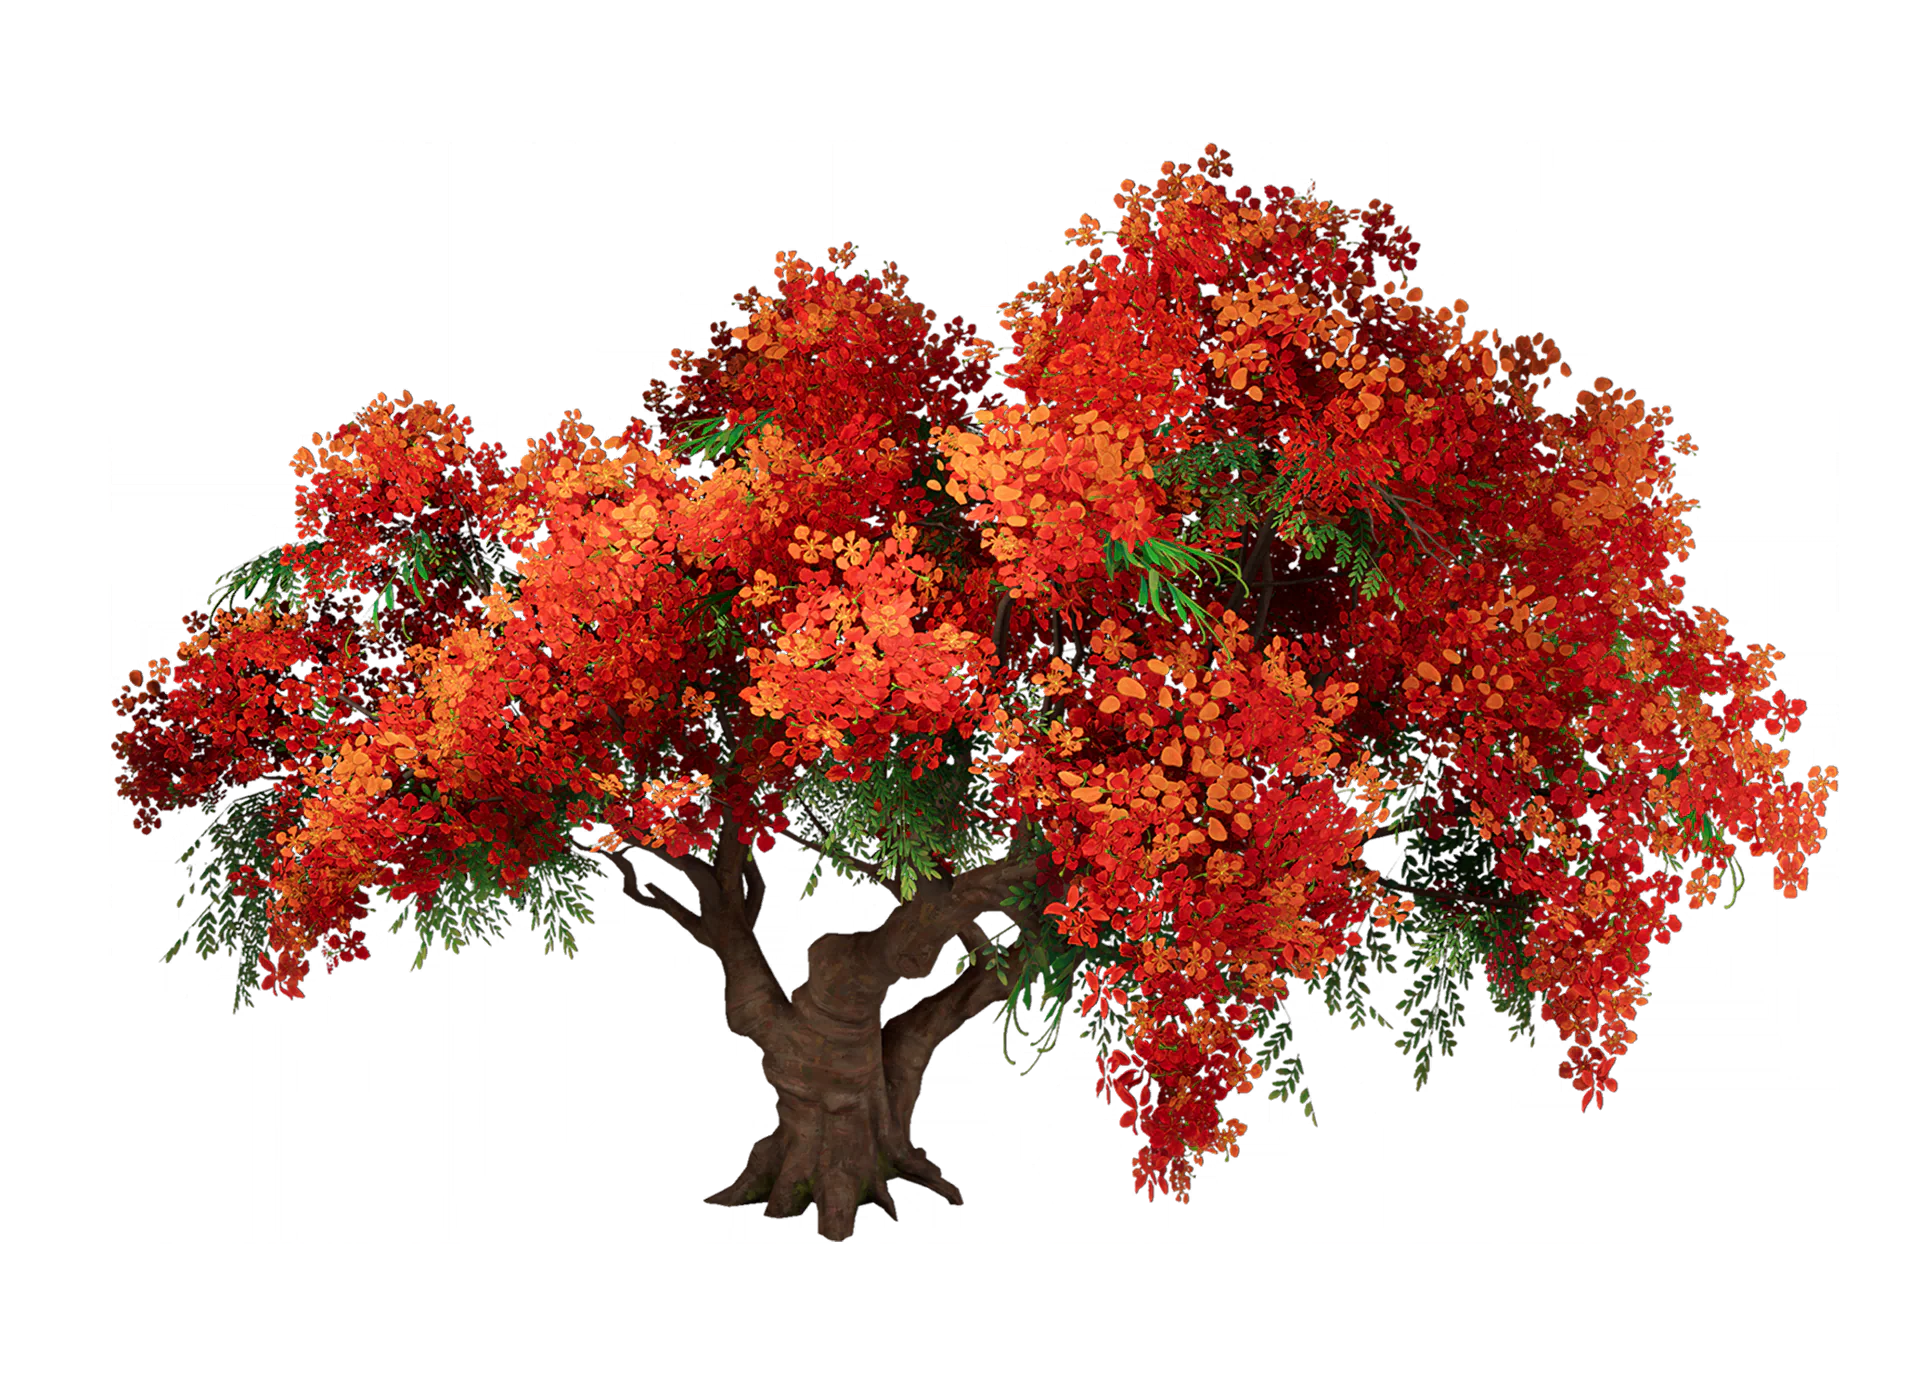
Perhaps a distant bird carried the seed of this rare tree. Local legend says a falling leaf brings luck. Ais and I each took one, just in case it helps us through a storm.
Collection tip: Approach the plant to record it. Compare its appearance with the journal picture.
![Bougainvillea illustration]() Plants #5BougainvilleaOpen
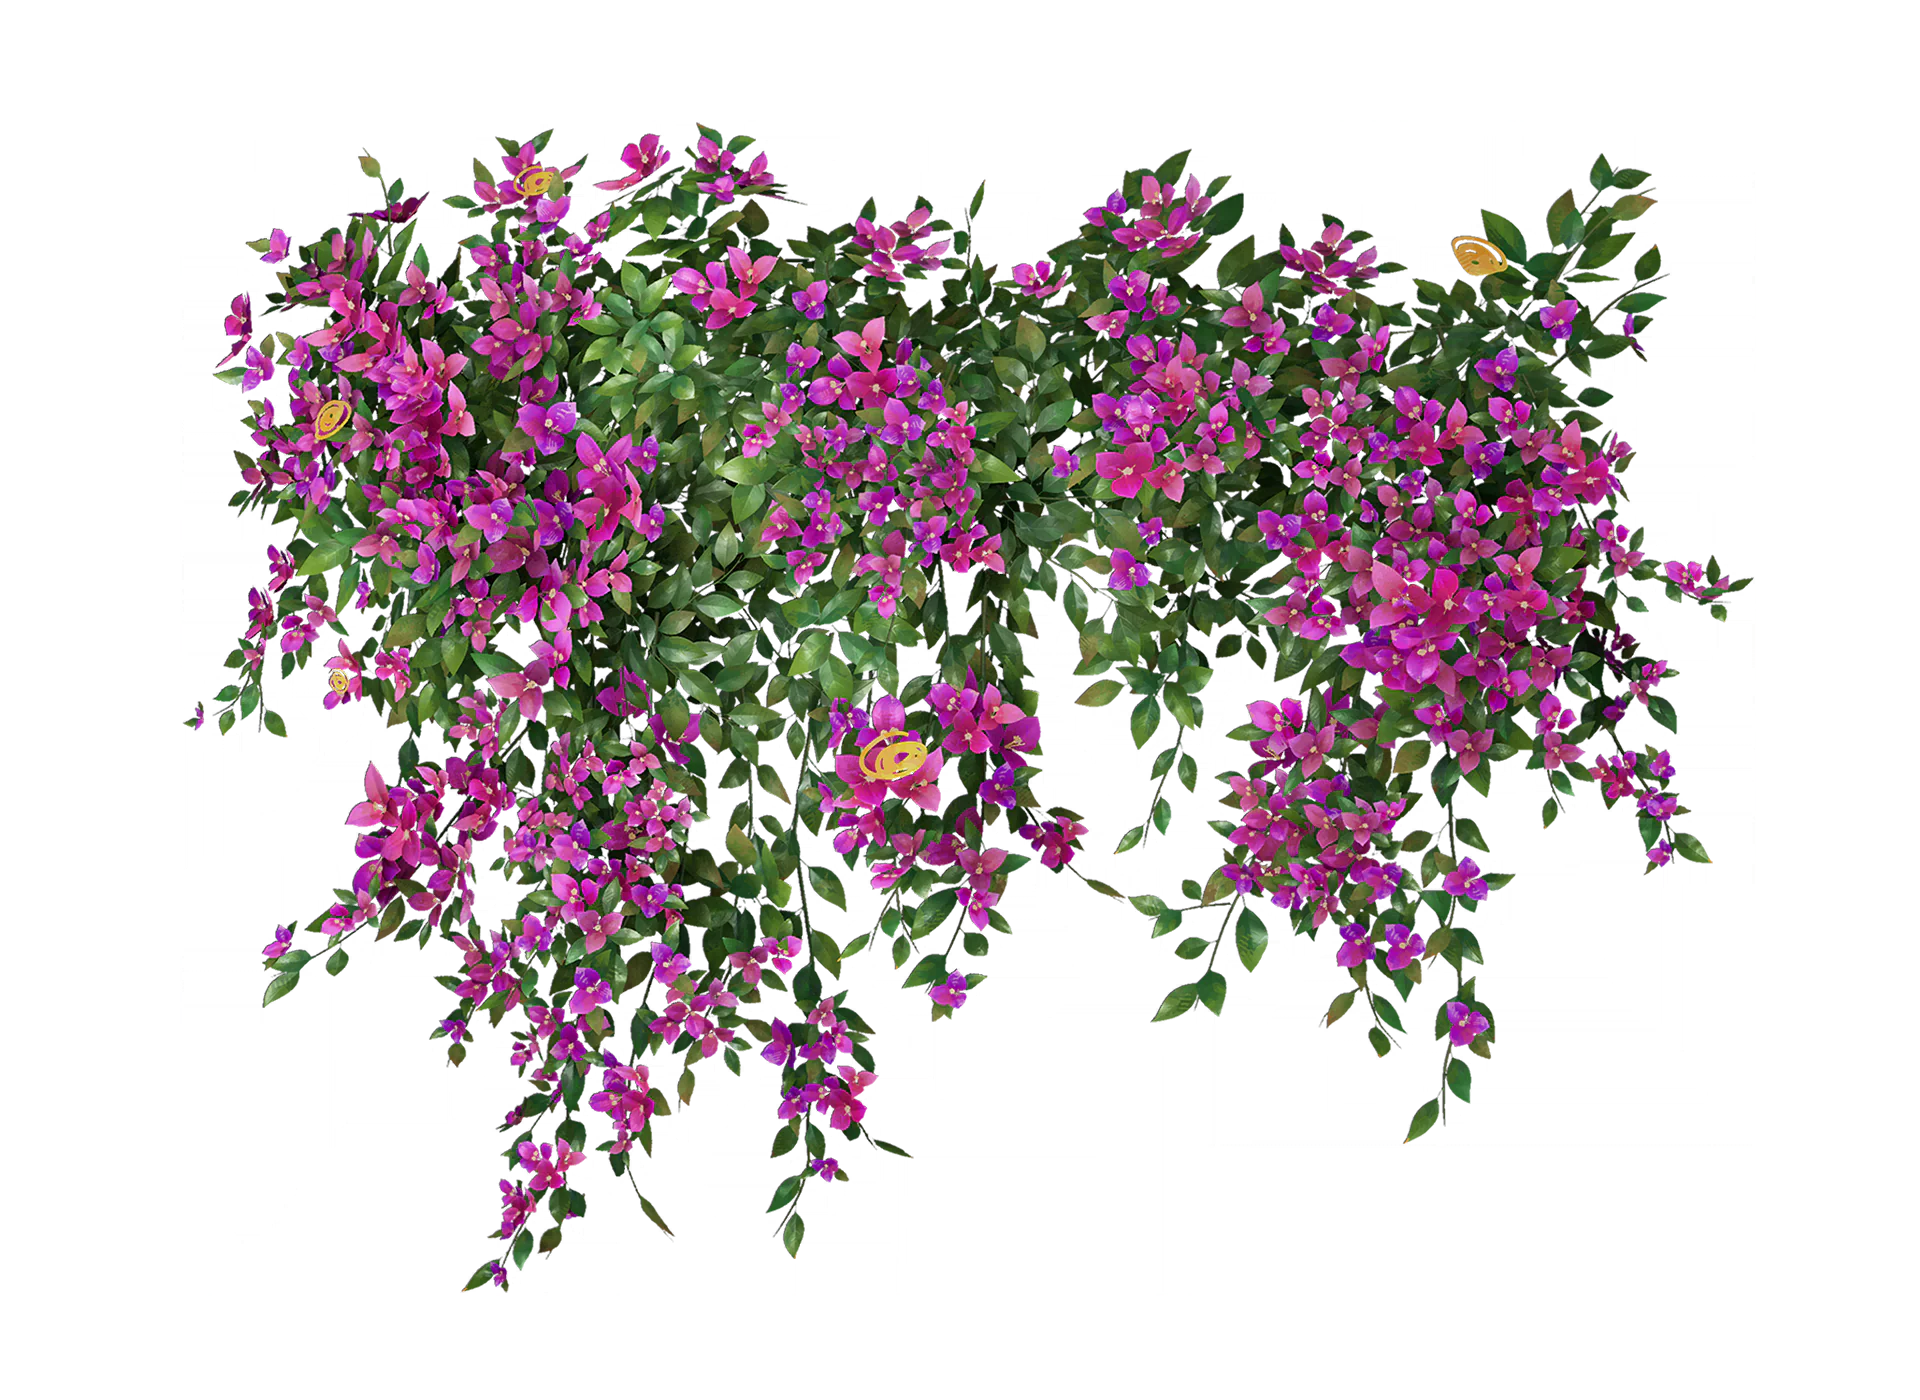
The branches hang like a curtain. Ais tugged one and stained her palm pink for days.
Collection tip: Approach the plant to record it. Compare its appearance with the journal picture.
![Bluebell illustration]() Plants #6BluebellOpen
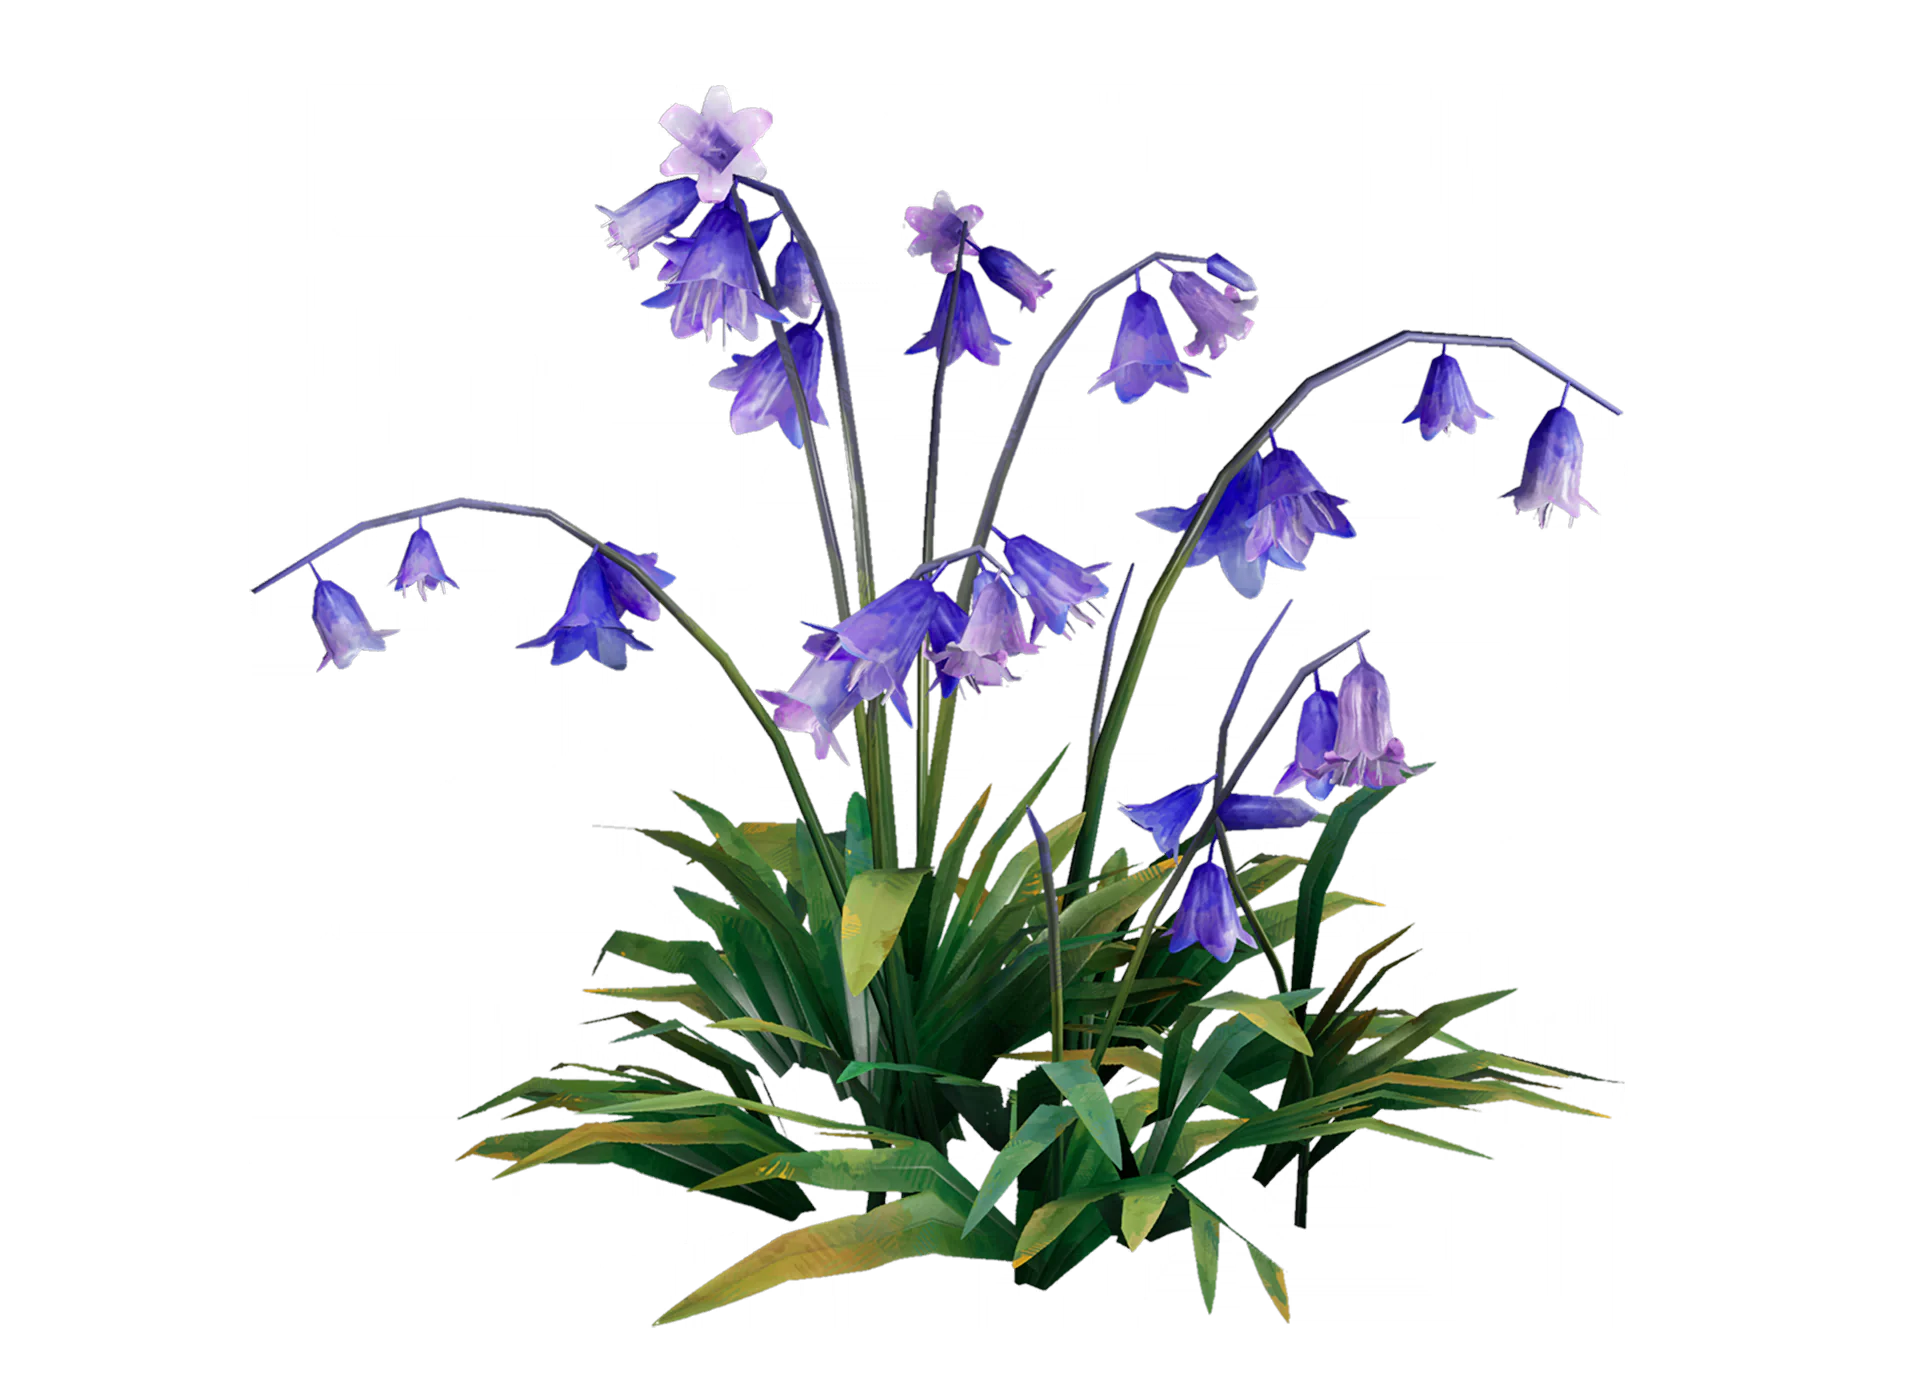
Long ago someone hung bells from a blade of grass, or so the story goes. They grew together, and gardeners bred the bell-shaped flower. Ais says you can hear a ring if you blow on it in moonlight on the right night. We tried for days. I think she made it up.
Collection tip: Approach the plant to record it. Compare its appearance with the journal picture.
![Blue Snowflower illustration]() Plants #7Blue SnowflowerOpen
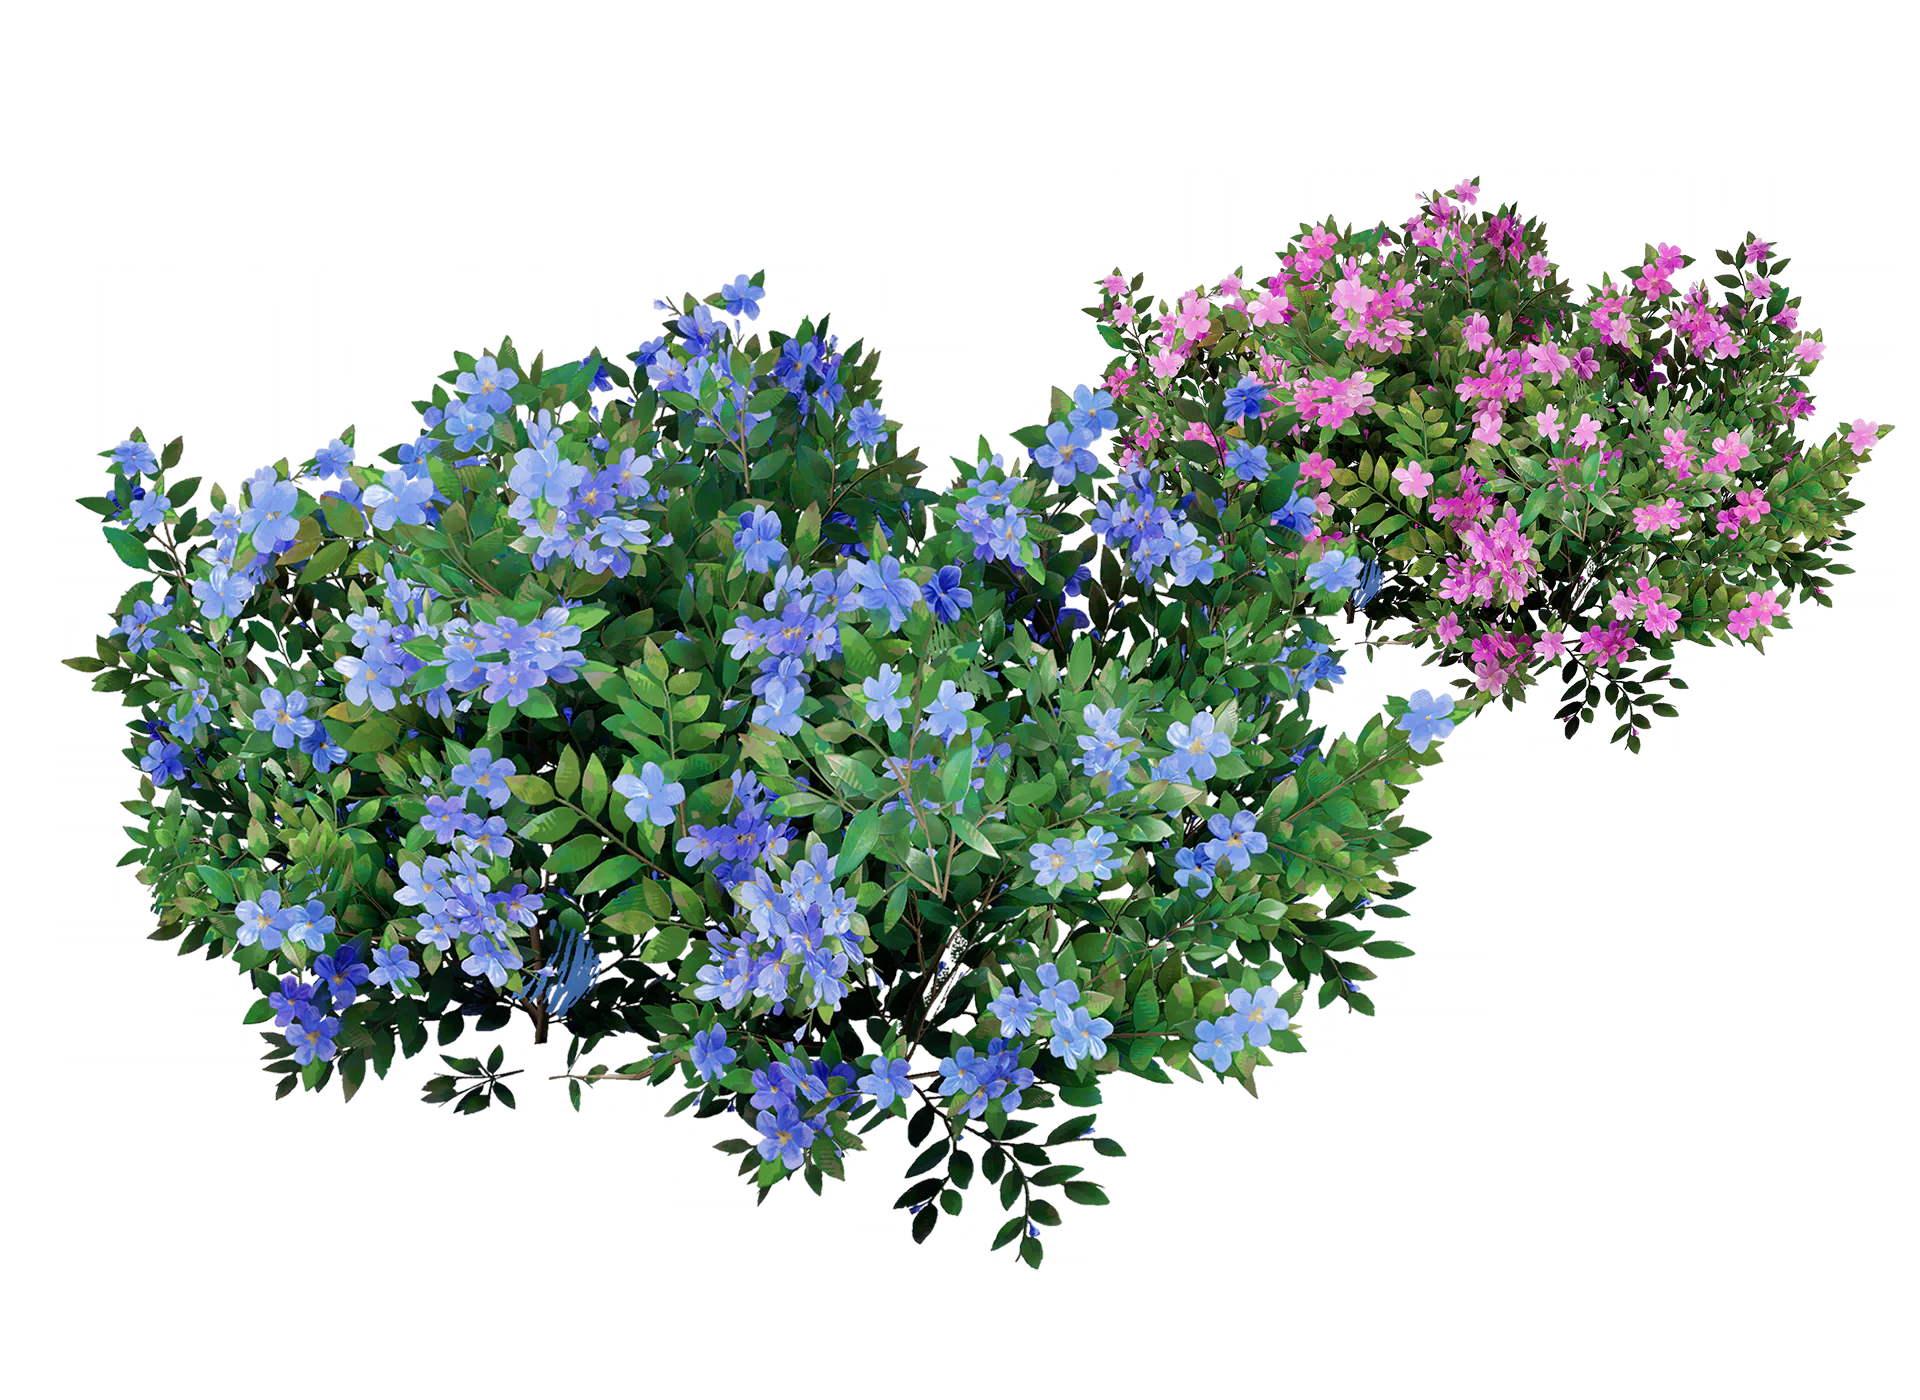
The flowers cover the ground like colored snow. Ais always wants to roll in them. It takes some doing to hold her back.
Collection tip: Approach the plant to record it. Compare its appearance with the journal picture.
![Moonflower illustration]() Plants #8MoonflowerOpen
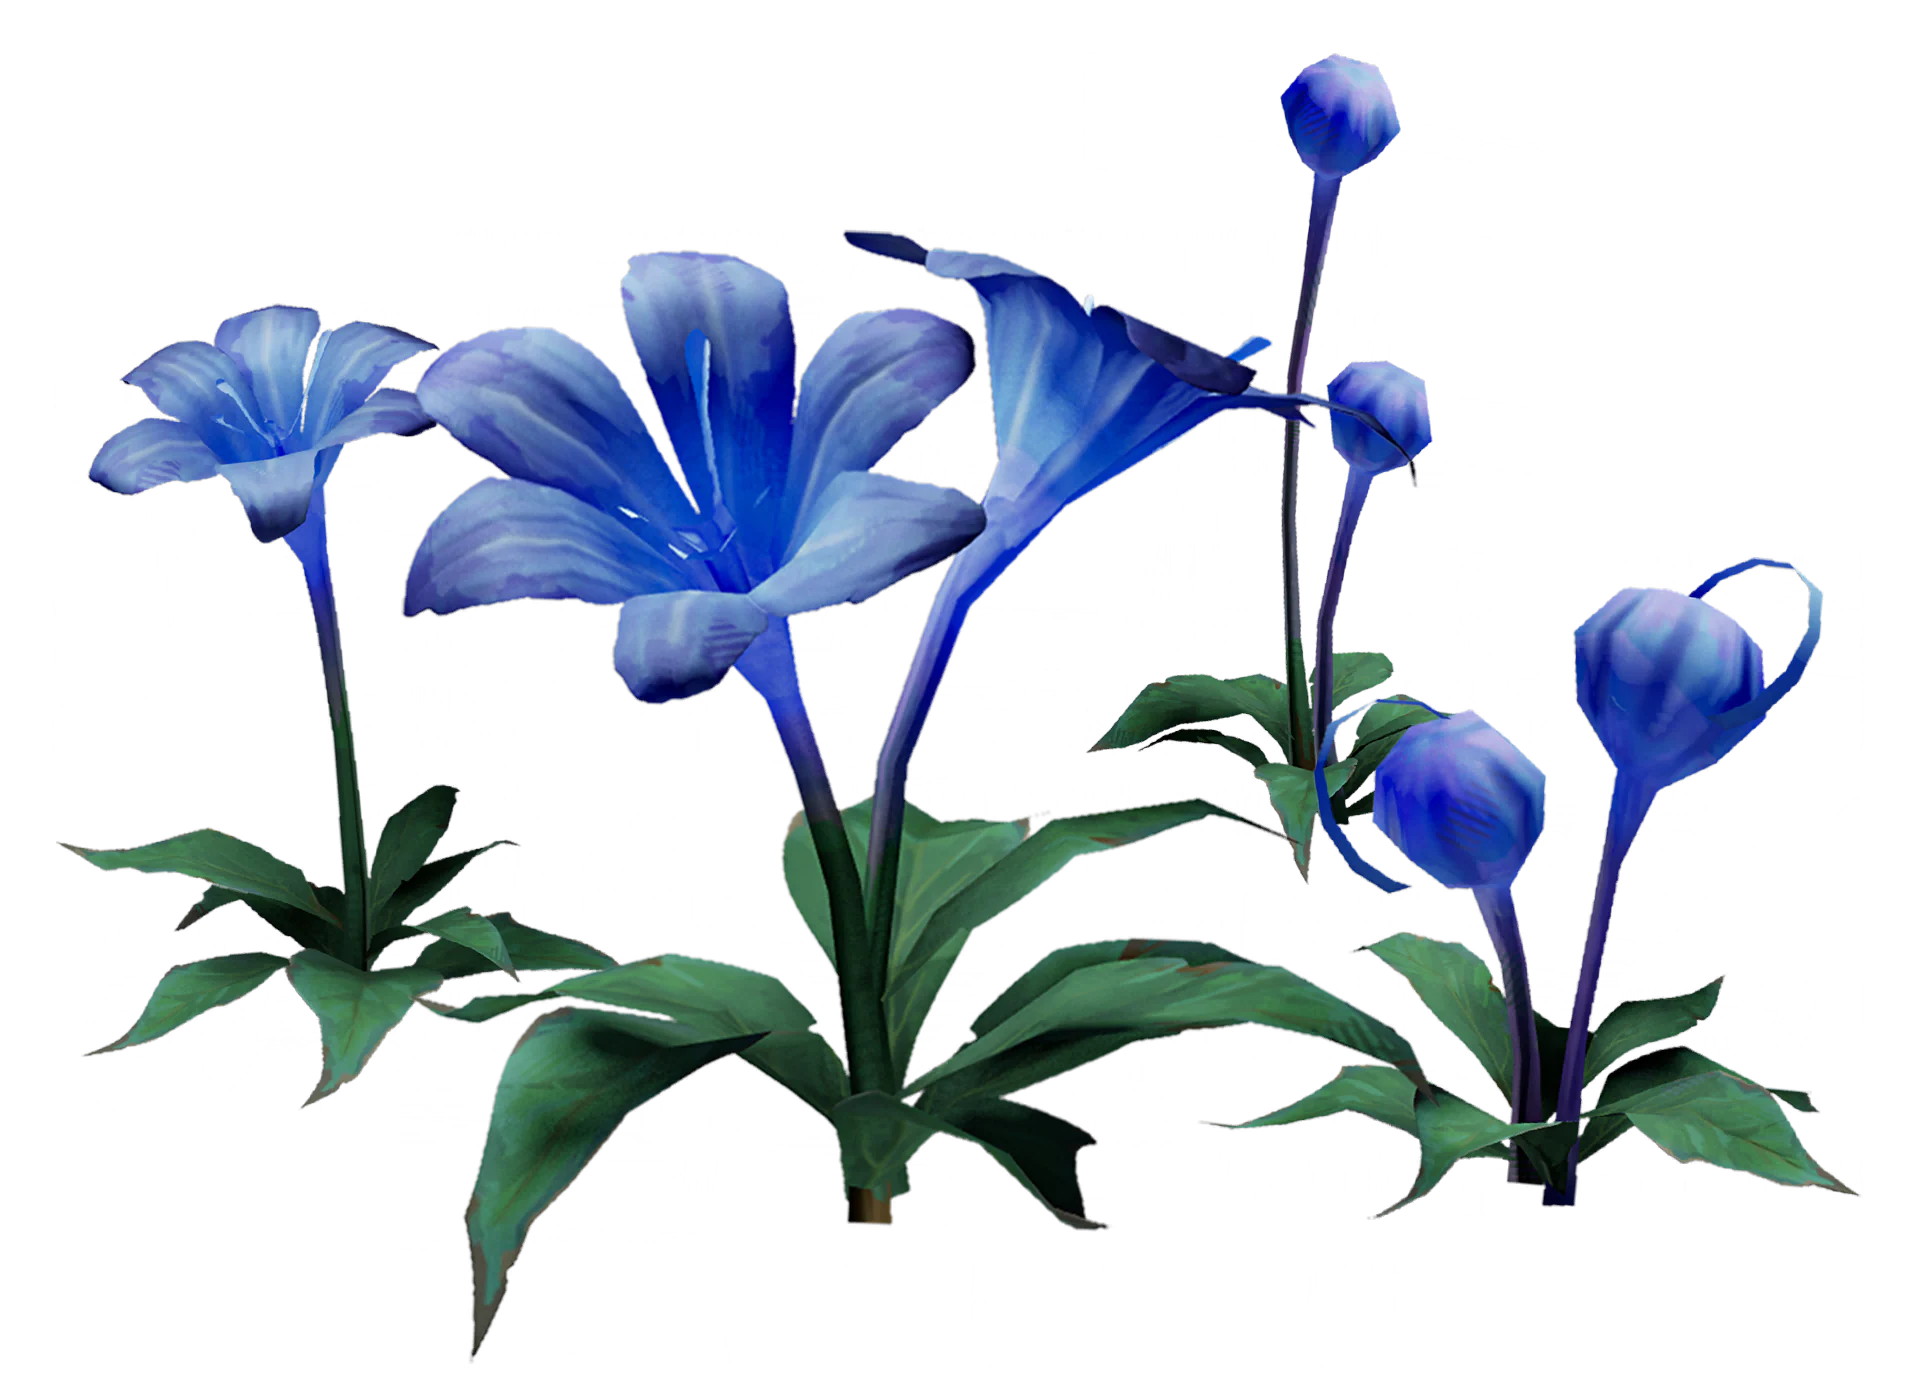
We only saw this plant in ruins. Its petals glow cold and quiet at a touch, like solid moonlight. It grows without sun. Does moonlight feed it? Whoever discovers its origin gets to choose where we sail next. I hope it's me.
Collection tip: Approach the plant to record it. Compare its appearance with the journal picture.
![Spirit Herb illustration]() Plants #9Spirit HerbOpen
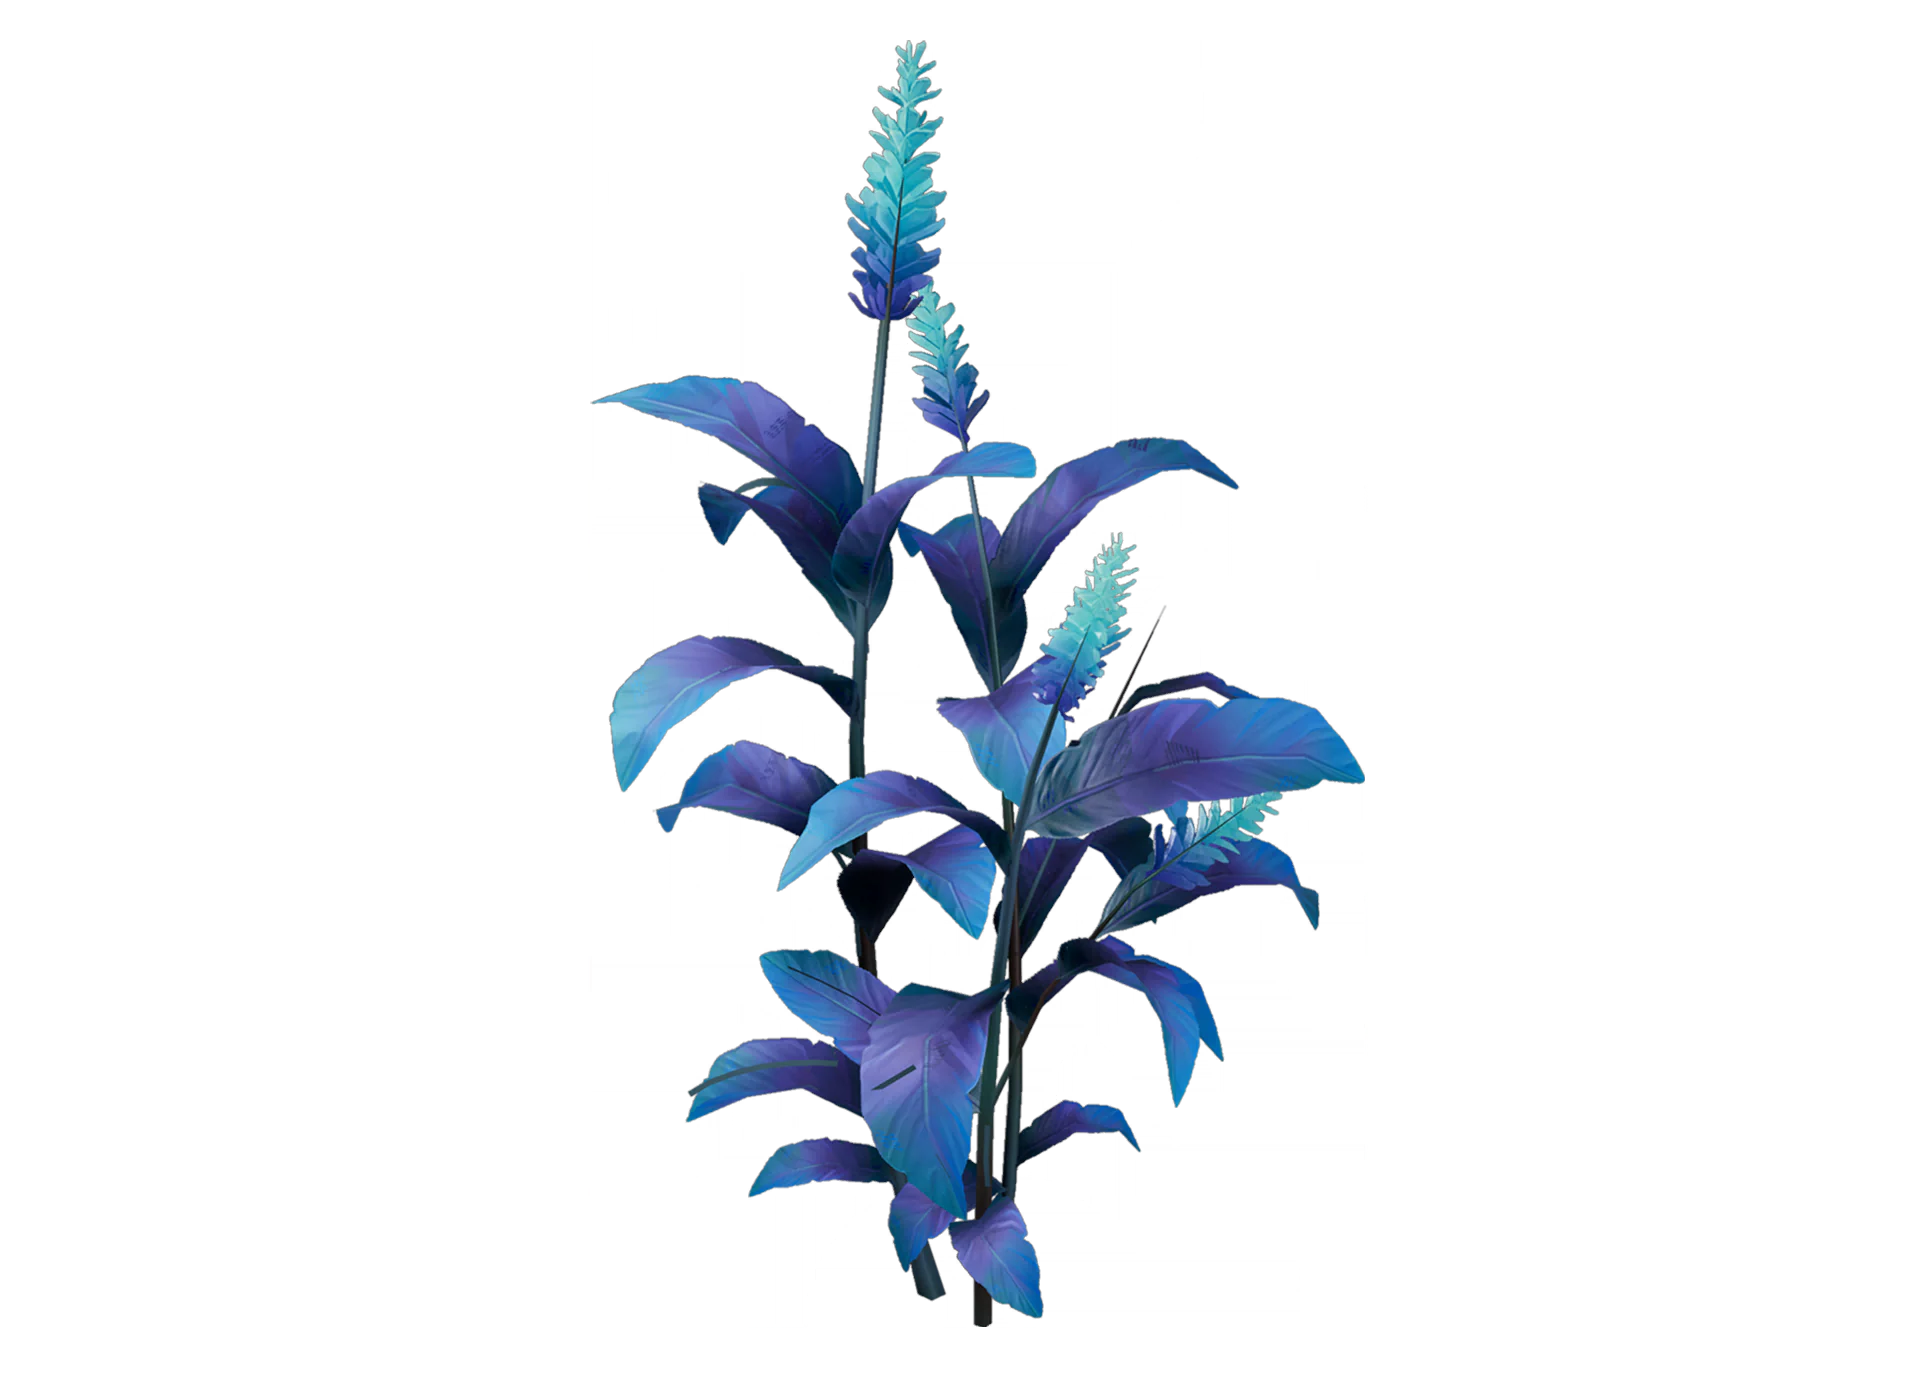
Sail long enough and you'll see glowing grass. Maybe it's related to the flowers in the ruins. Locals use it in rituals and make ink from its ashes and sap. Supposedly what you write comes true. I stopped Ais tasting it. Her stomach wasn't about to turn into a lamp.
Collection tip: Approach the plant to record it. Compare its appearance with the journal picture.
![Jerusha Flower illustration]() Plants #10Jerusha FlowerOpen
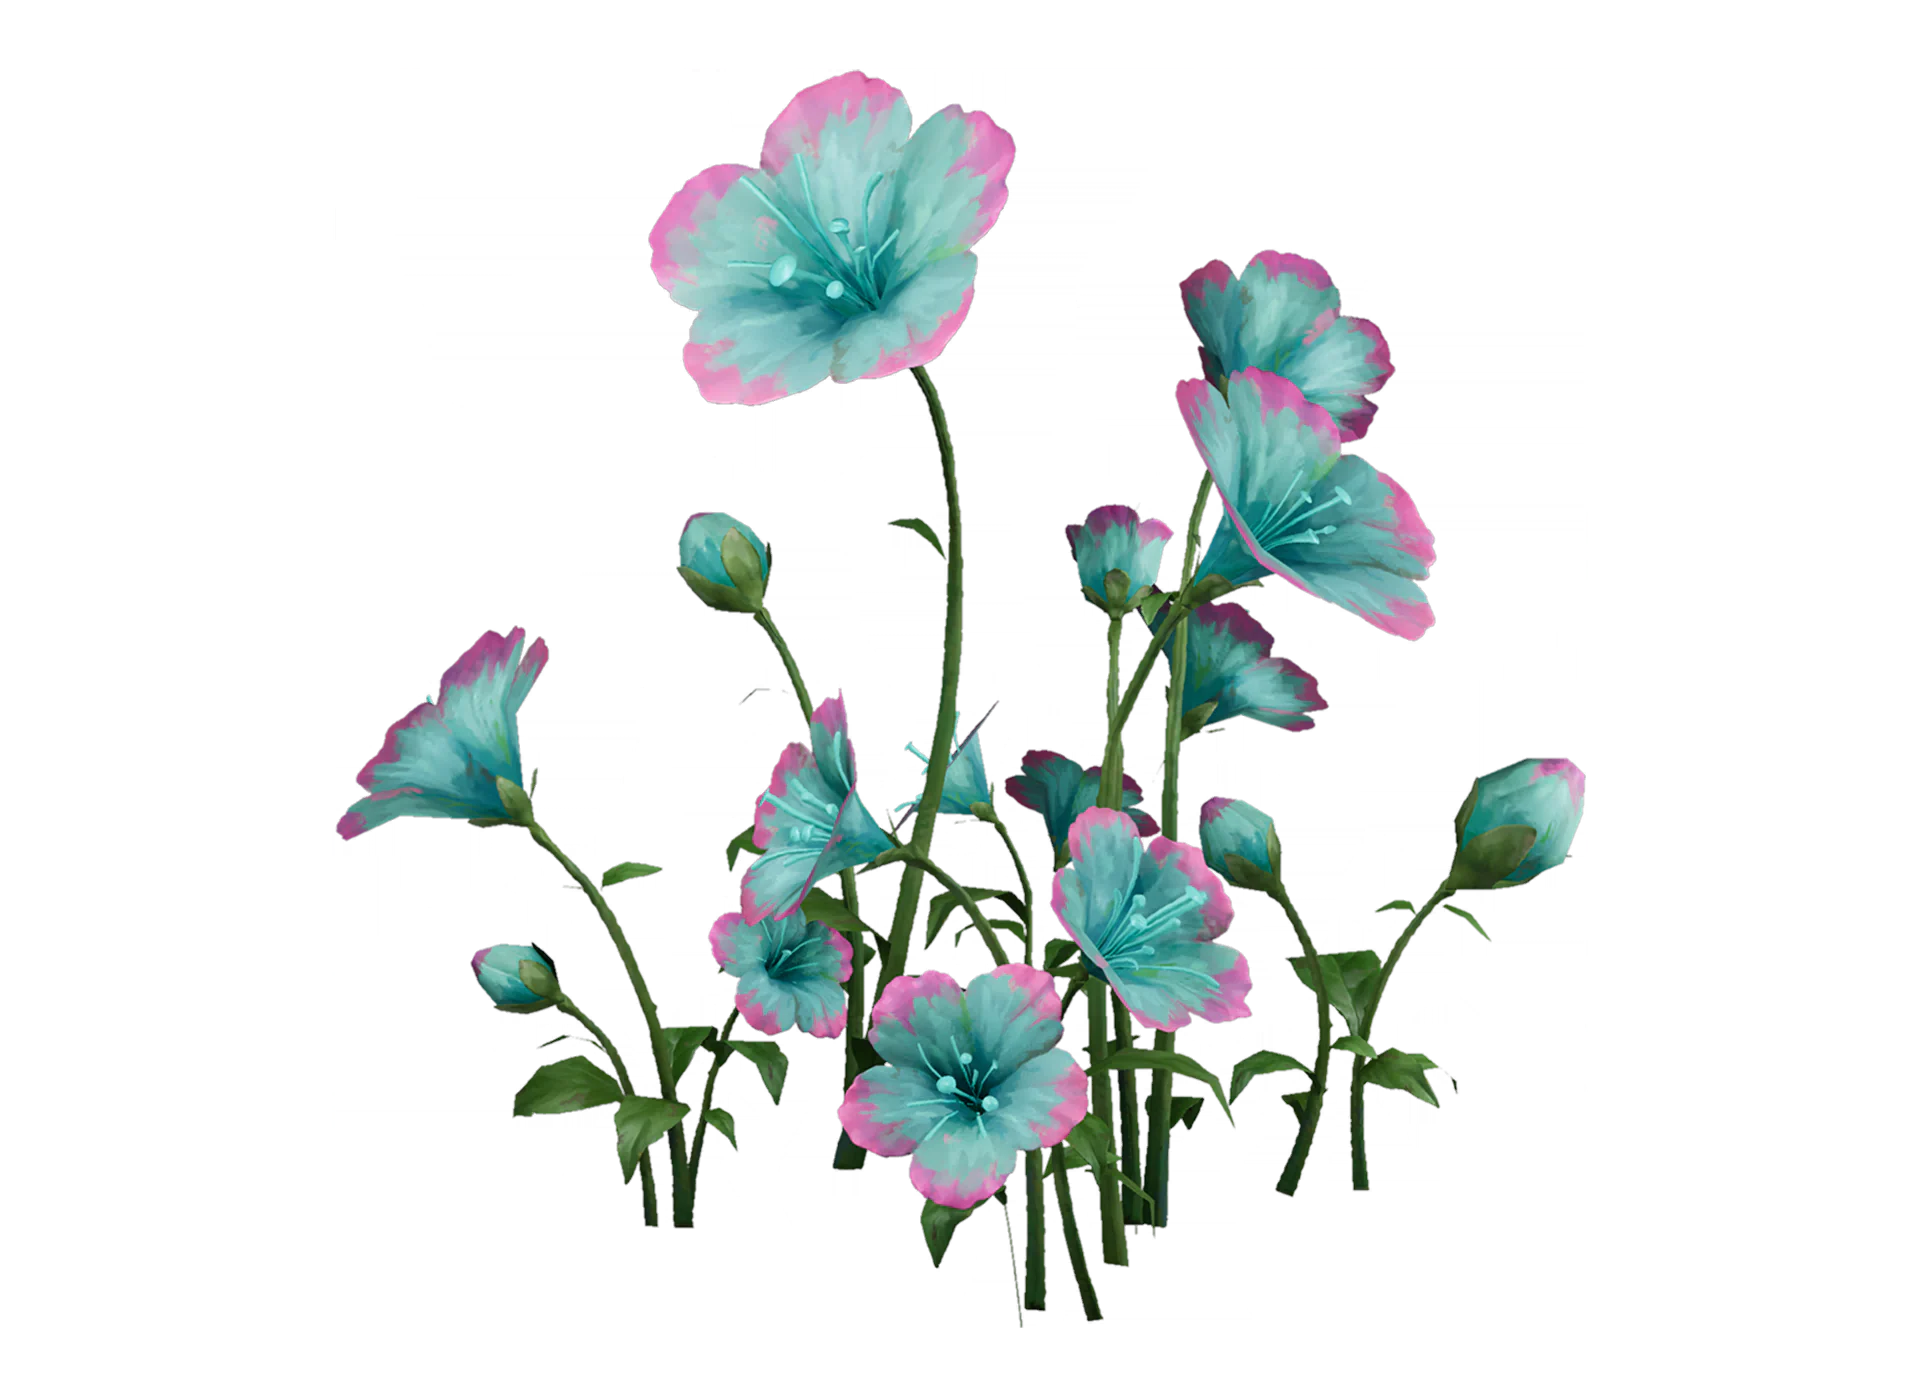
This flower blooms year-round on Statue Island and wilts without sun. Dark red edges shine like ink in sunlight. We have never seen it anywhere else. Ais tried taking seeds and plants away. None survived.
Collection tip: Approach the plant to record it. Compare its appearance with the journal picture.
![Rocking Great Tree illustration]() Plants #11Rocking Great TreeOpen
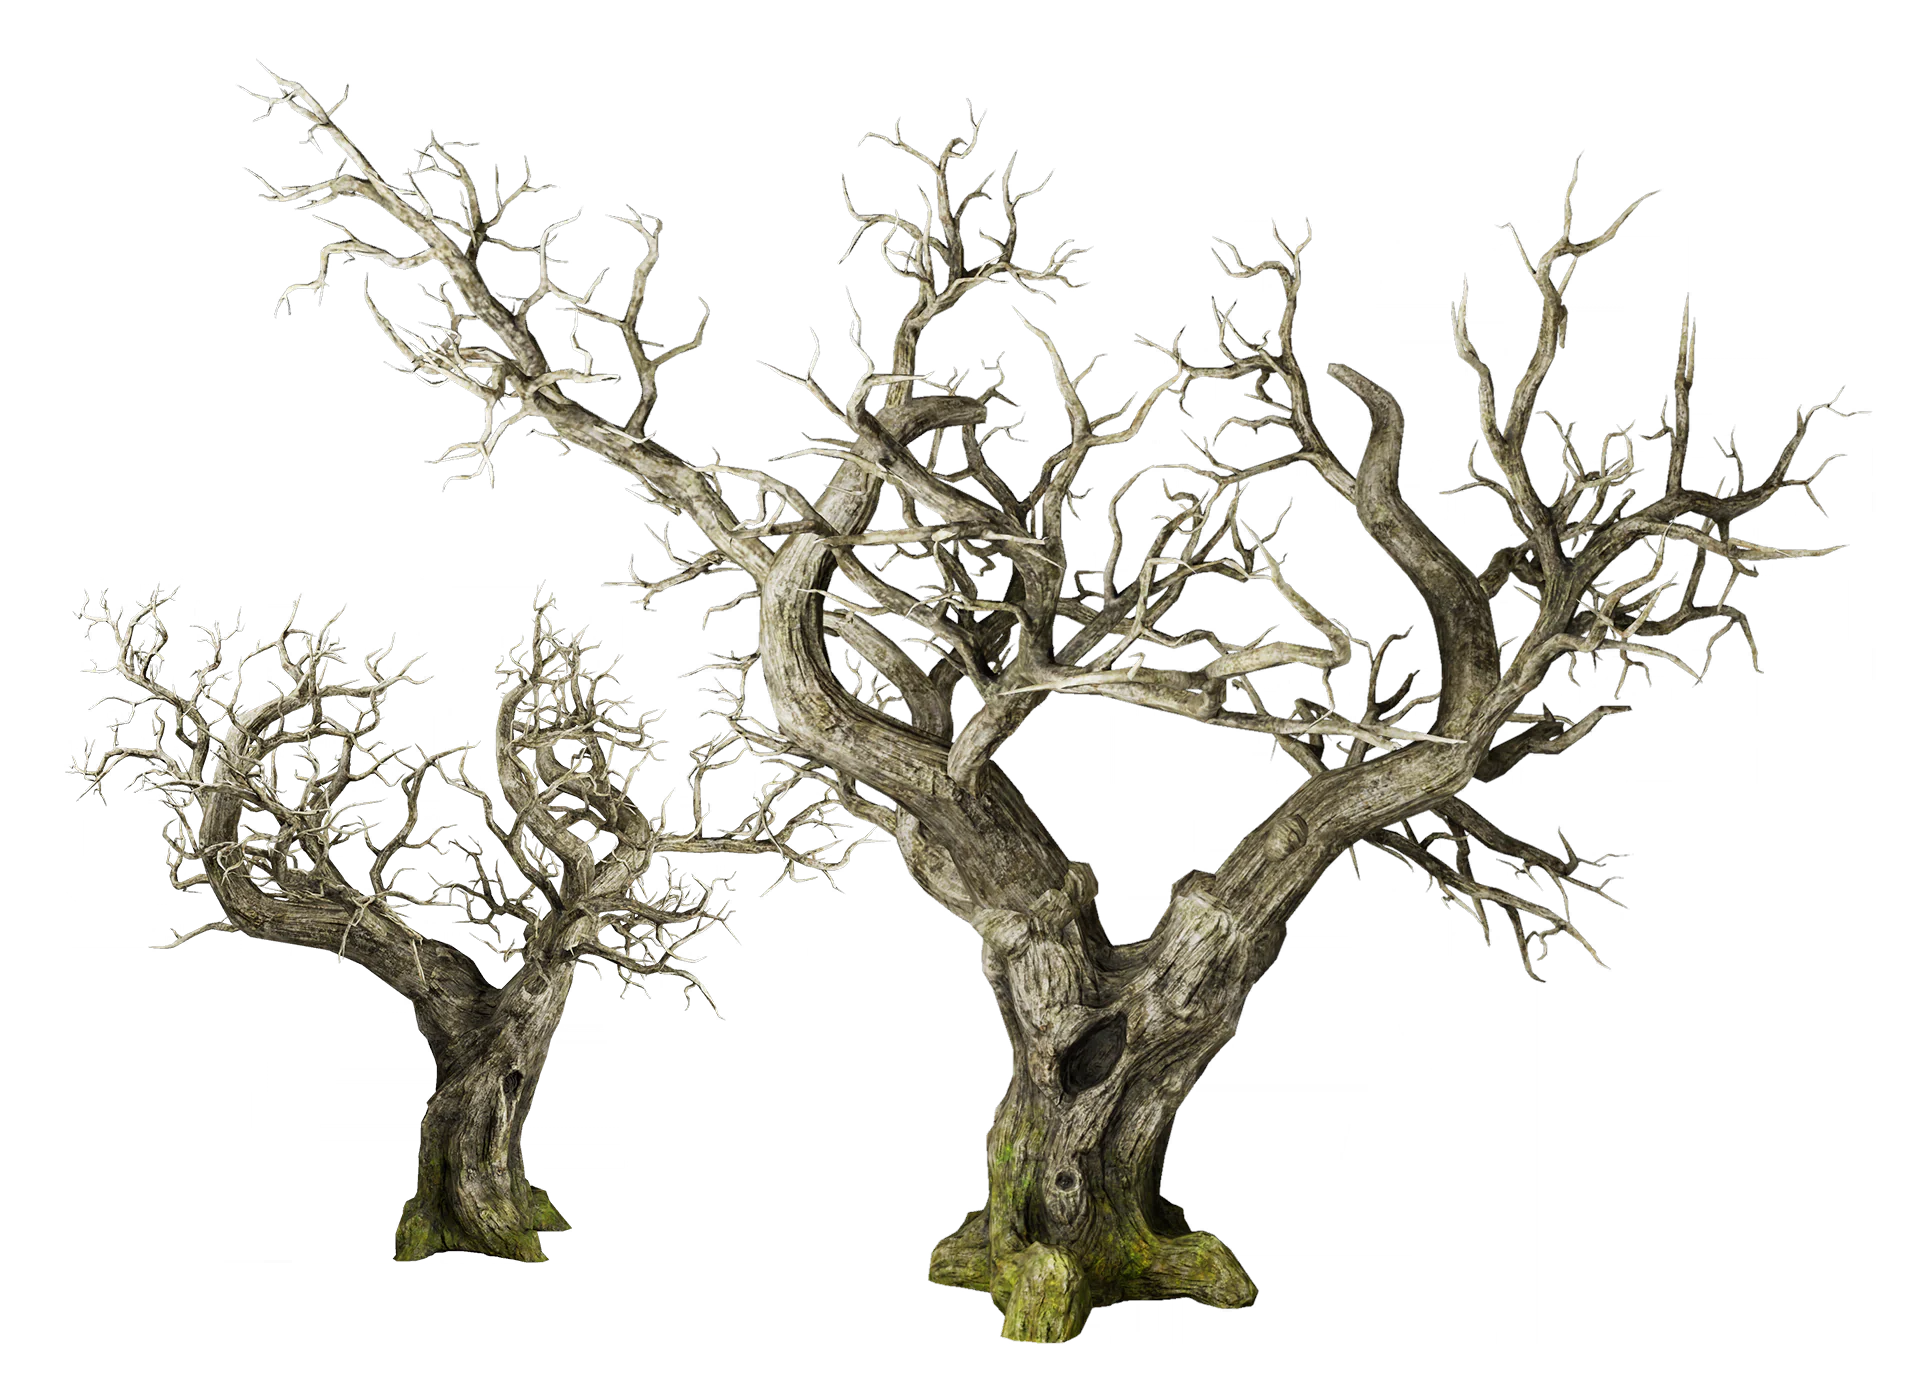
Only found in Rolling Stone Cemetery. Pale and withered, with roots fused into rock, it hardly seems like a plant. Ais tried cutting a branch. “Like hitting iron. My hands went numb!” We wrote it down in case it comes in handy.
Collection tip: Approach the plant to record it. Compare its appearance with the journal picture.
![Mad Old Man Cactus illustration]() Plants #12Mad Old Man CactusOpen
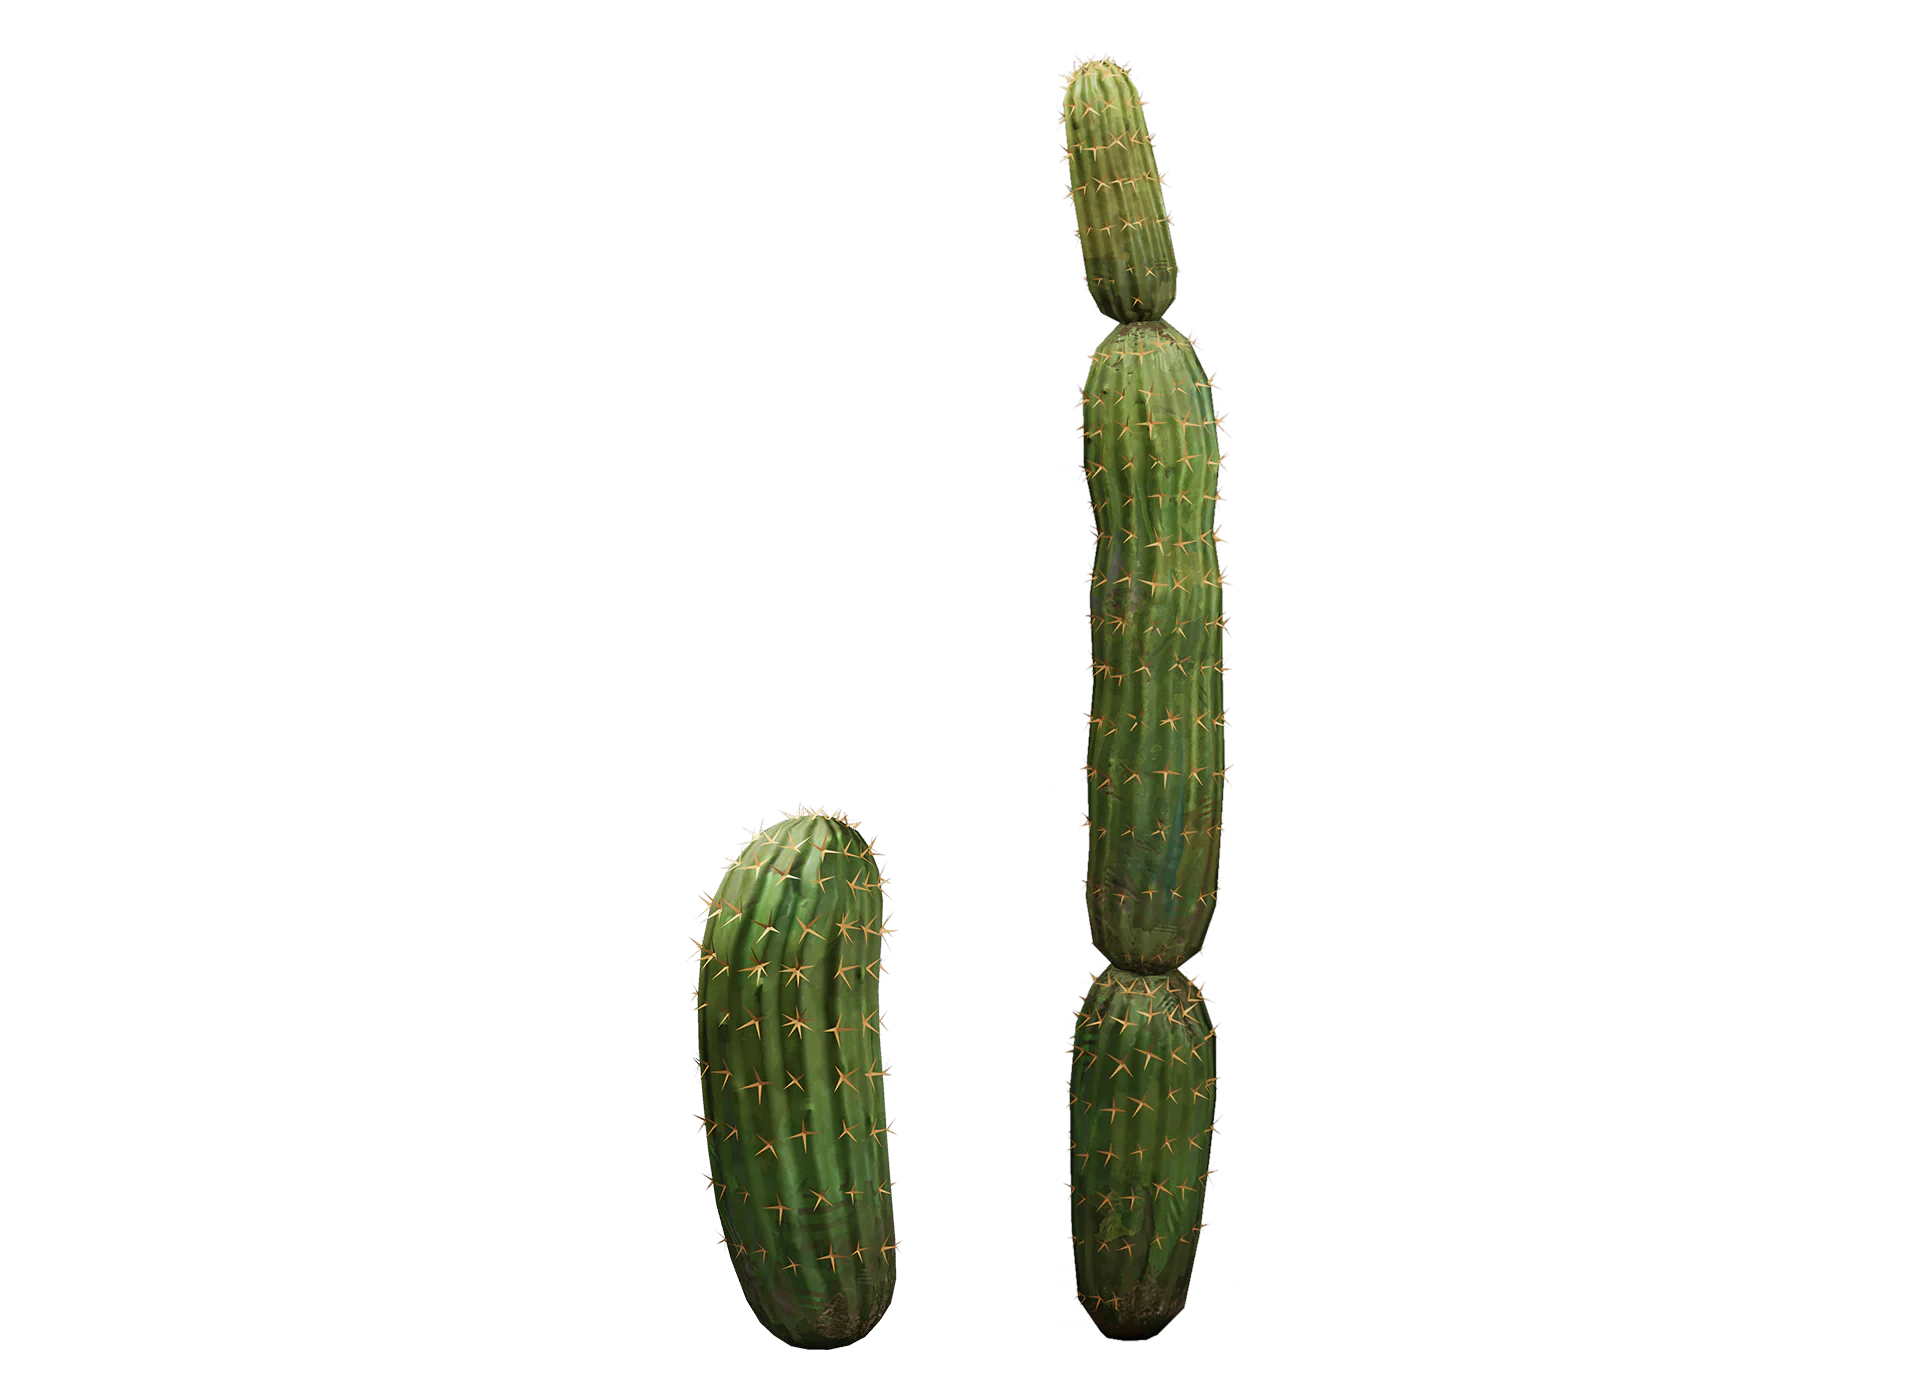
Murray says this giant cactus began as a houseplant. The wreck's soil made it huge. It spoke to him when he was weak, offered him its juice, and taught him to understand the island's plants. Even Ais looked moved. Hamster God above, now she's chopping it!
Collection tip: Approach the plant to record it. Compare its appearance with the journal picture.
![Imprisoned Great Tree illustration]() Plants #13Imprisoned Great TreeOpen
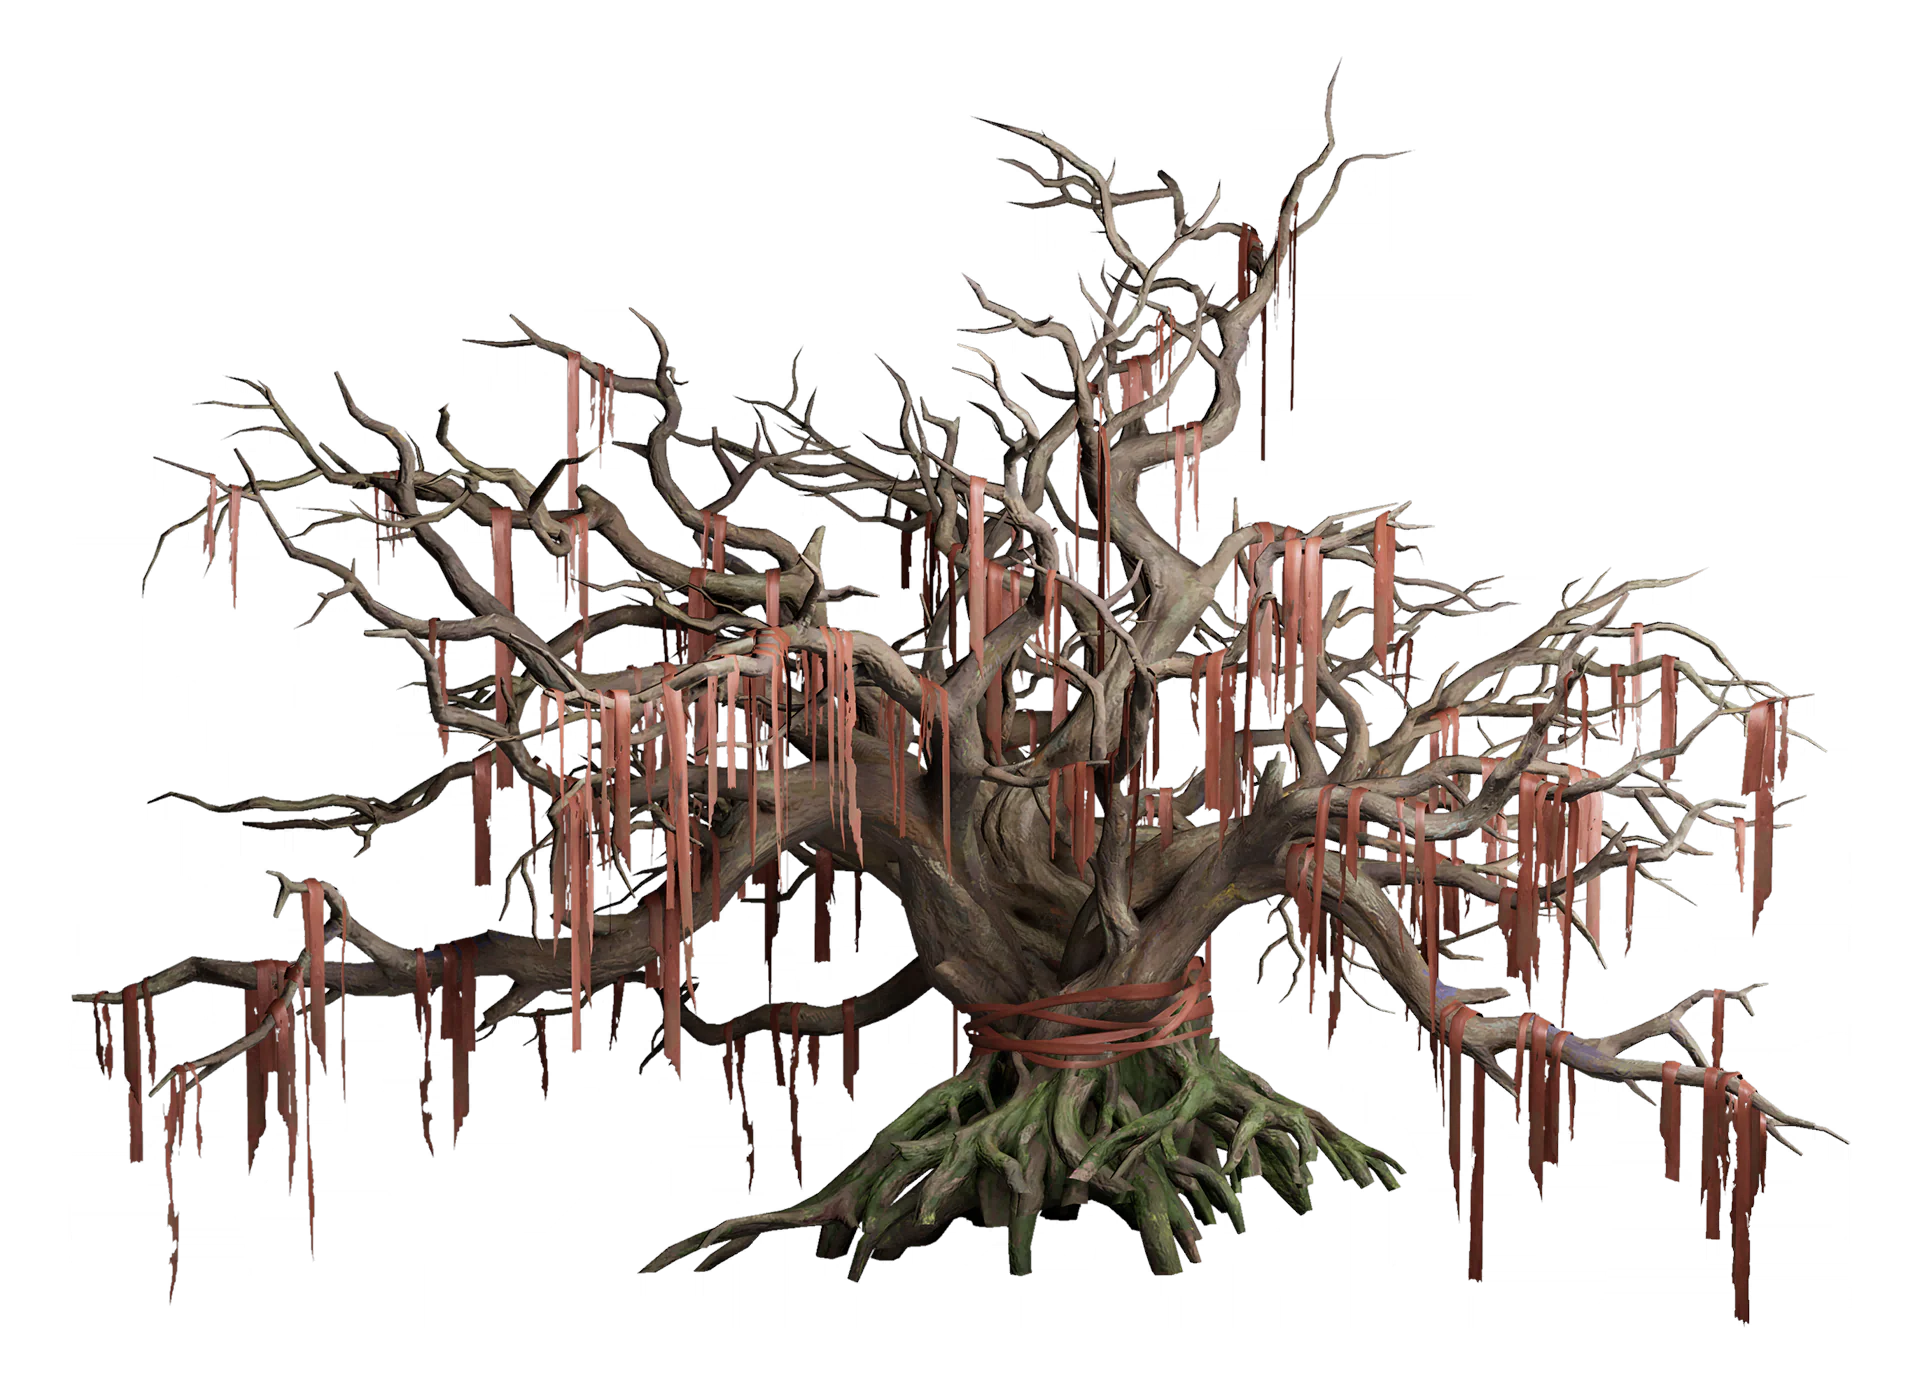
The great owl nests in this old, bare tree among the bones of its meals. Its branches look as vicious as the owl's talons, which suits our taste perfectly. Ancestors tied ribbons here when they prayed to the owl. After it attacked the village, the bond frayed like the ribbons. Ais says they look ready to drag someone into the bones.
Collection tip: Approach the plant to record it. Compare its appearance with the journal picture.
Scenery 41 entries
Show entriesHide entries
![Hidden Island · Treacherous Flats illustration]() Scenery #1Hidden Island · Treacherous FlatsOpen
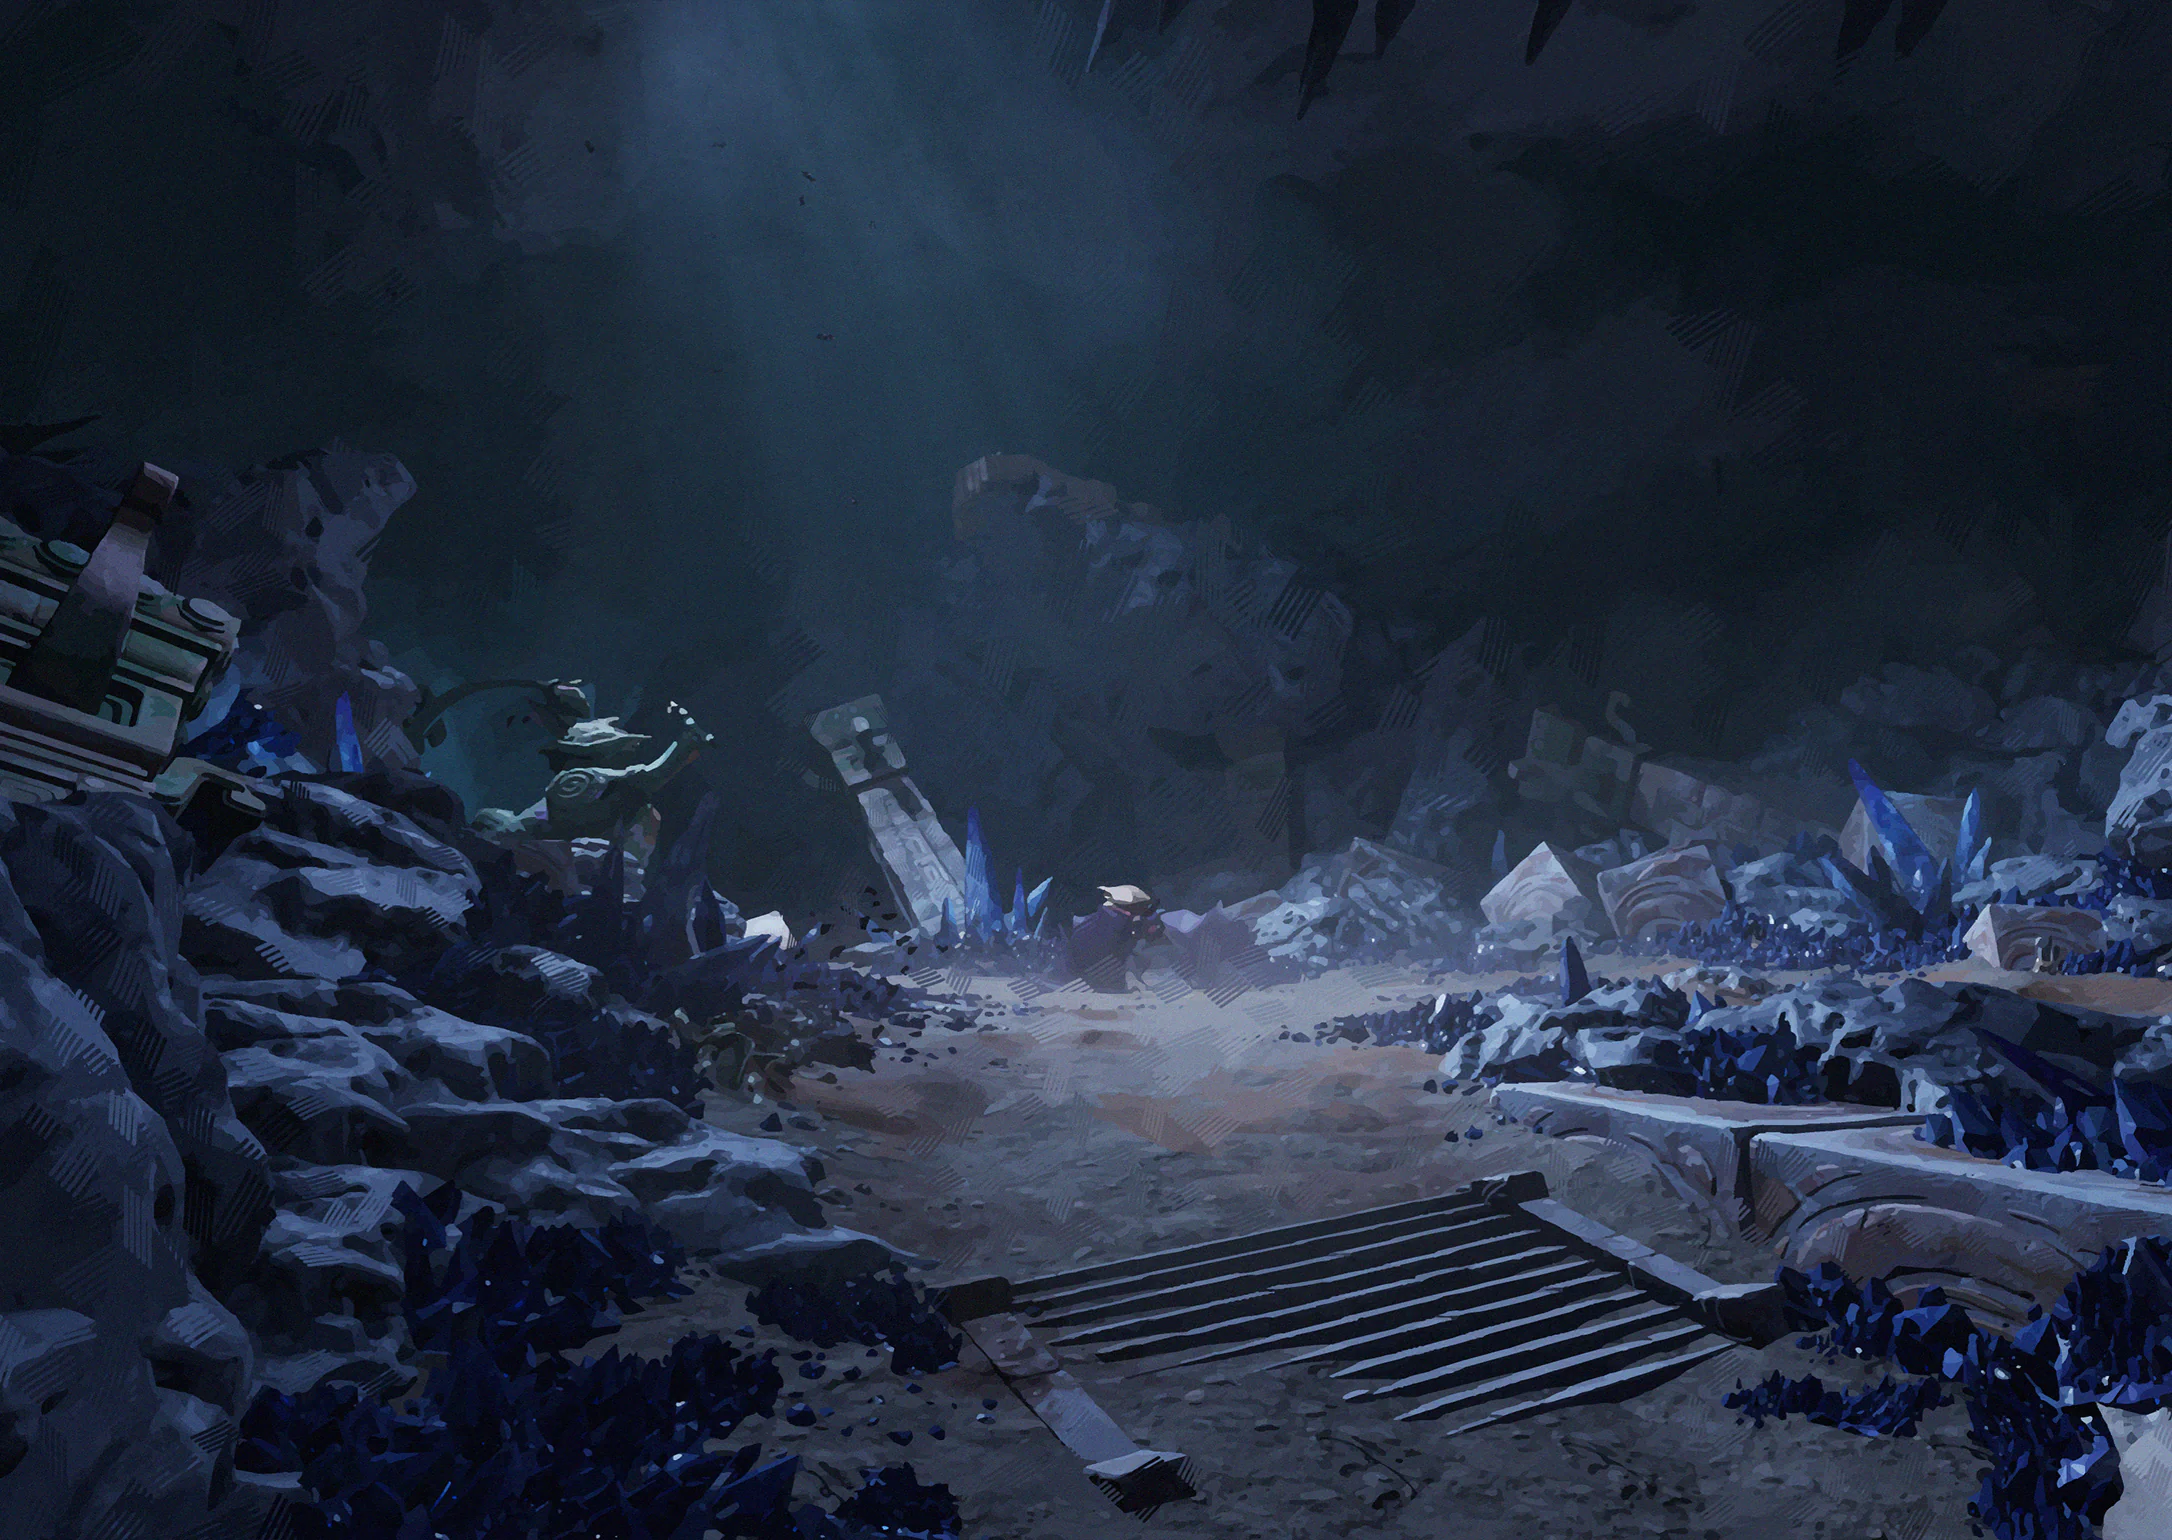
Blue crystals glitter across a wide platform deep underground. Hundreds of bats rose above us and shrieked. Ais said she'd protect me, then shoved me forward, took my sword and tried to give me a stick instead.
Collection tip: Visit Hidden Island and record the sight. For caves and underground locations, check the floor.
![Hidden Island · Ruins illustration]() Scenery #2Hidden Island · RuinsOpen
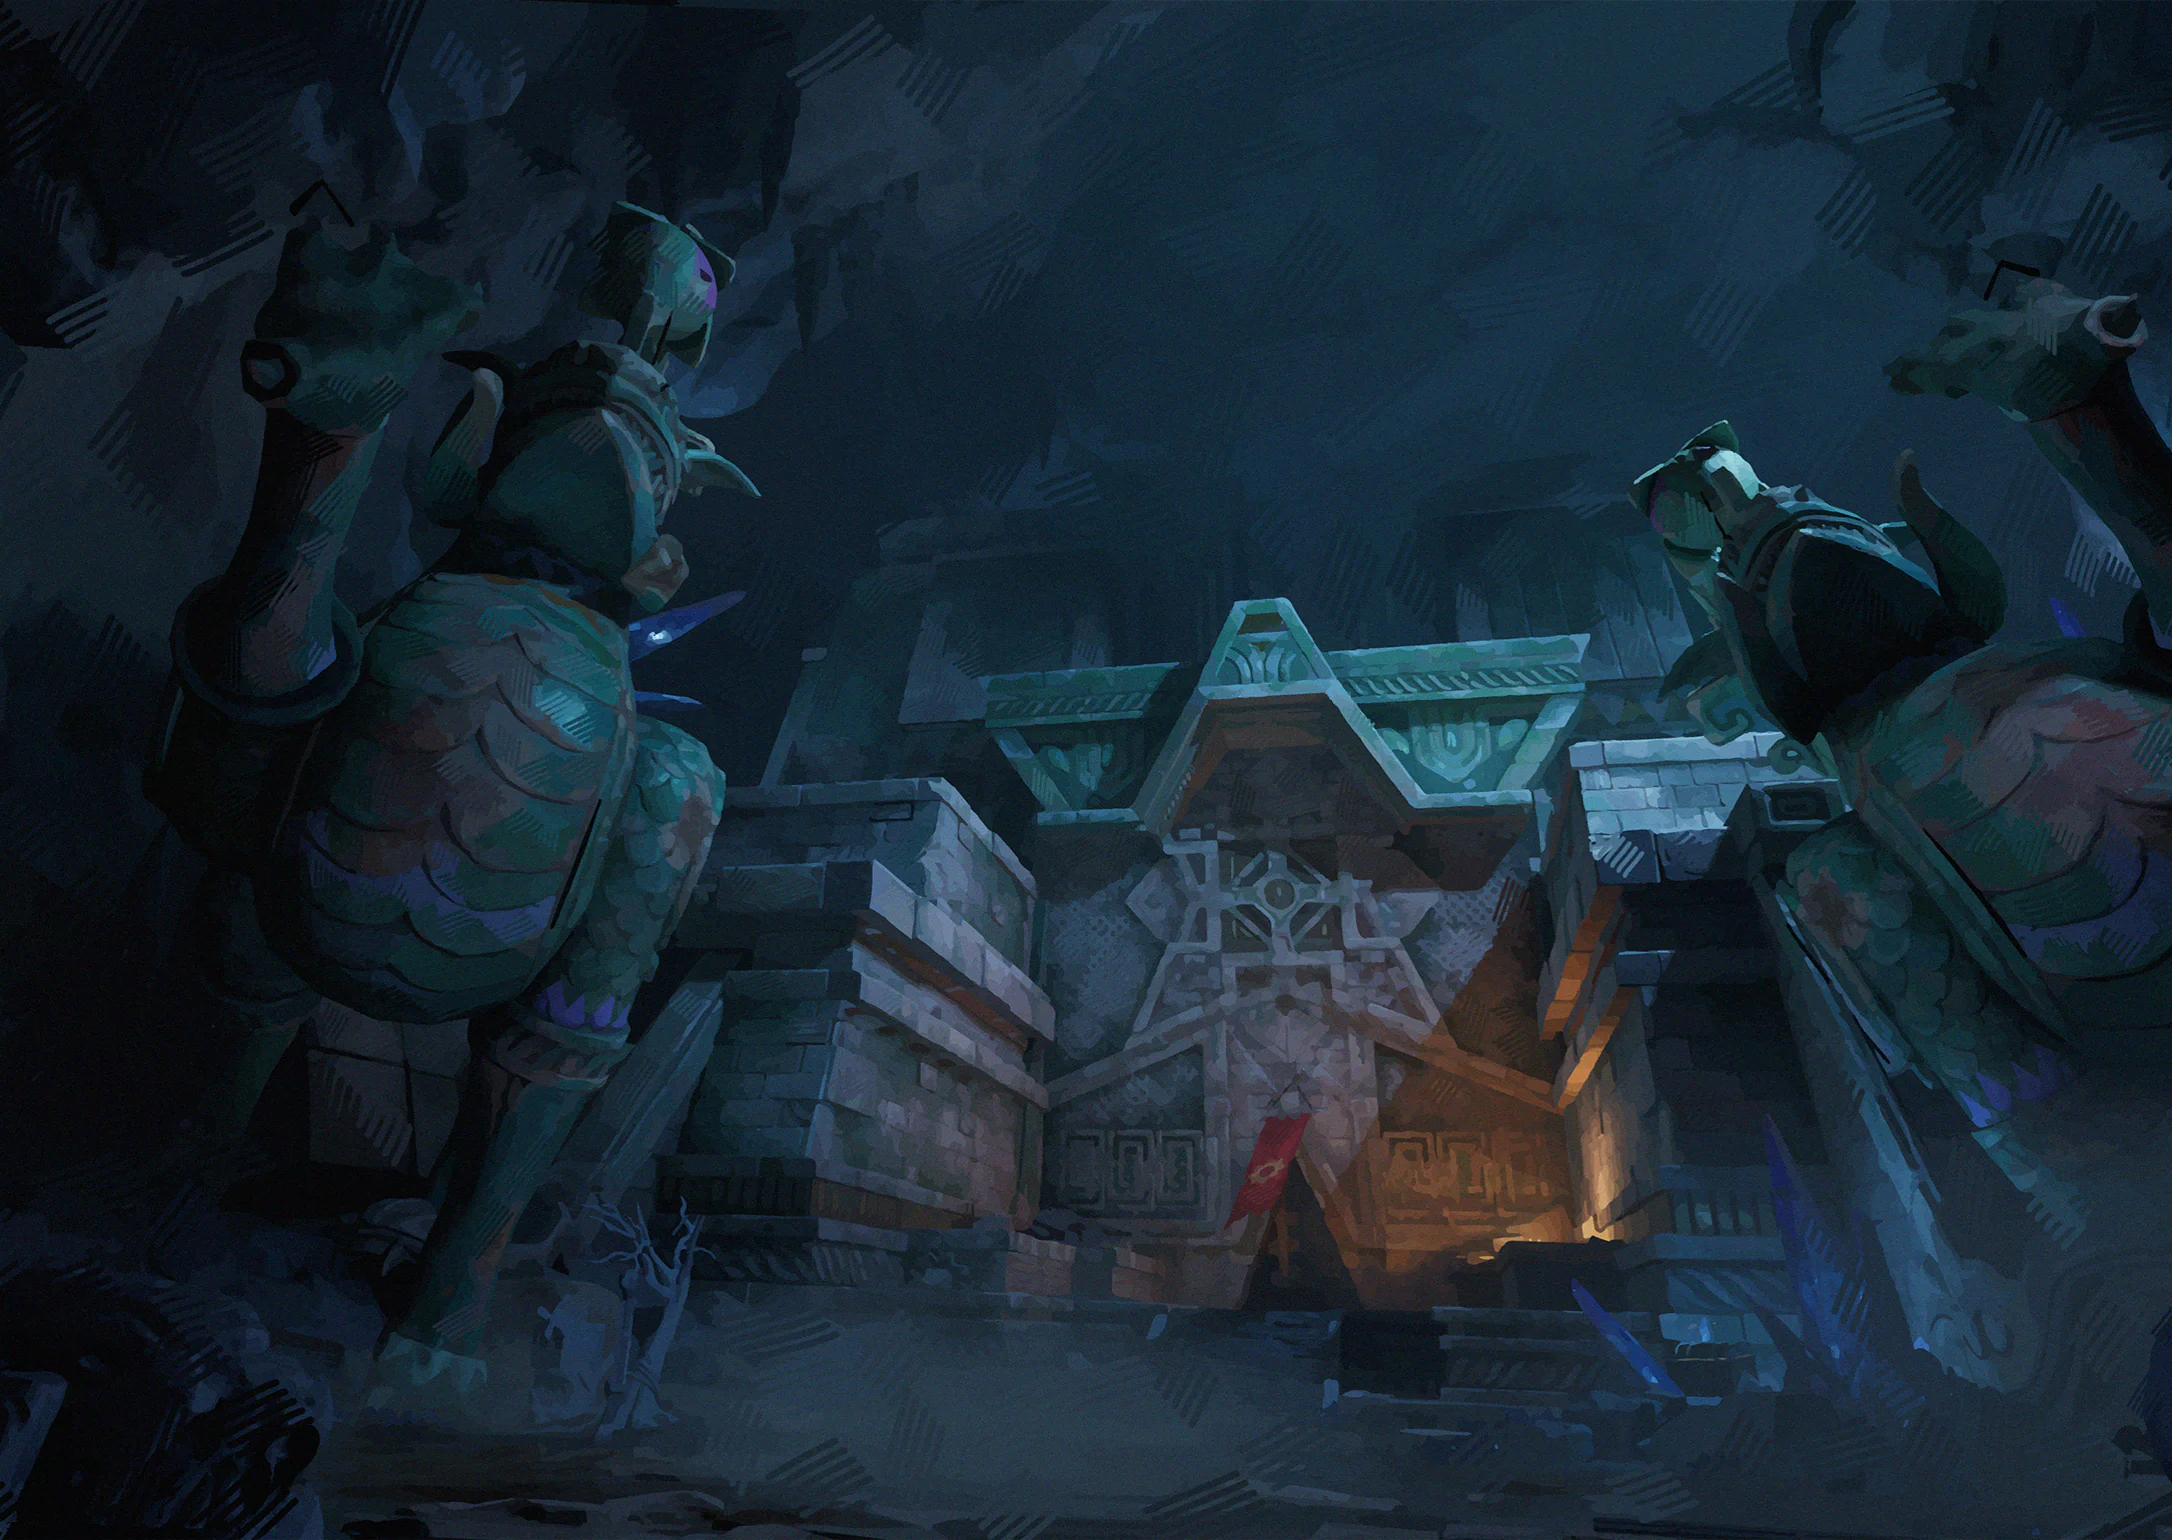
Straight and imposing, quite unlike Autopia. Even after years of crumbling, its stone beasts raise their paws as if to smash whoever covets its secrets. They seem to look down on us through worn faces, still on duty after all this time.
Collection tip: Visit Hidden Island and record the sight. For caves and underground locations, check the floor.
![Hidden Island · Cave-In illustration]() Scenery #3Hidden Island · Cave-InOpen
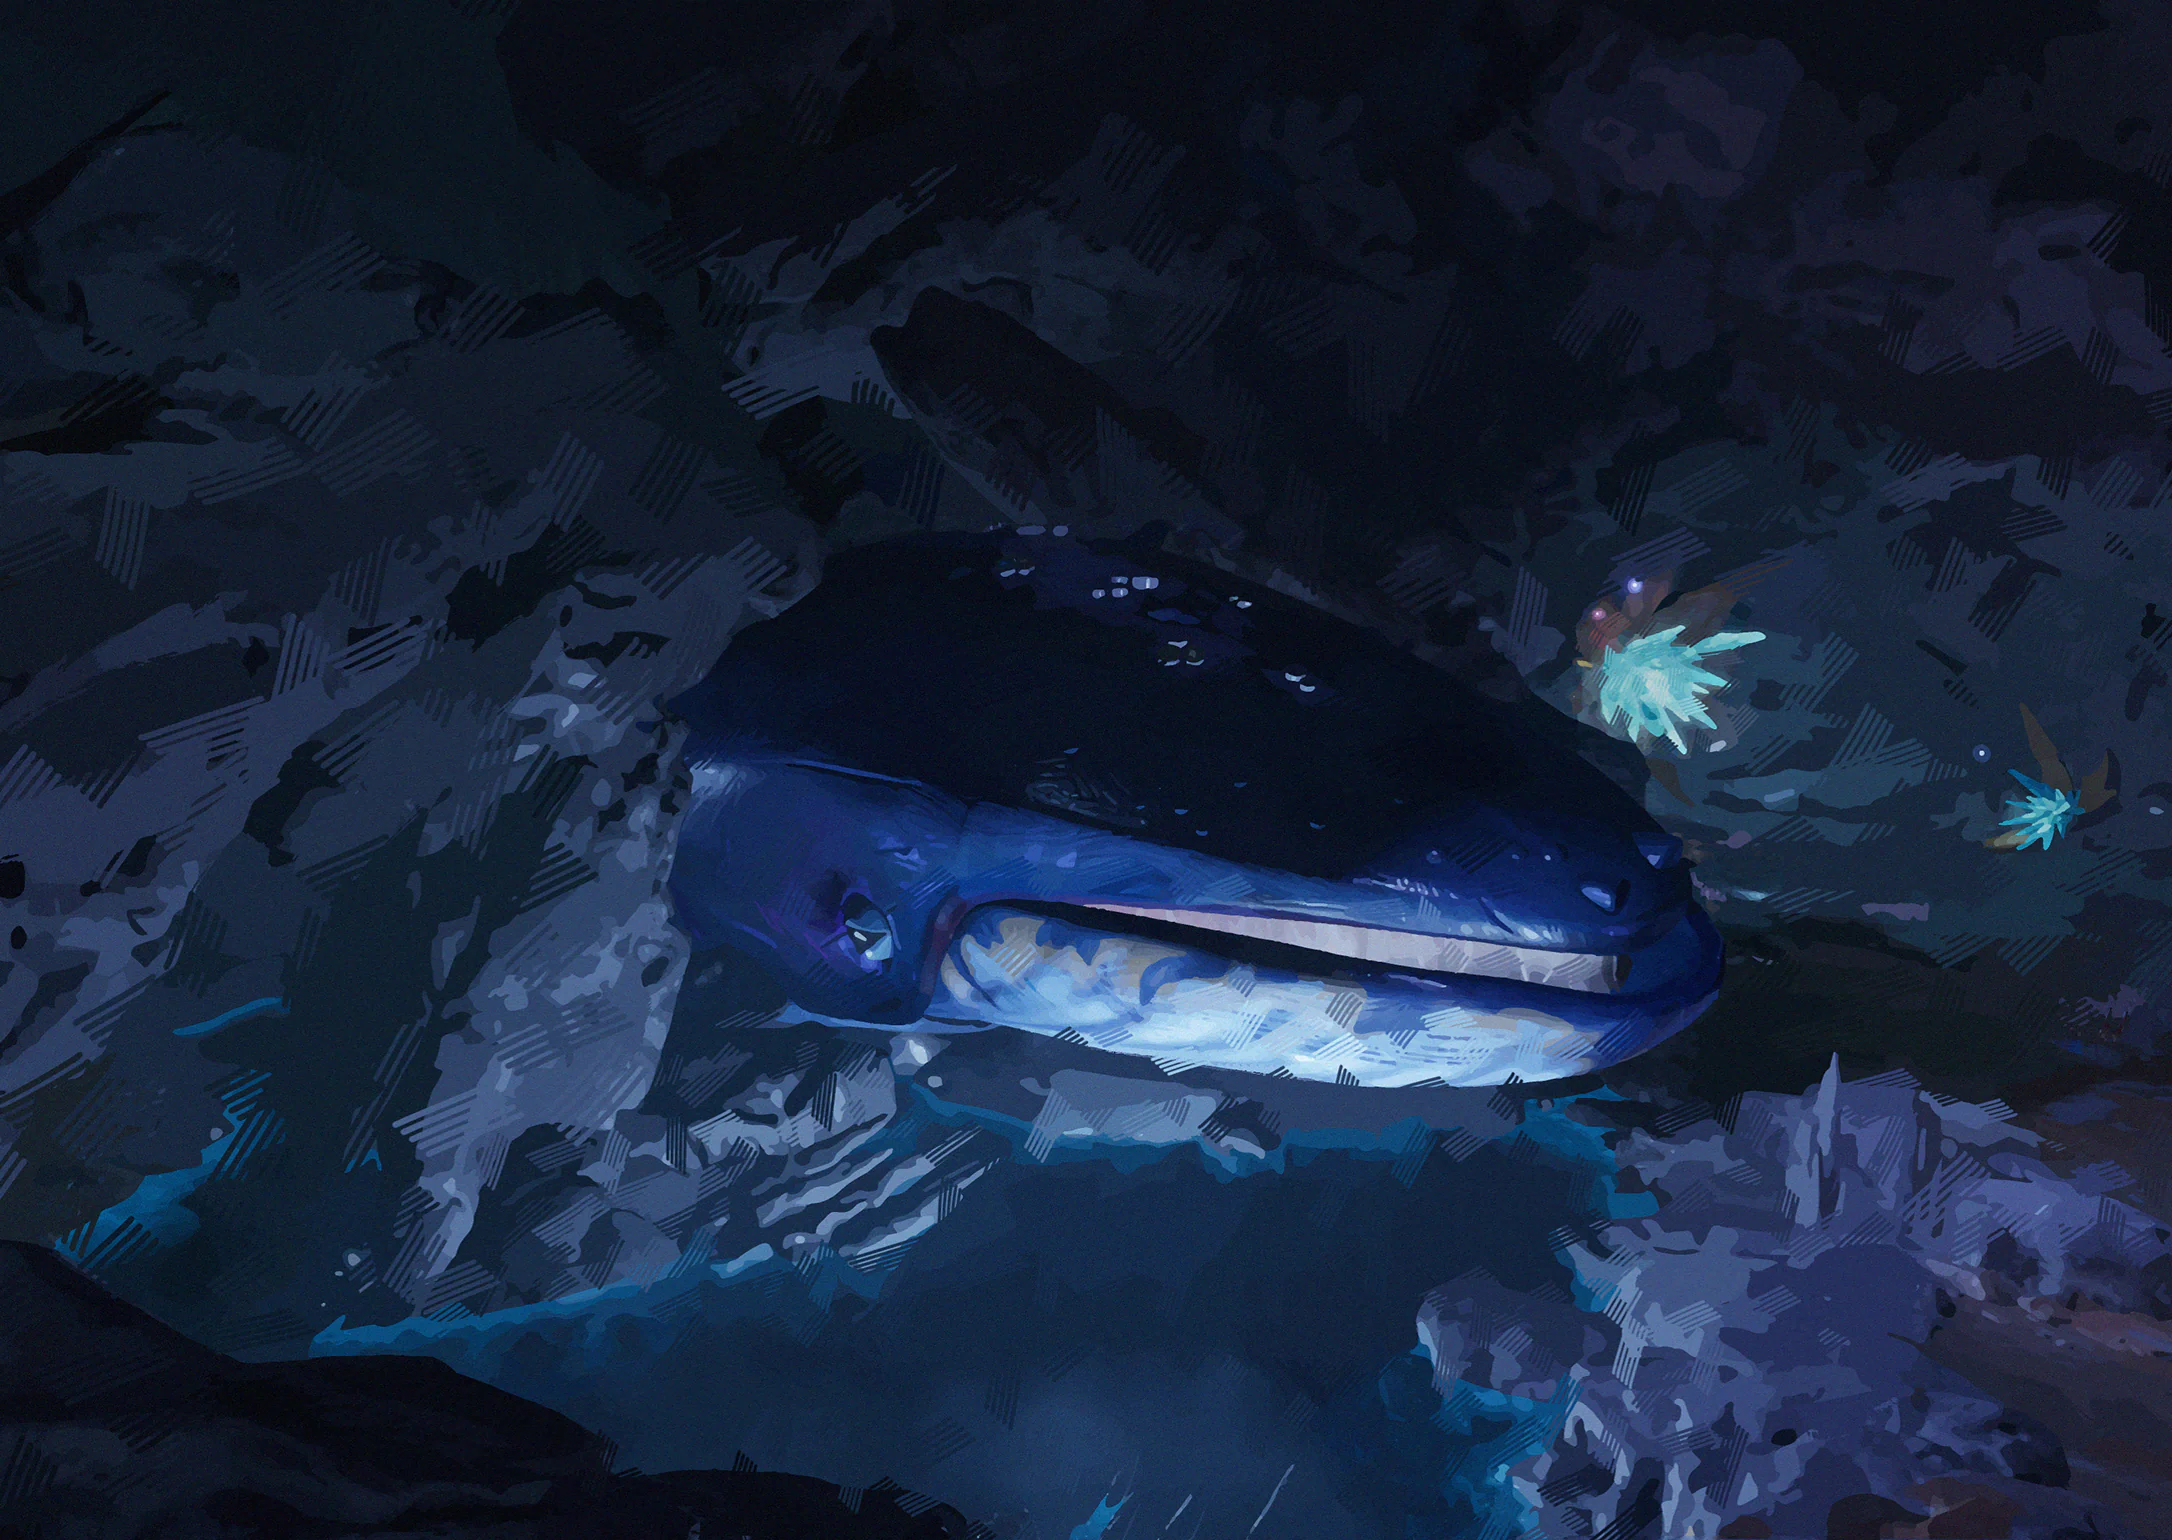
A whale smashed through the cave wall and wedged its head inside above a shallow pool. Its cries still ring in my ears. Ais says she'll hear them in her dreams. I hope we never see another animal suffer like that.
Collection tip: Visit Hidden Island and record the sight. For caves and underground locations, check the floor.
![Hidden Island · Secret Cabin illustration]() Scenery #4Hidden Island · Secret CabinOpen
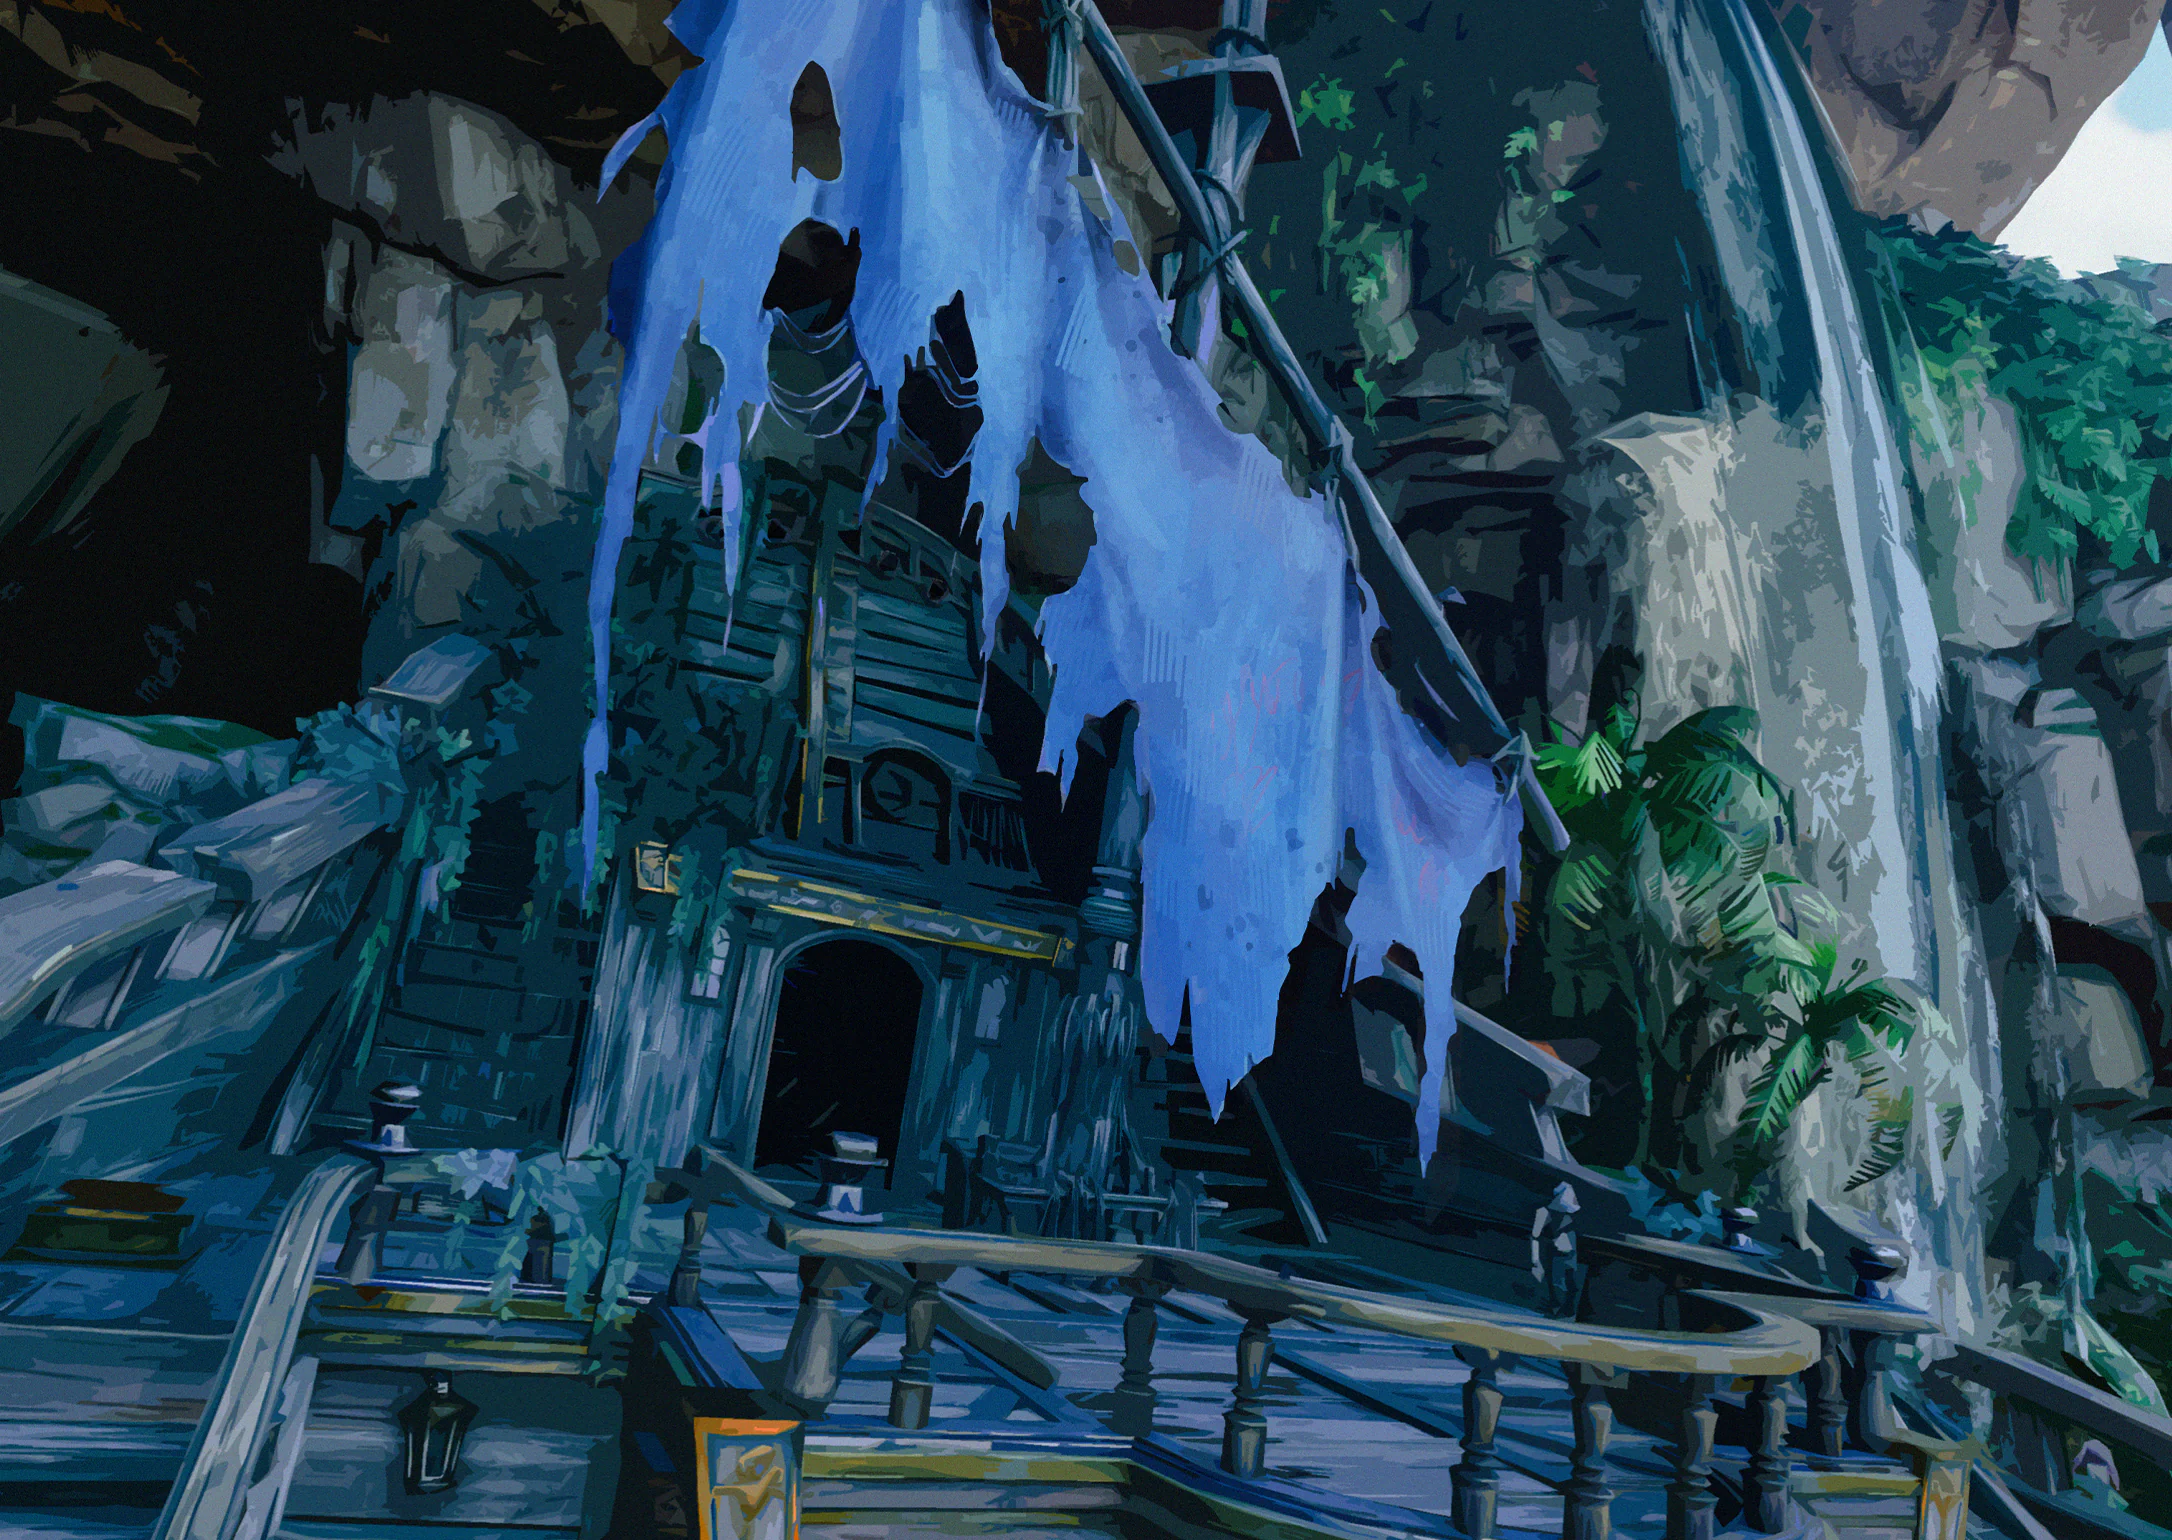
Ais's secret cabin is half an old ship. There is little of value, but the things inside hold memories. Ais says a captain gave her a fine ship after she solved a problem for his crew. After a few changes it became her hideout. I still don't quite believe her.
Collection tip: Visit Hidden Island and record the sight. For caves and underground locations, check the floor.
![Hidden Island · Eternal Rest Cemetery illustration]() Scenery #5Hidden Island · Eternal Rest CemeteryOpen
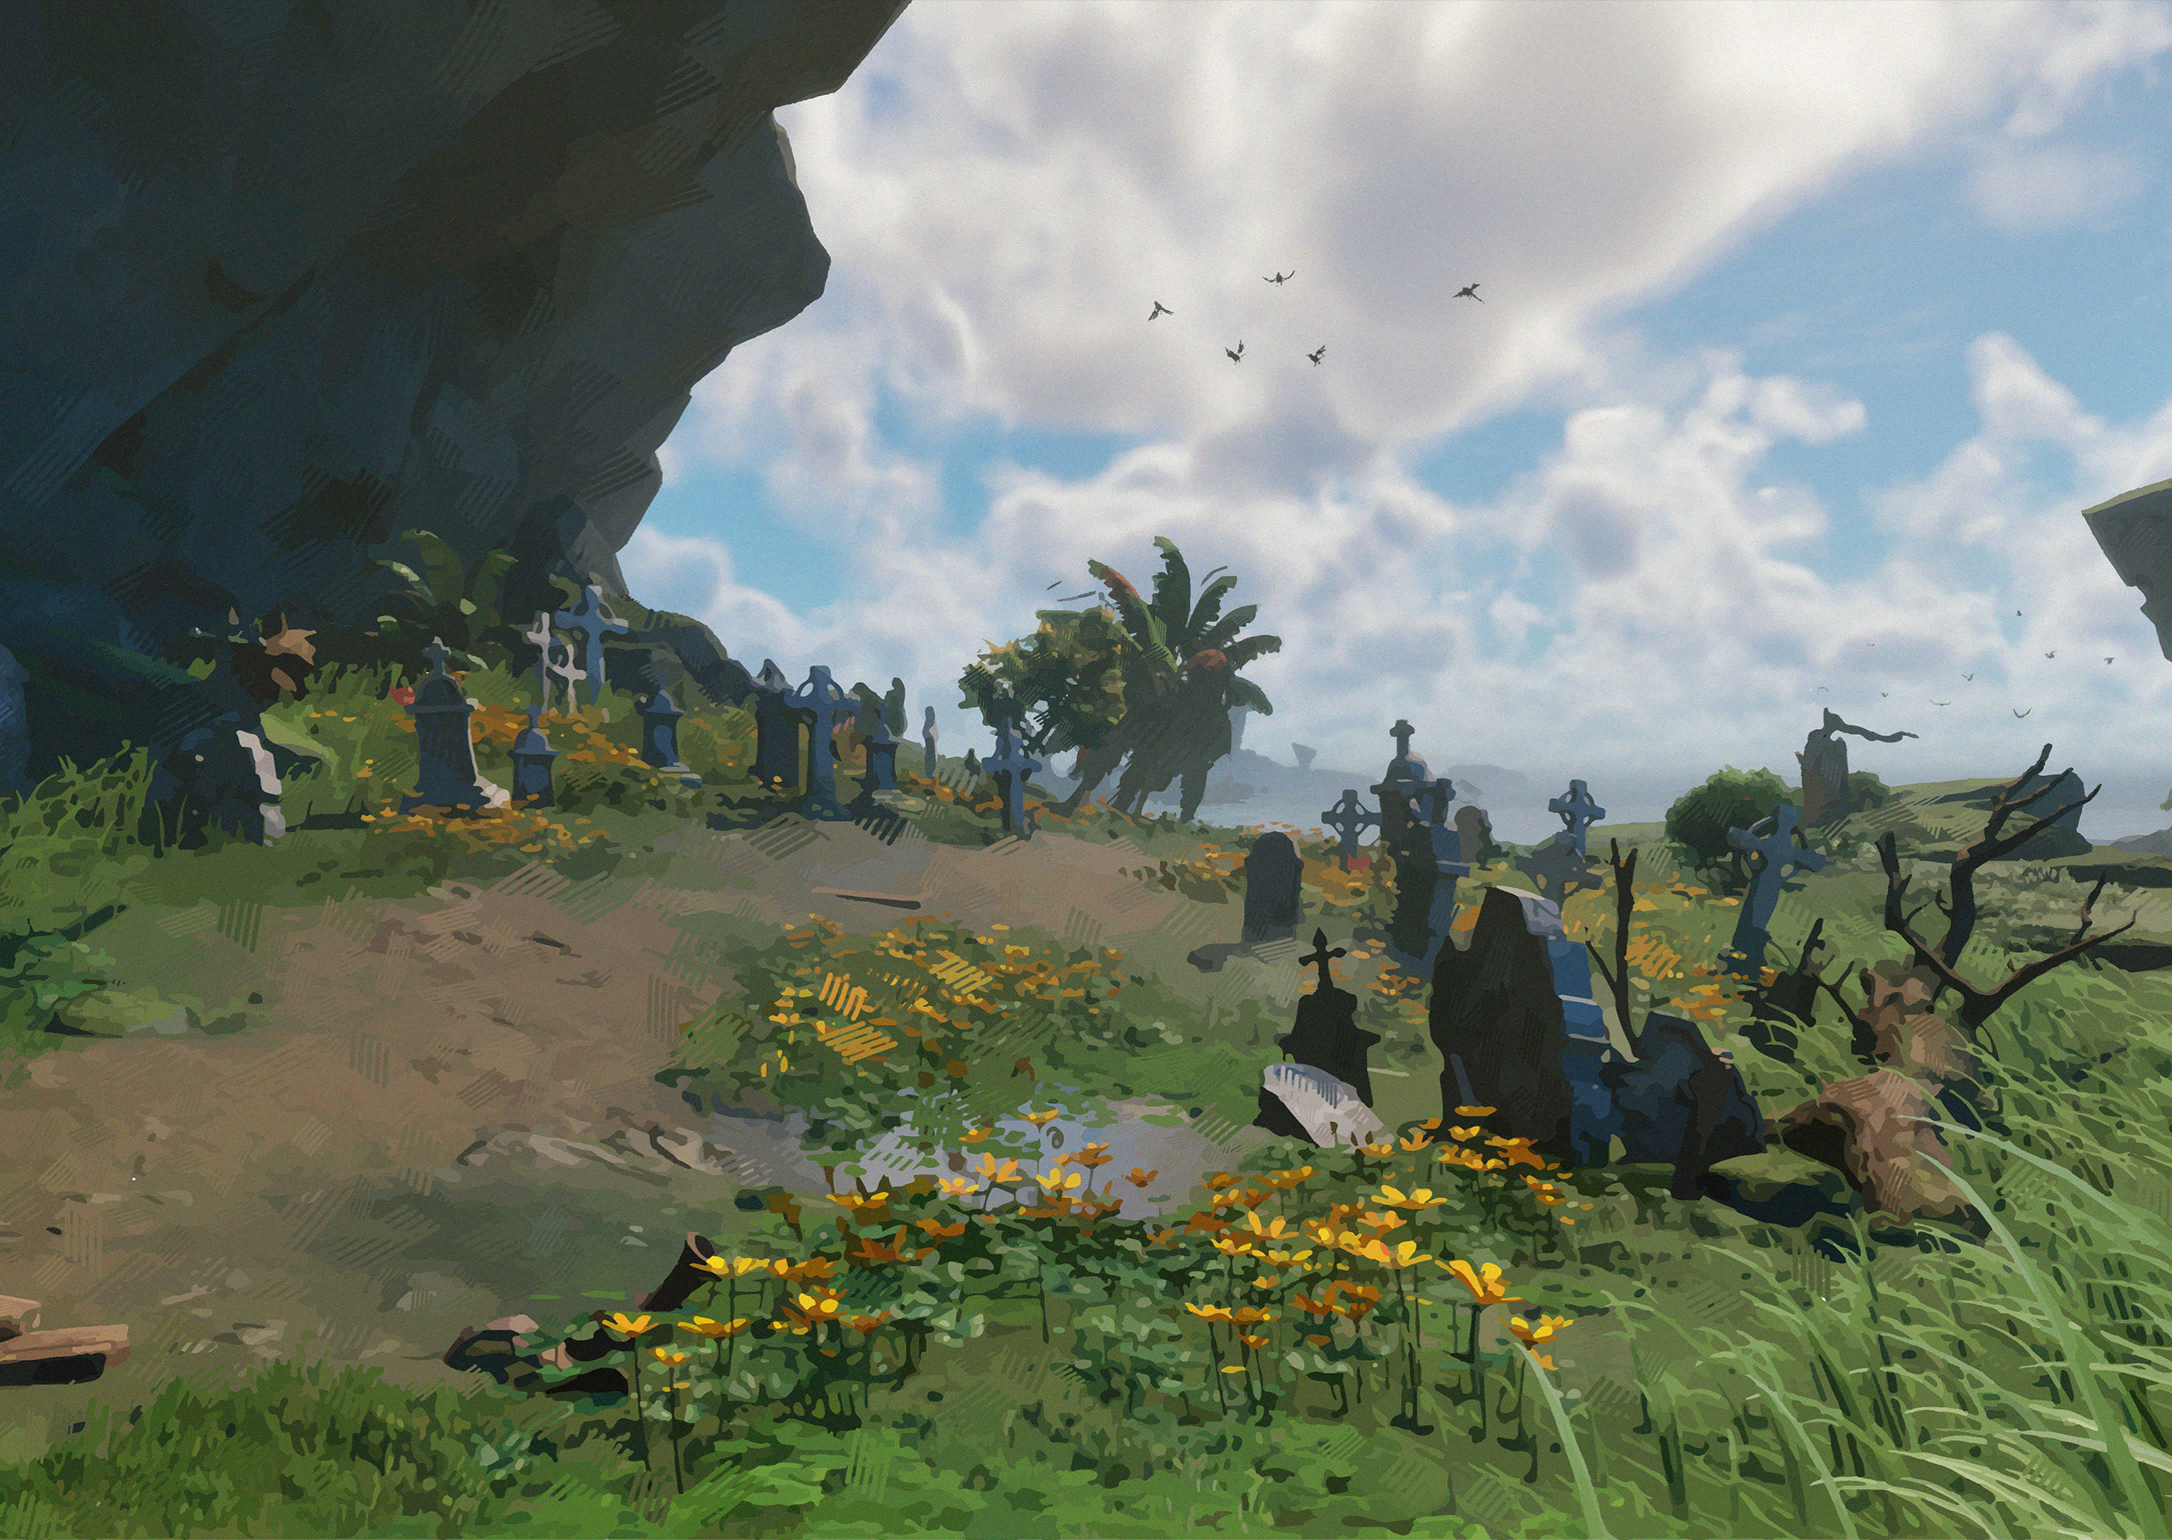
Many came and never left. Ais and I quietly cleaned the gravestones and put the keepsakes straight. That's all we could do. The living still have to sail. Tomorrow the sun will rise and the sea will be as changeable as ever.
Collection tip: Visit Hidden Island and record the sight. For caves and underground locations, check the floor.
![Bay Island · Rolling Stone Cemetery illustration]() Scenery #6Bay Island · Rolling Stone CemeteryOpen
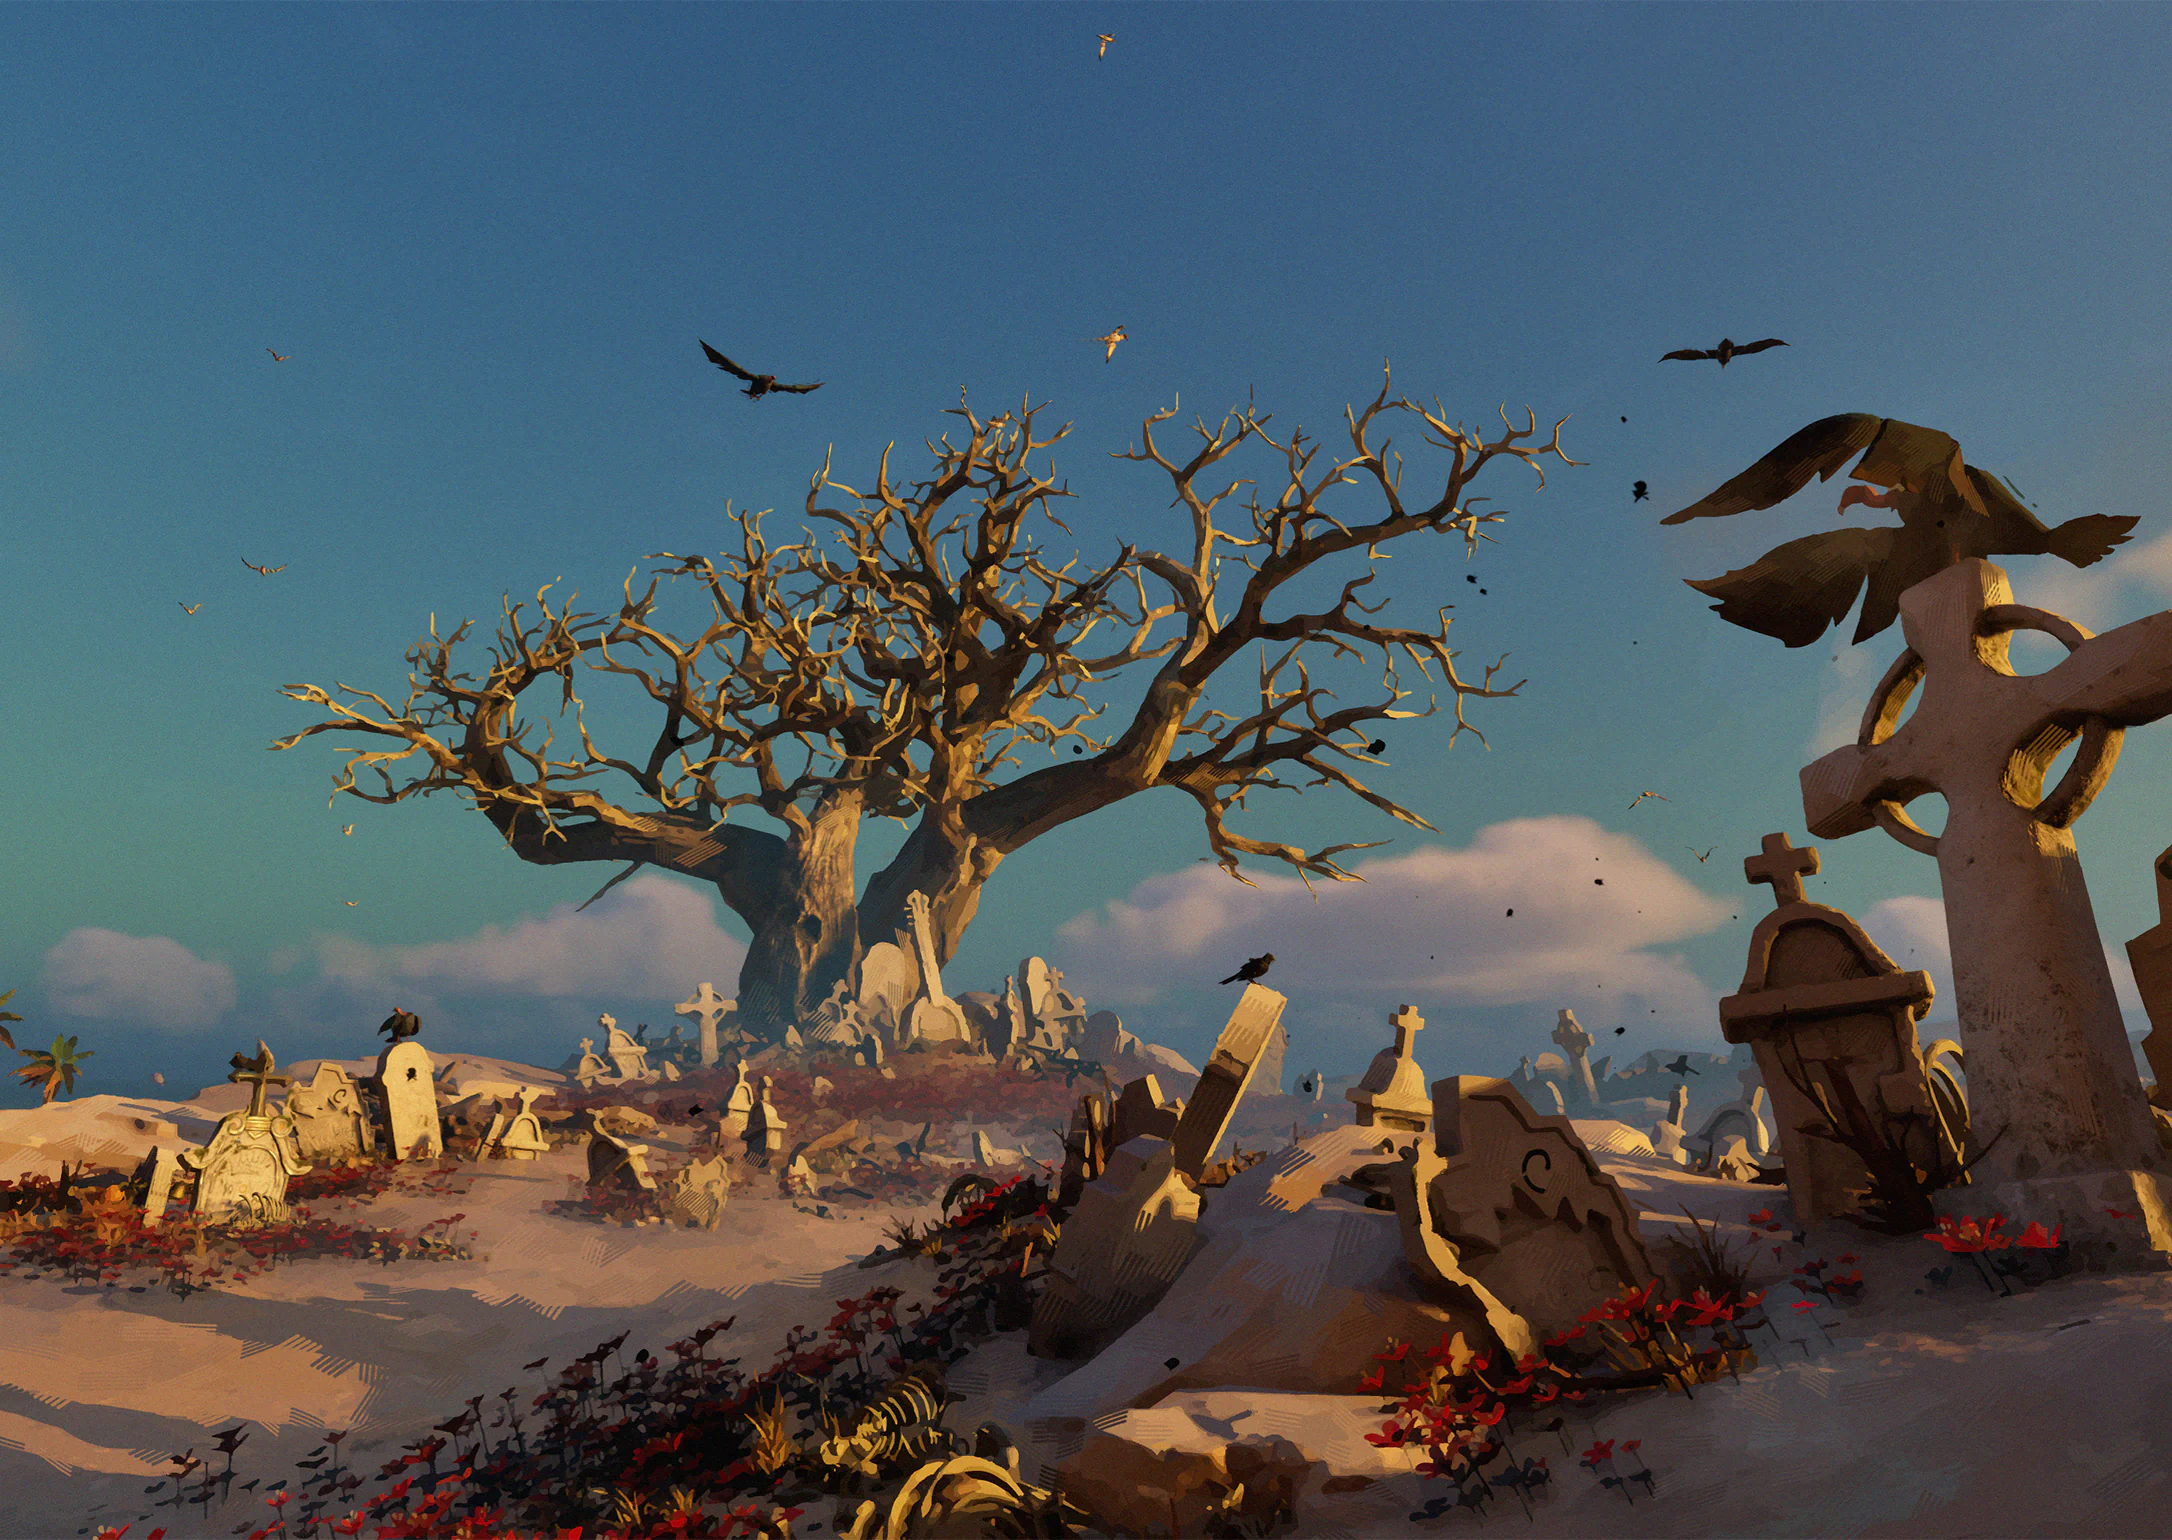
We never understood how the market's critic could hear music in every island sound. Then the ground and leaves began to shake underfoot in the cemetery. On Bay Island, even the crabs have to learn to rock.
Collection tip: Visit Bay Island and record the sight. For caves and underground locations, check the floor.
![Bay Island · Carnival Fireworks illustration]() Scenery #7Bay Island · Carnival FireworksOpen

Fireworks, bonfires, smoke and cheers above the market made a night worth keeping. Ais watched the light with strangers who had come together for the music. For that moment, nobody cared what set them apart.
Collection tip: Visit Bay Island and record the sight. For caves and underground locations, check the floor.
![Bay Island · Redleaf Village illustration]() Scenery #8Bay Island · Redleaf VillageOpen
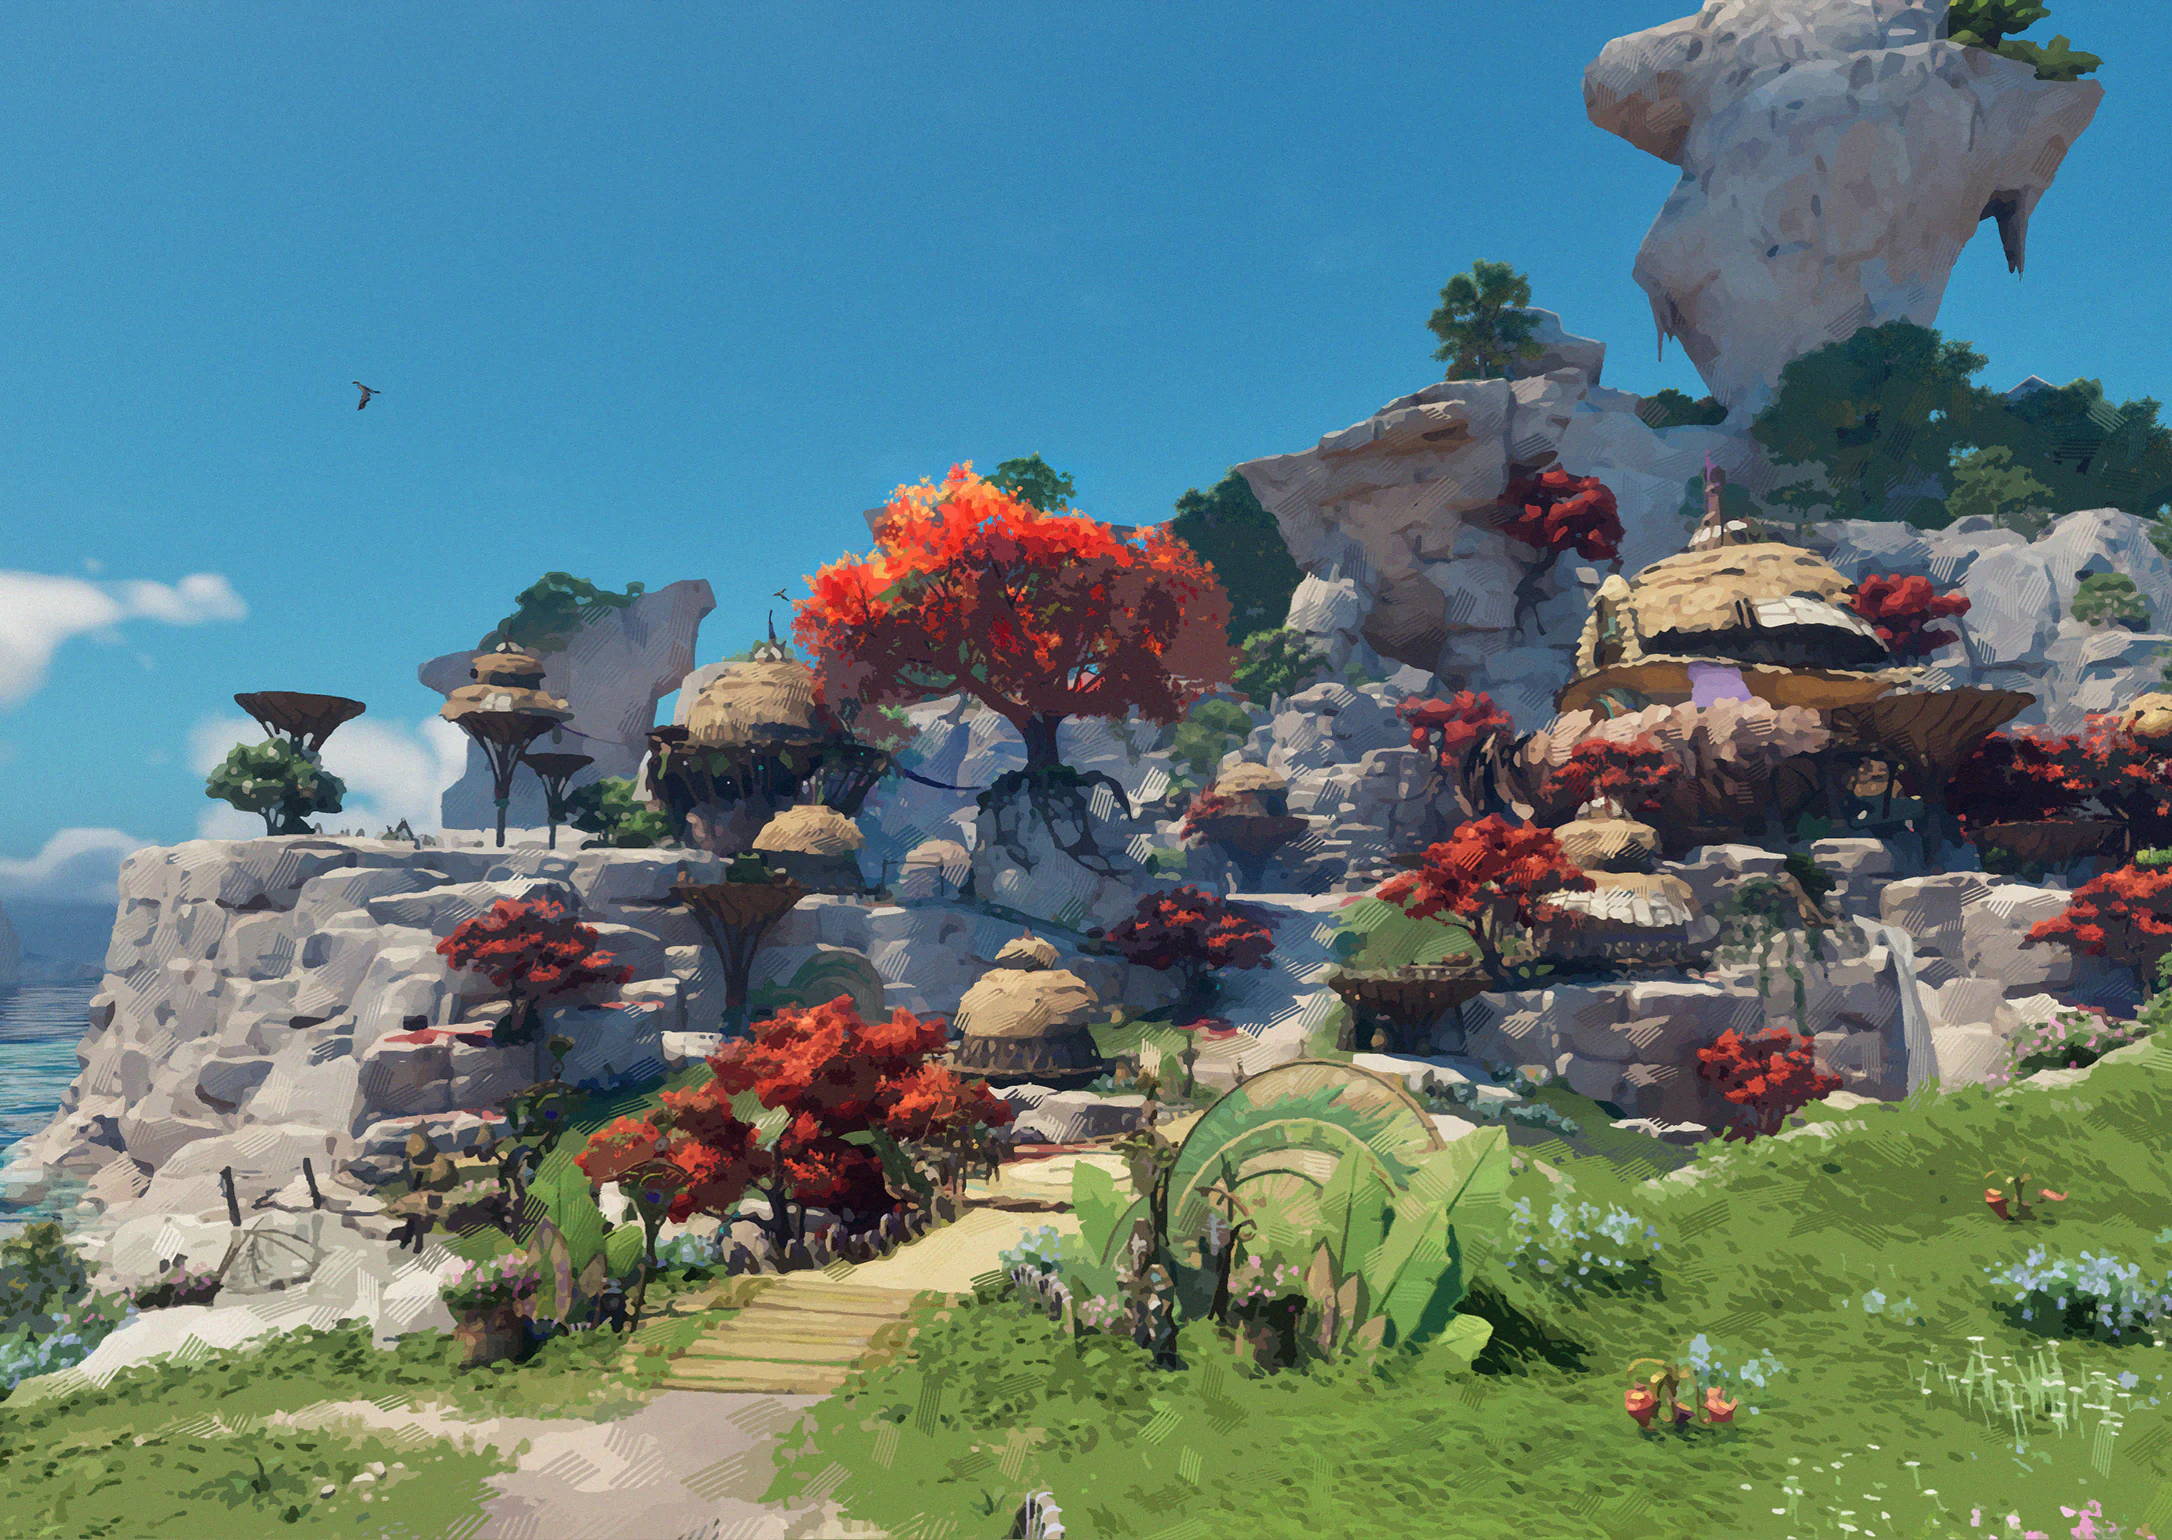
Sun falls through red leaves in this old Haikar settlement. Generations built houses and bridges among the rocks and tended the trees. Looking at how large the village is, that couldn't have been easy.
Collection tip: Visit Bay Island and record the sight. For caves and underground locations, check the floor.
![Bay Island · Carnival Shop illustration]() Scenery #9Bay Island · Carnival ShopOpen

You meet all sorts at the market and hear all kinds of stories. Ais wants to set up a stall and resell little things. Can sea rats learn business? I have my doubts.
Collection tip: Visit Bay Island and record the sight. For caves and underground locations, check the floor.
![Crescent Shoal · Abandoned Cave illustration]() Scenery #10Crescent Shoal · Abandoned CaveOpen
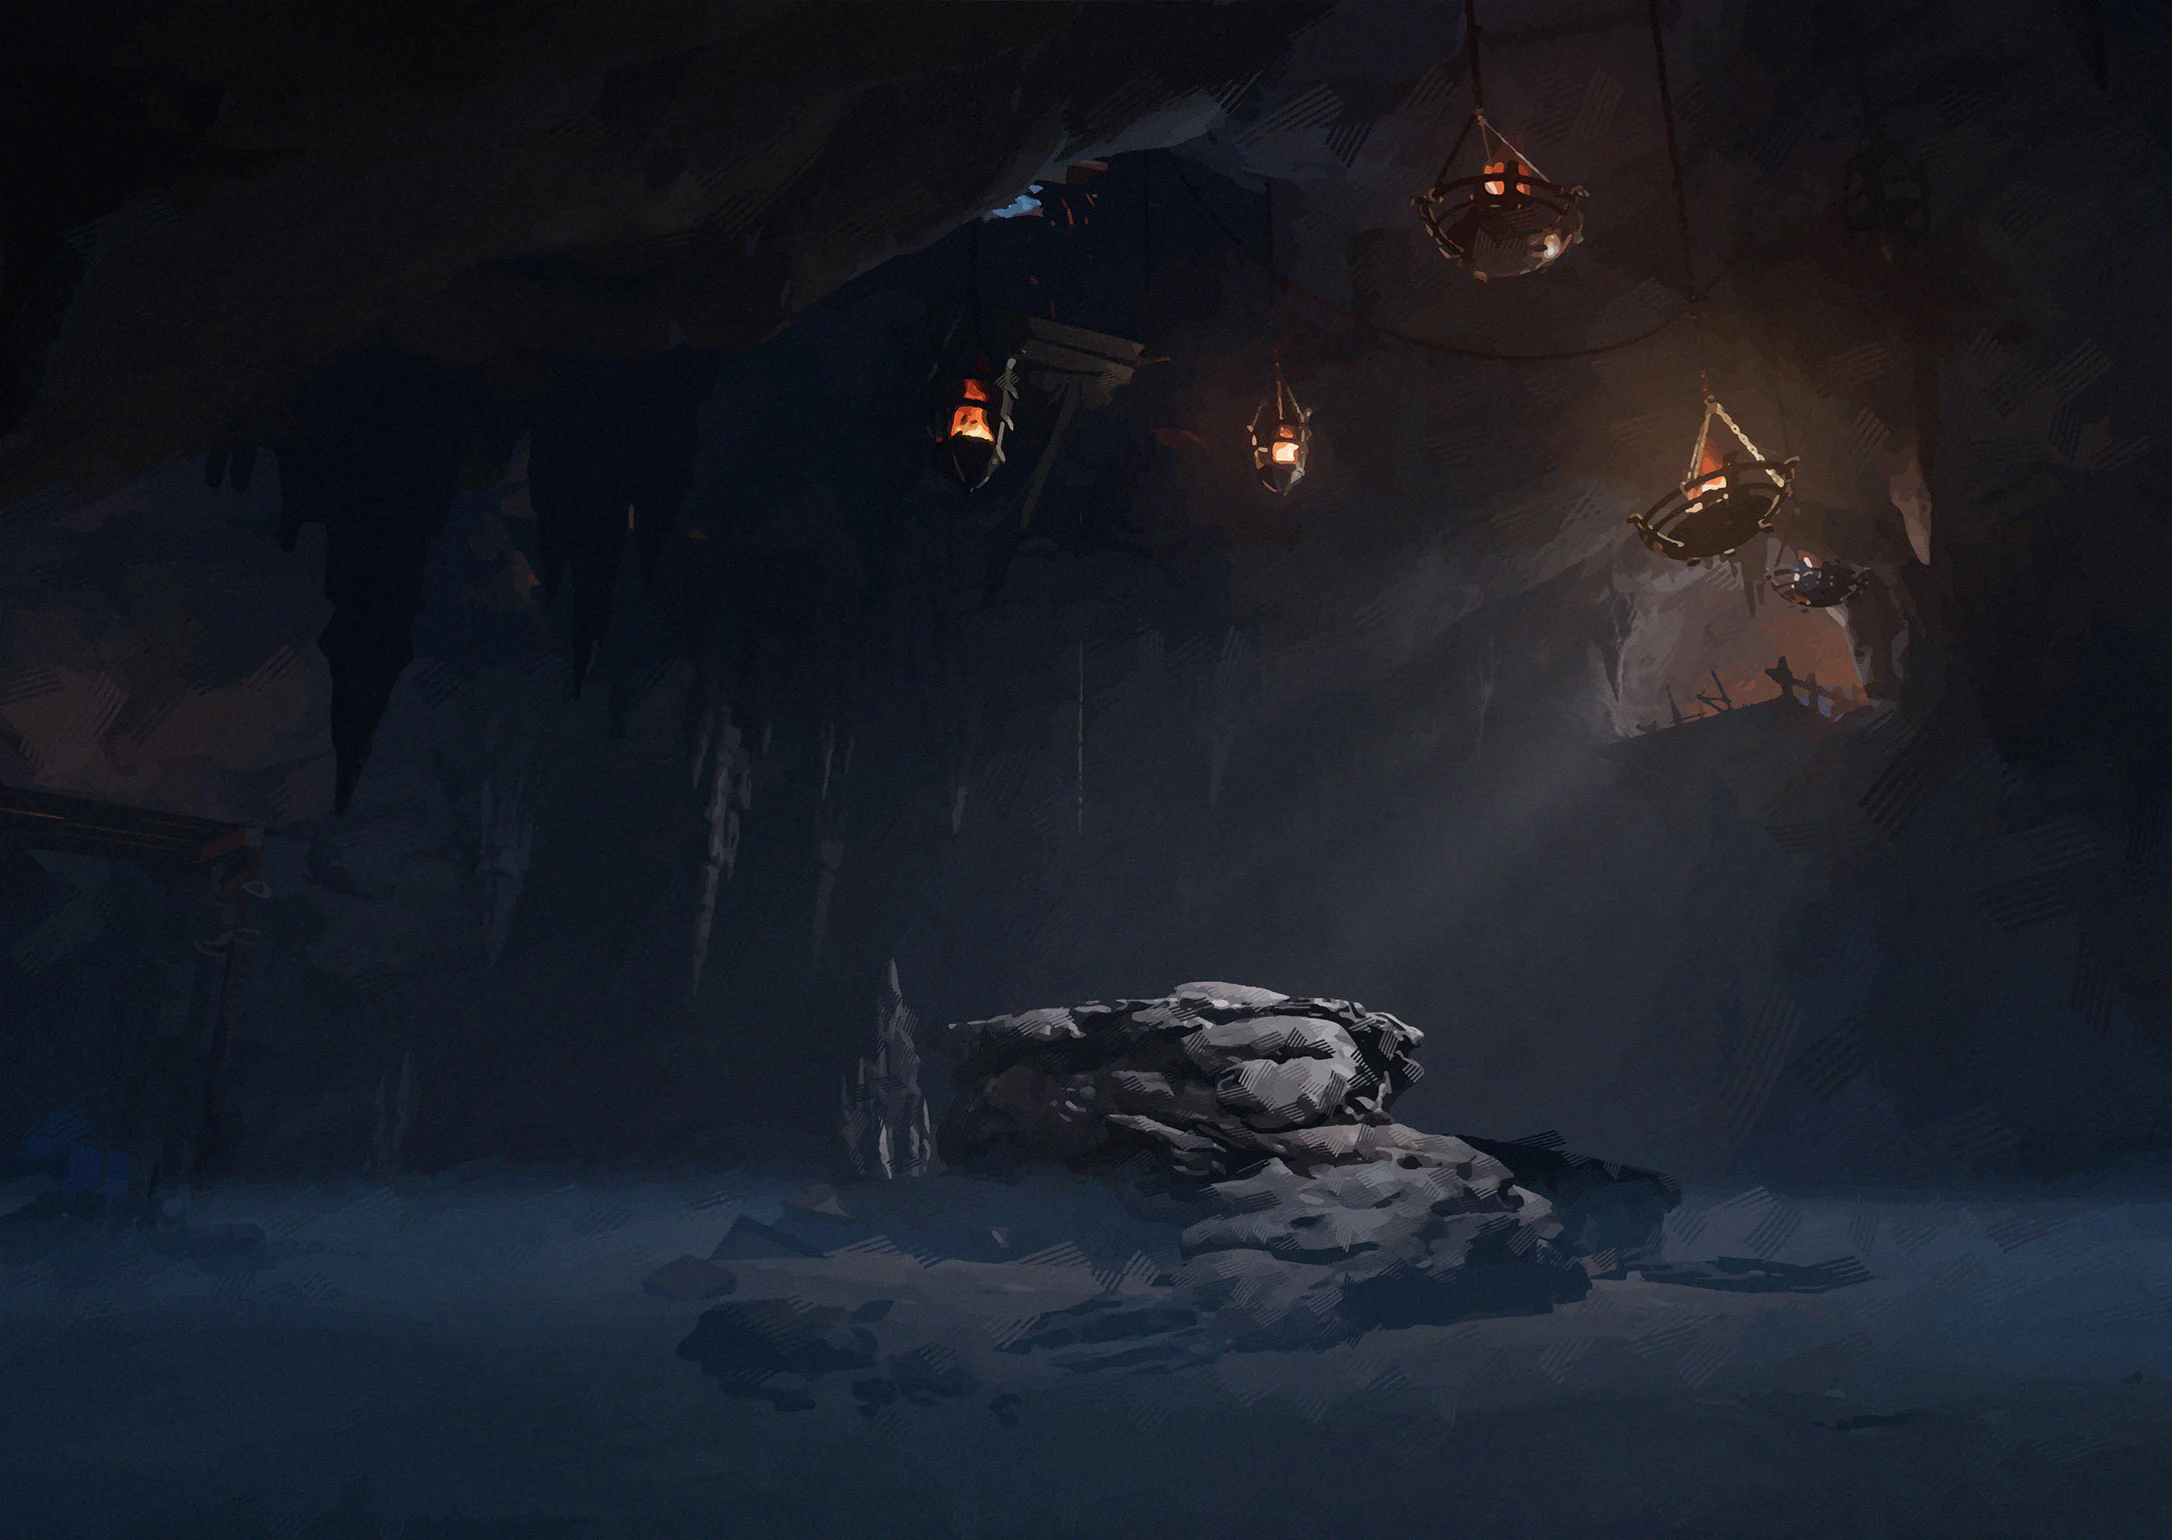
Sea hamsters once stored supplies here until the road fell into disrepair. Later arrivals found a hatch and used it to dump rubbish. The rats and whatever else came to feed became kings of the cave. They made life miserable for Ais and me.
Collection tip: Visit Crescent Shoal and record the sight. For caves and underground locations, check the floor.
![Crescent Shoal · Tower Studio illustration]() Scenery #11Crescent Shoal · Tower StudioOpen
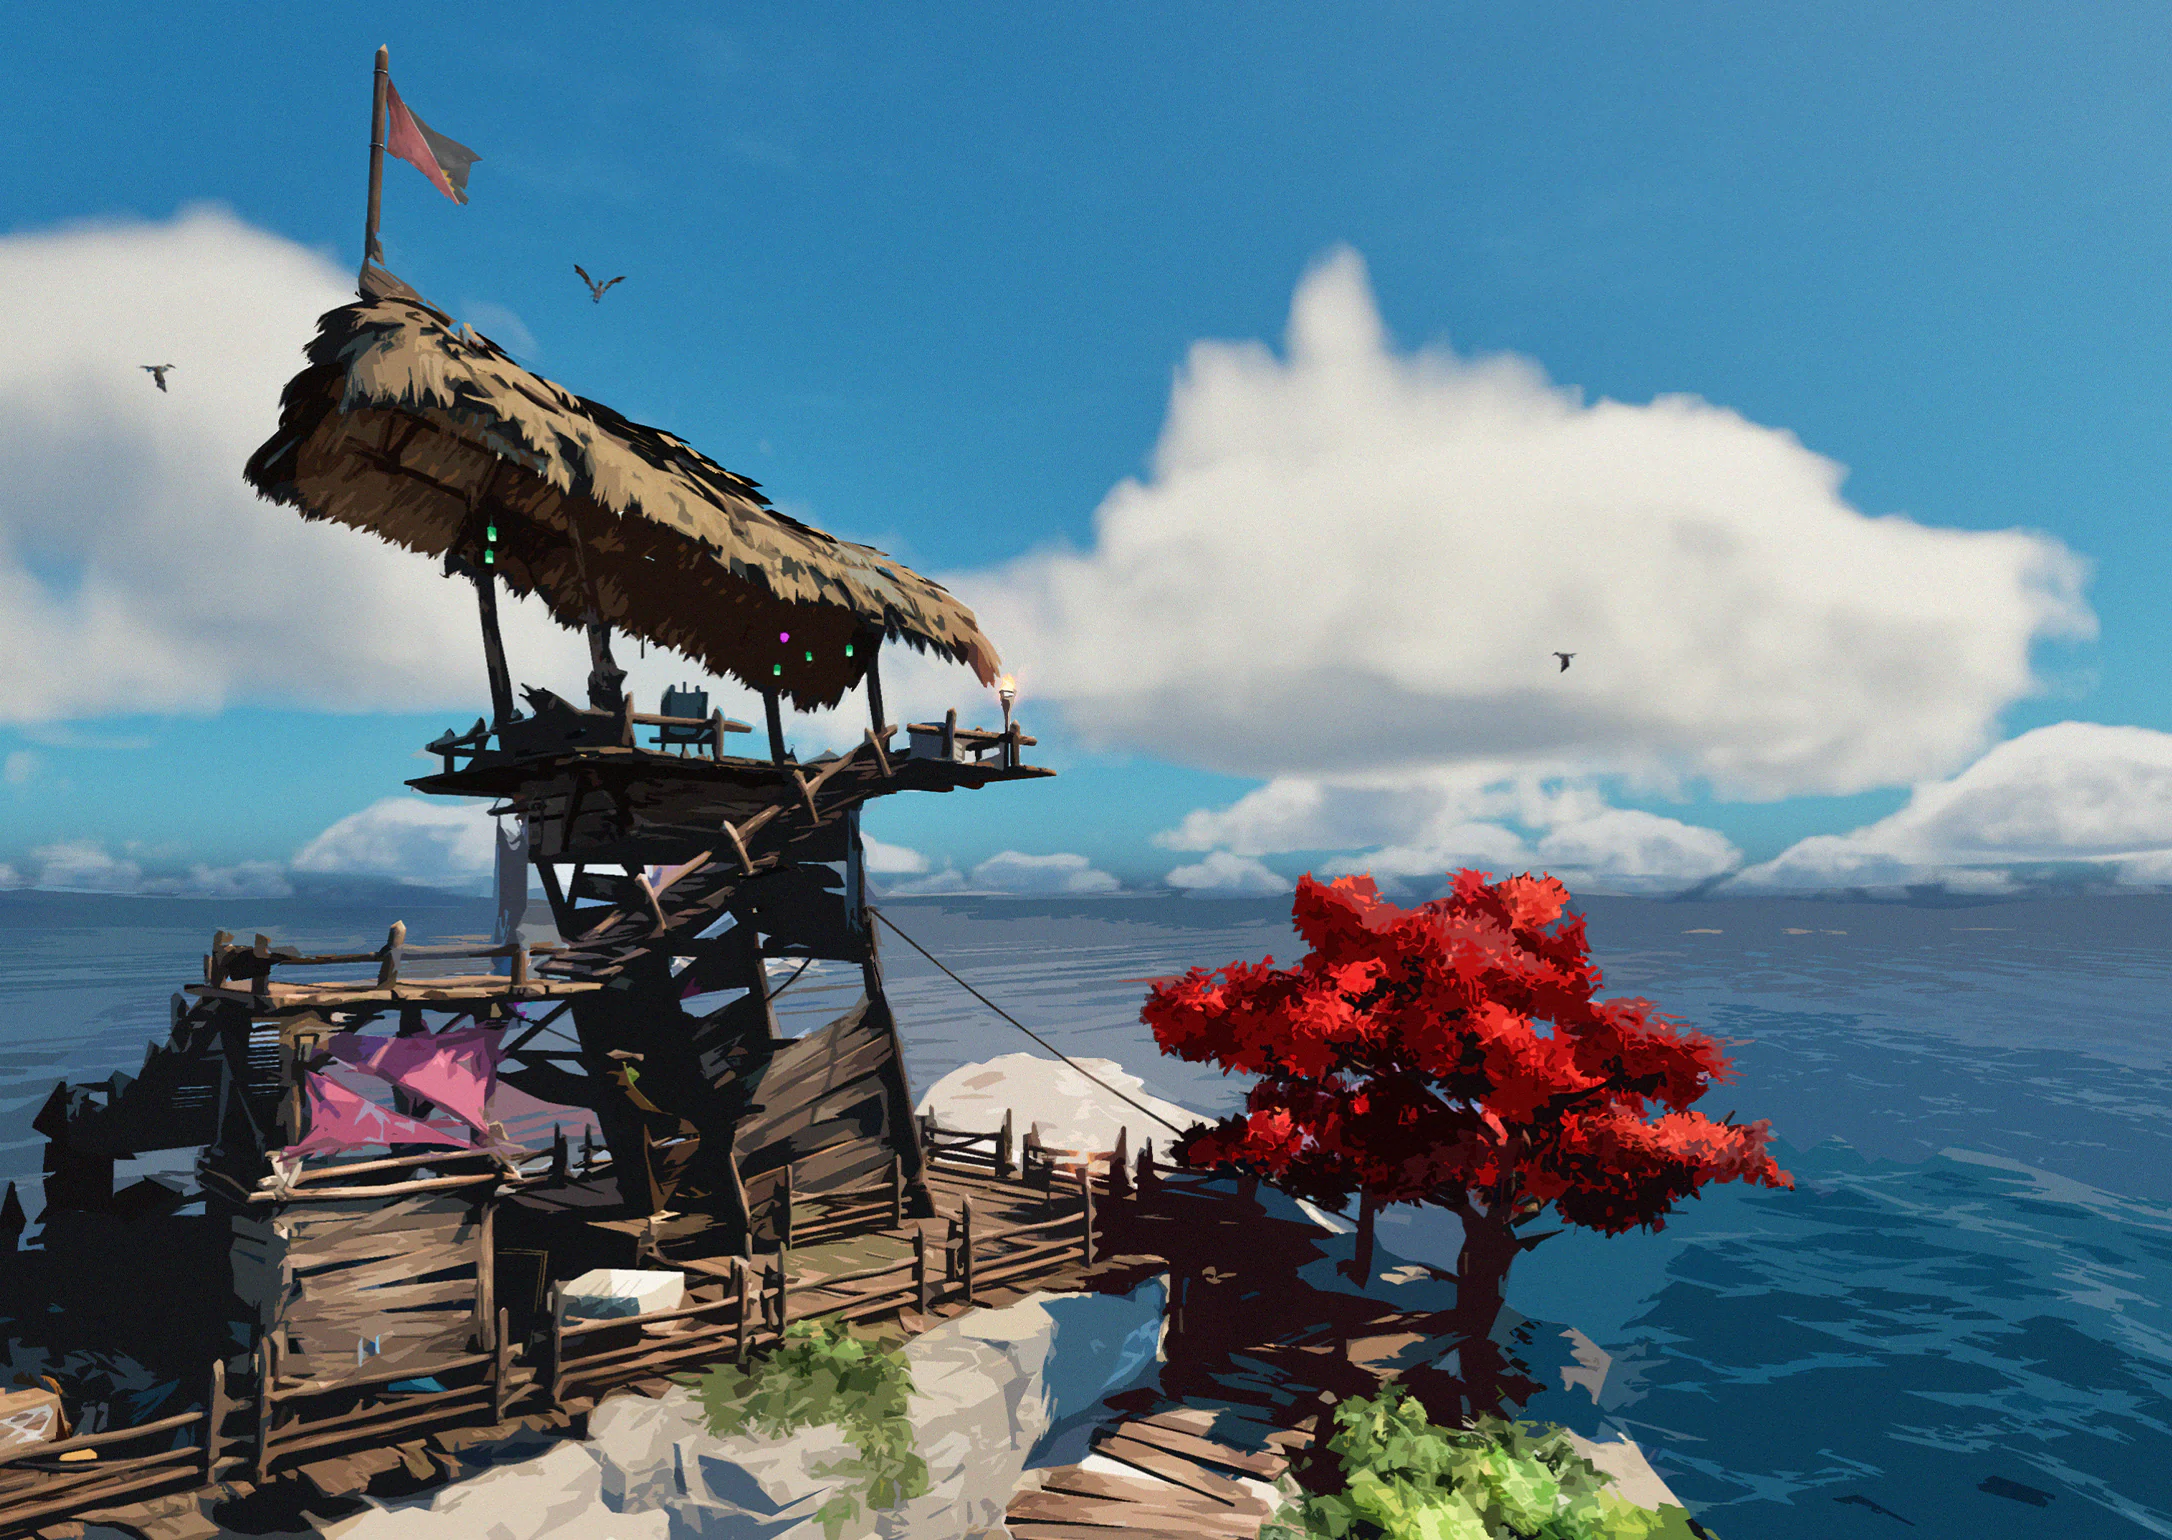
The island's highest point looks over calm water and wheeling seabirds. Whoever put the easel here chose well. Ais cared less for painting than for the nap she took in the breeze and the sound of waves.
Collection tip: Visit Crescent Shoal and record the sight. For caves and underground locations, check the floor.
![Hope Outpost · Thunder Cave illustration]() Scenery #12Hope Outpost · Thunder CaveOpen
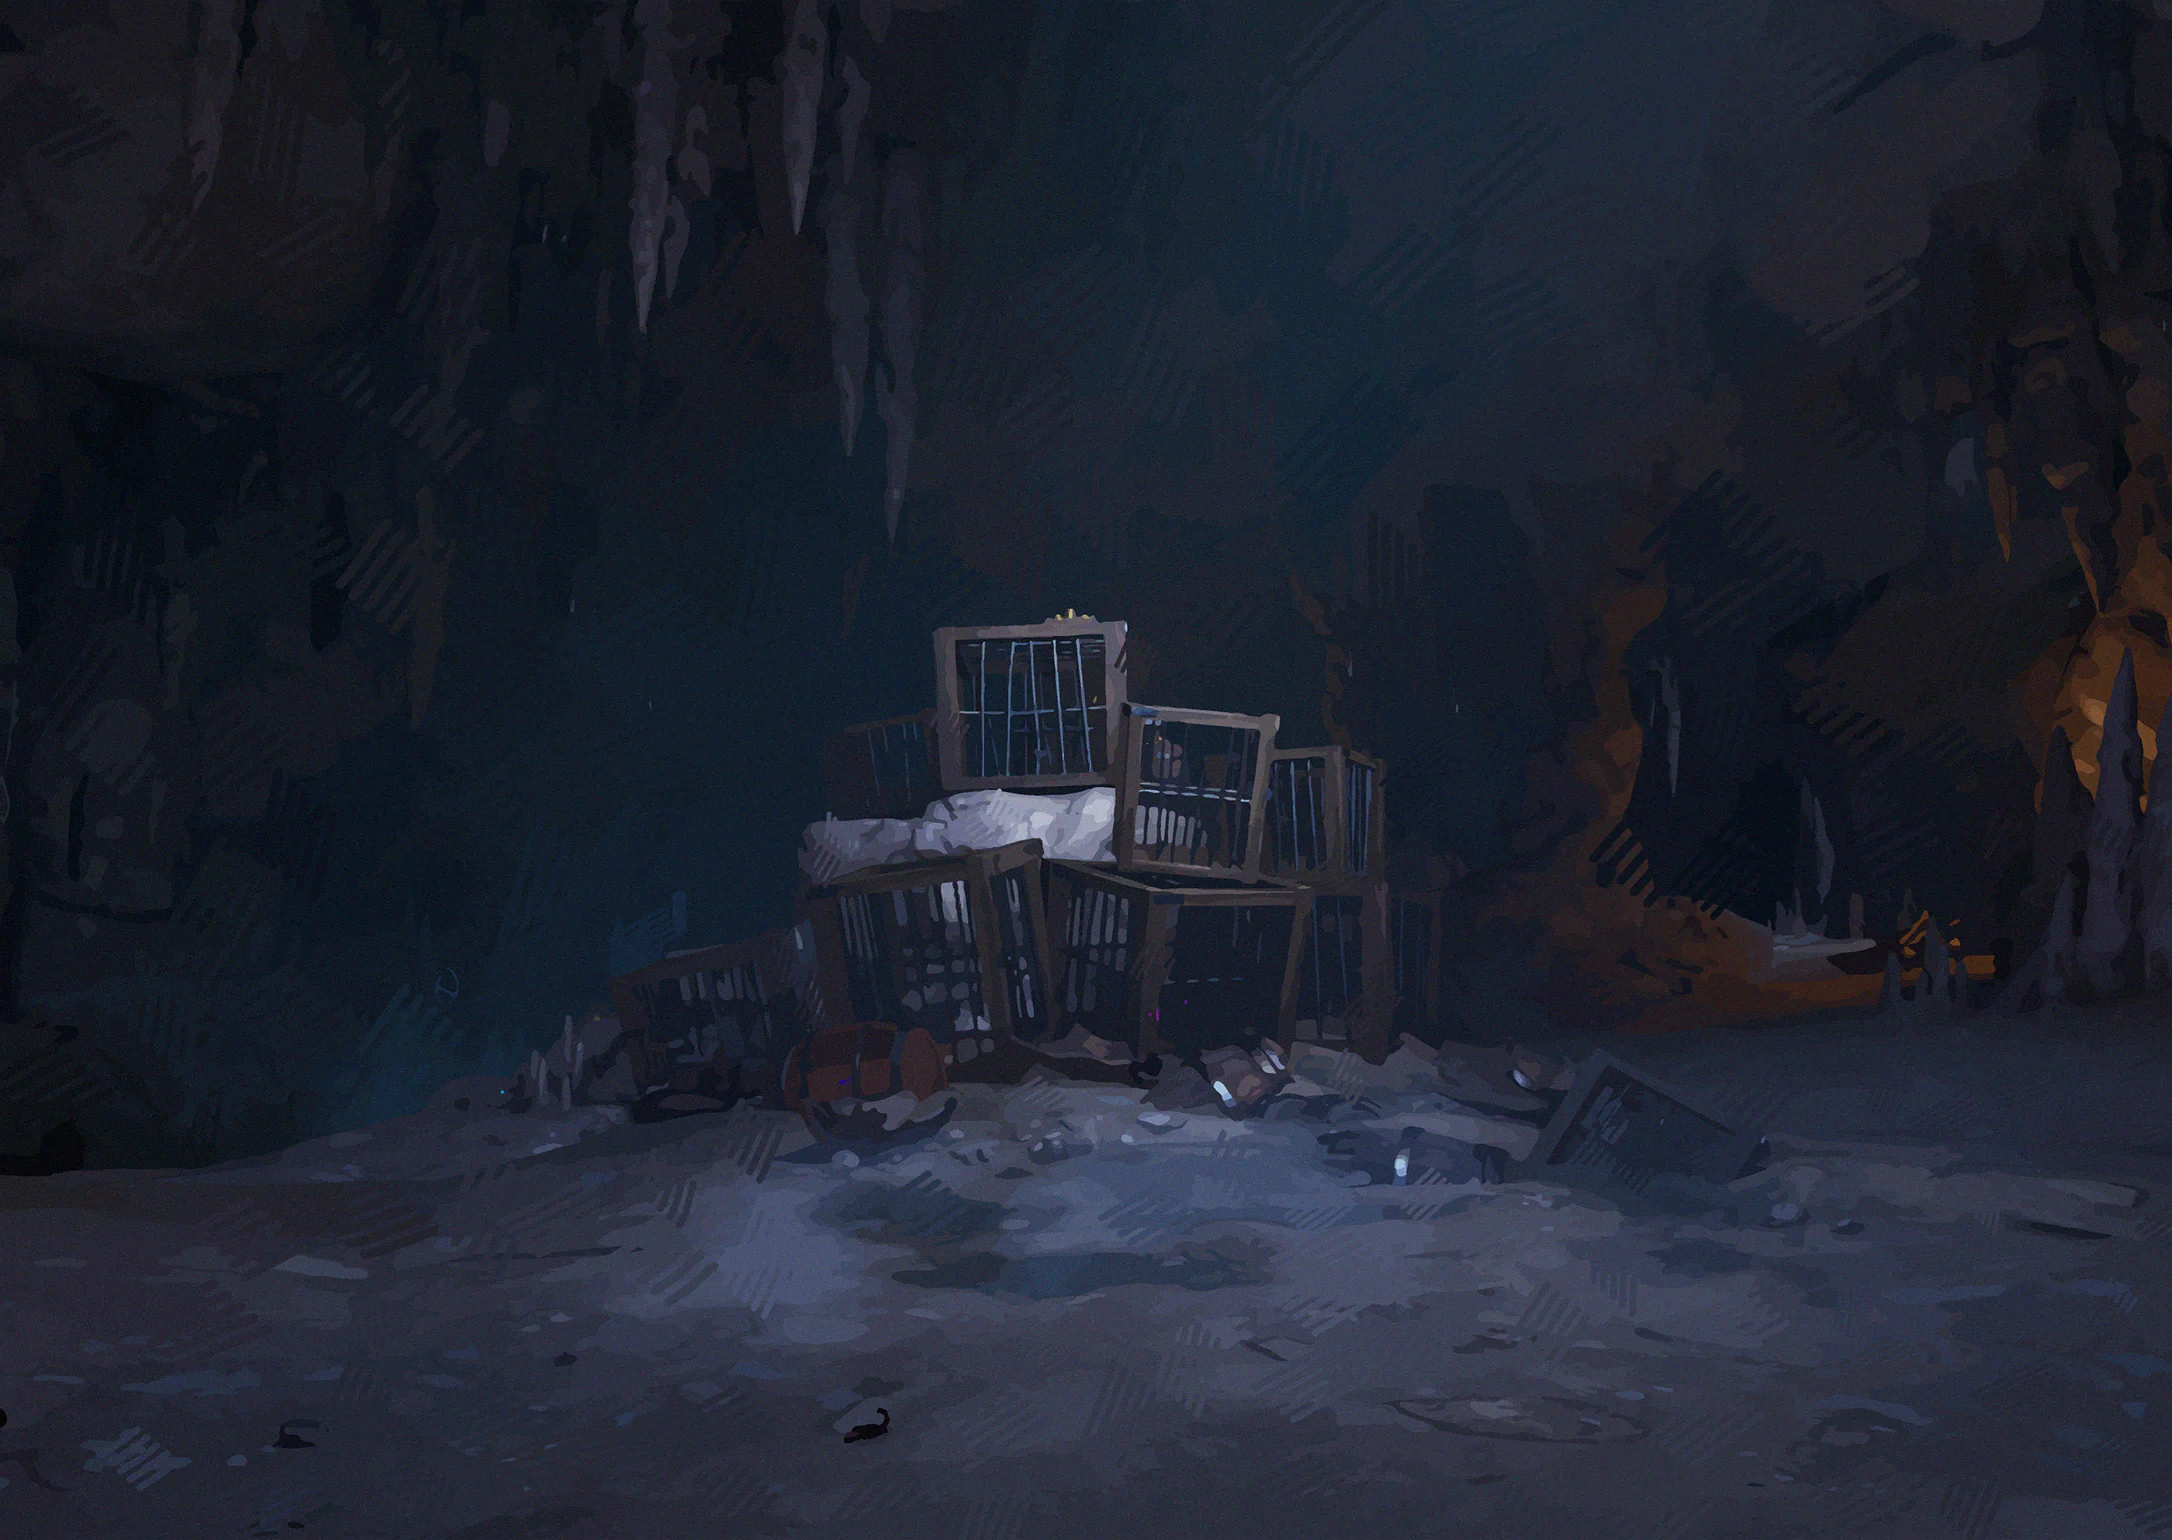
When the current leapt like lightning, Ais screamed so loudly the rock seemed to shake. My ears rang. Staying alive was all we could think about. My hands still shake as I write. Maybe Sigmund in Autopia ought to take a look.
Collection tip: Visit Hope Outpost and record the sight. For caves and underground locations, check the floor.
![Hope Outpost · Lookout Lighthouse illustration]() Scenery #13Hope Outpost · Lookout LighthouseOpen
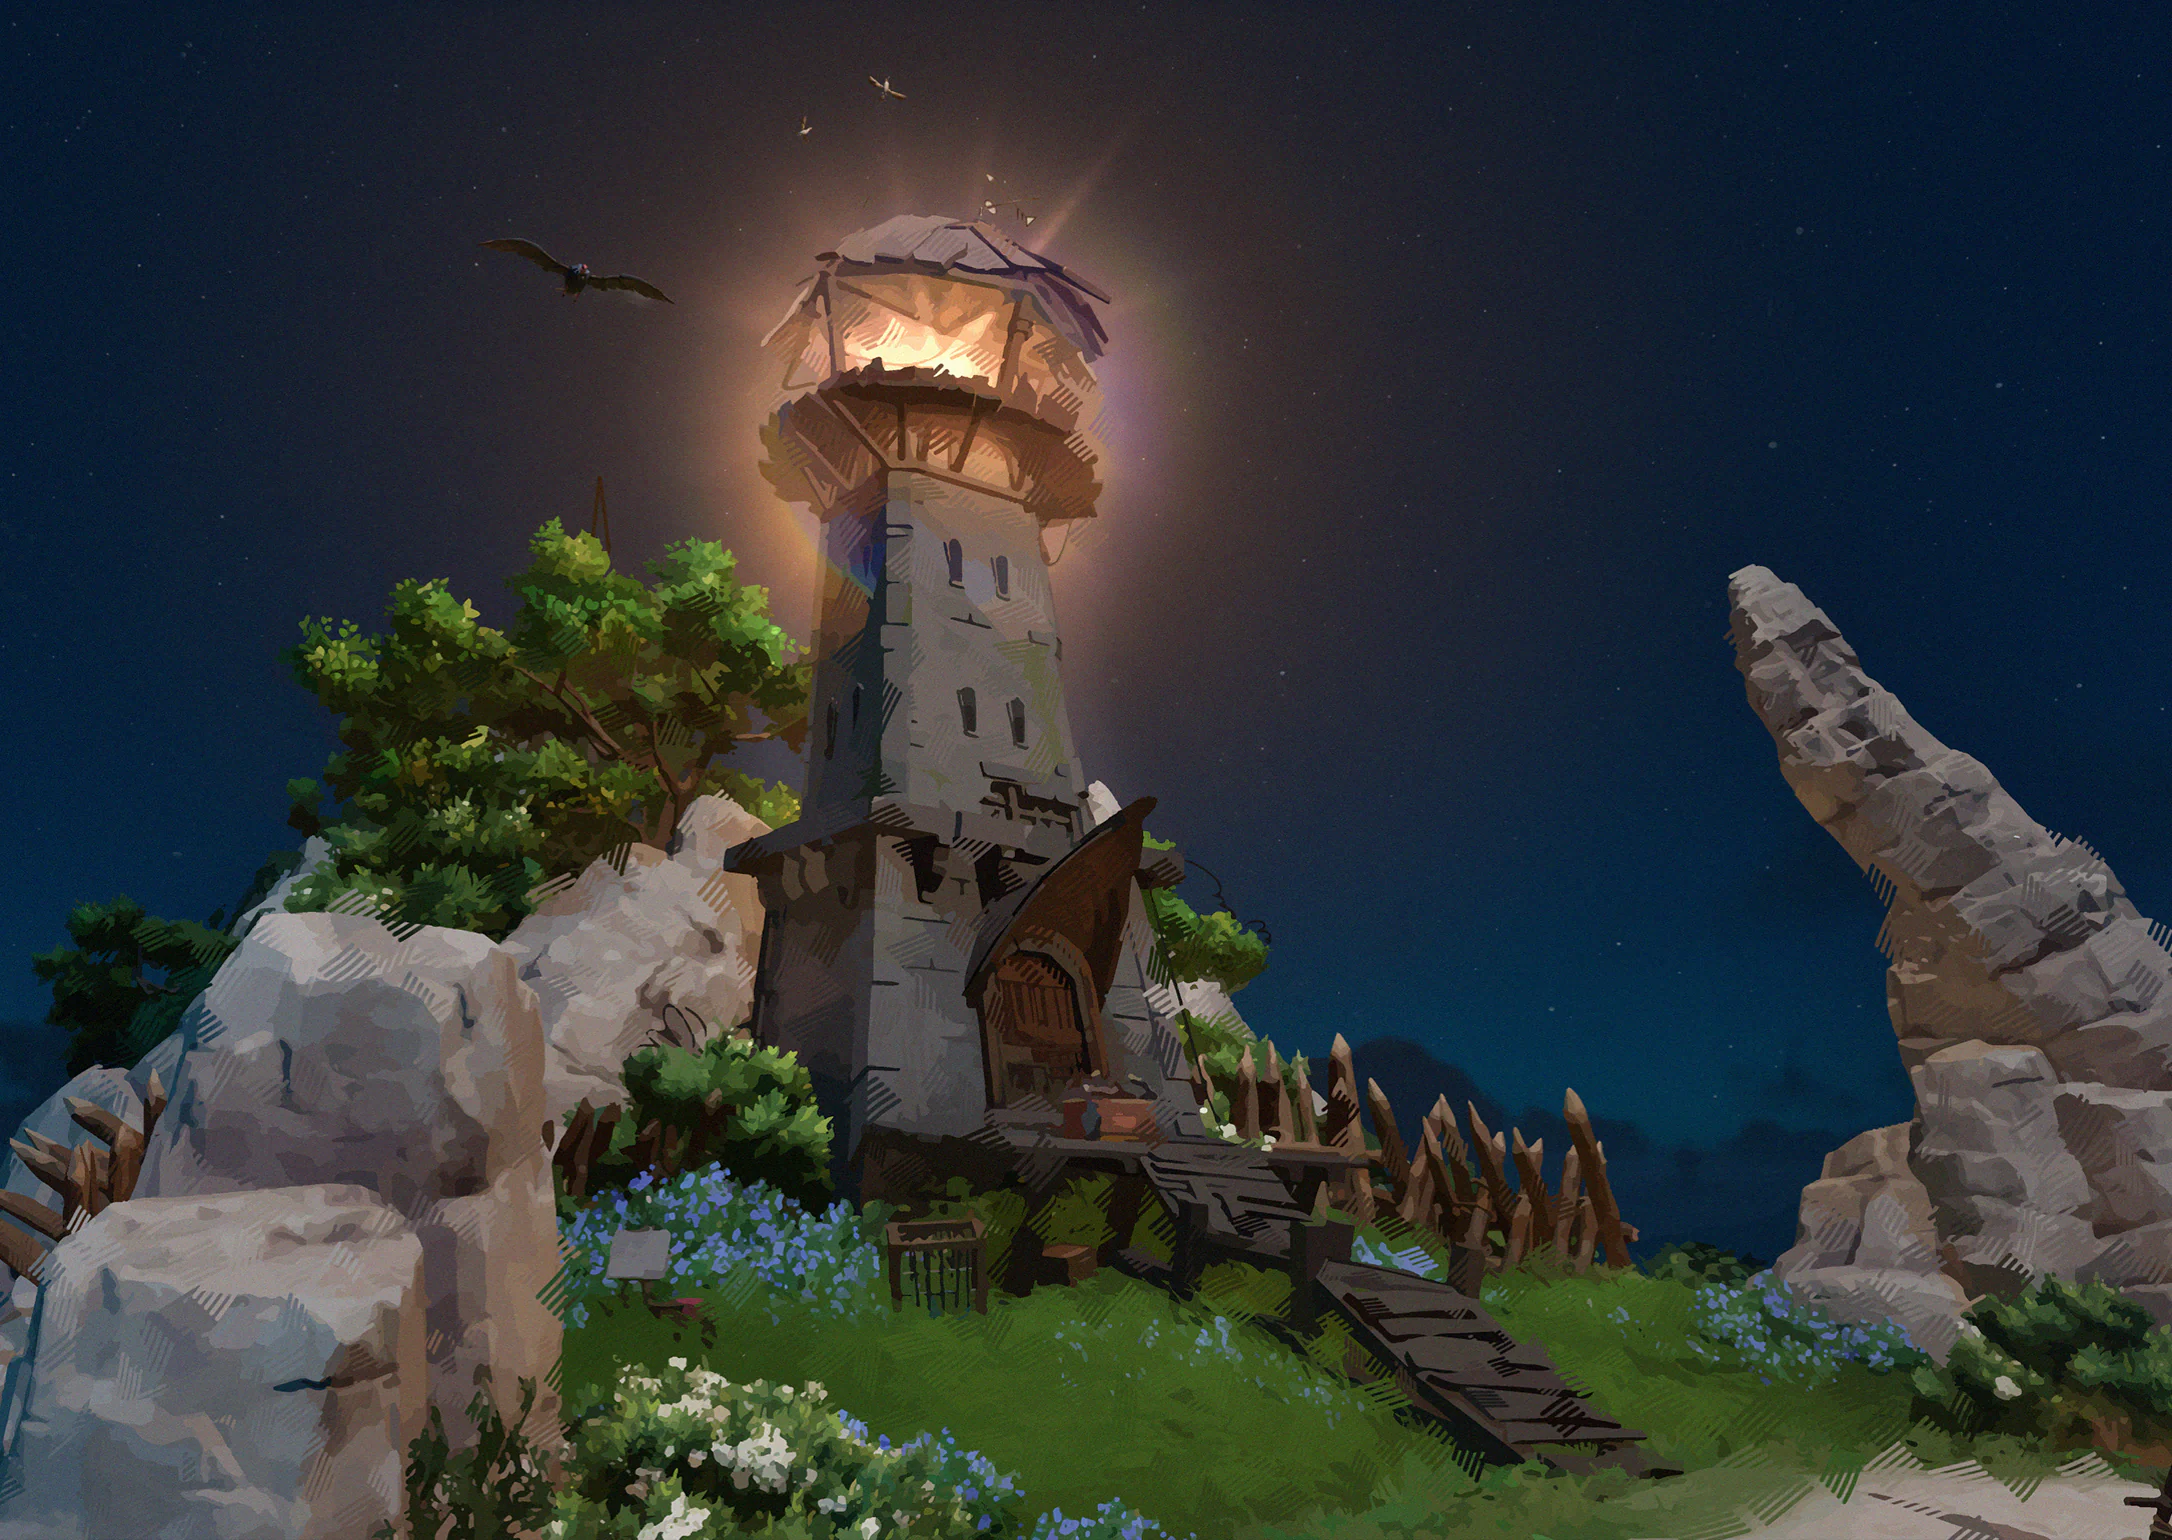
From a distance the lighthouse looks like a candle stuck in the sea, only brighter. Its careful stonework could probably stand up to a great storm. Our ramshackle wooden houses couldn't.
Collection tip: Visit Hope Outpost and record the sight. For caves and underground locations, check the floor.
![Pink Beach · Shore illustration]() Scenery #14Pink Beach · ShoreOpen
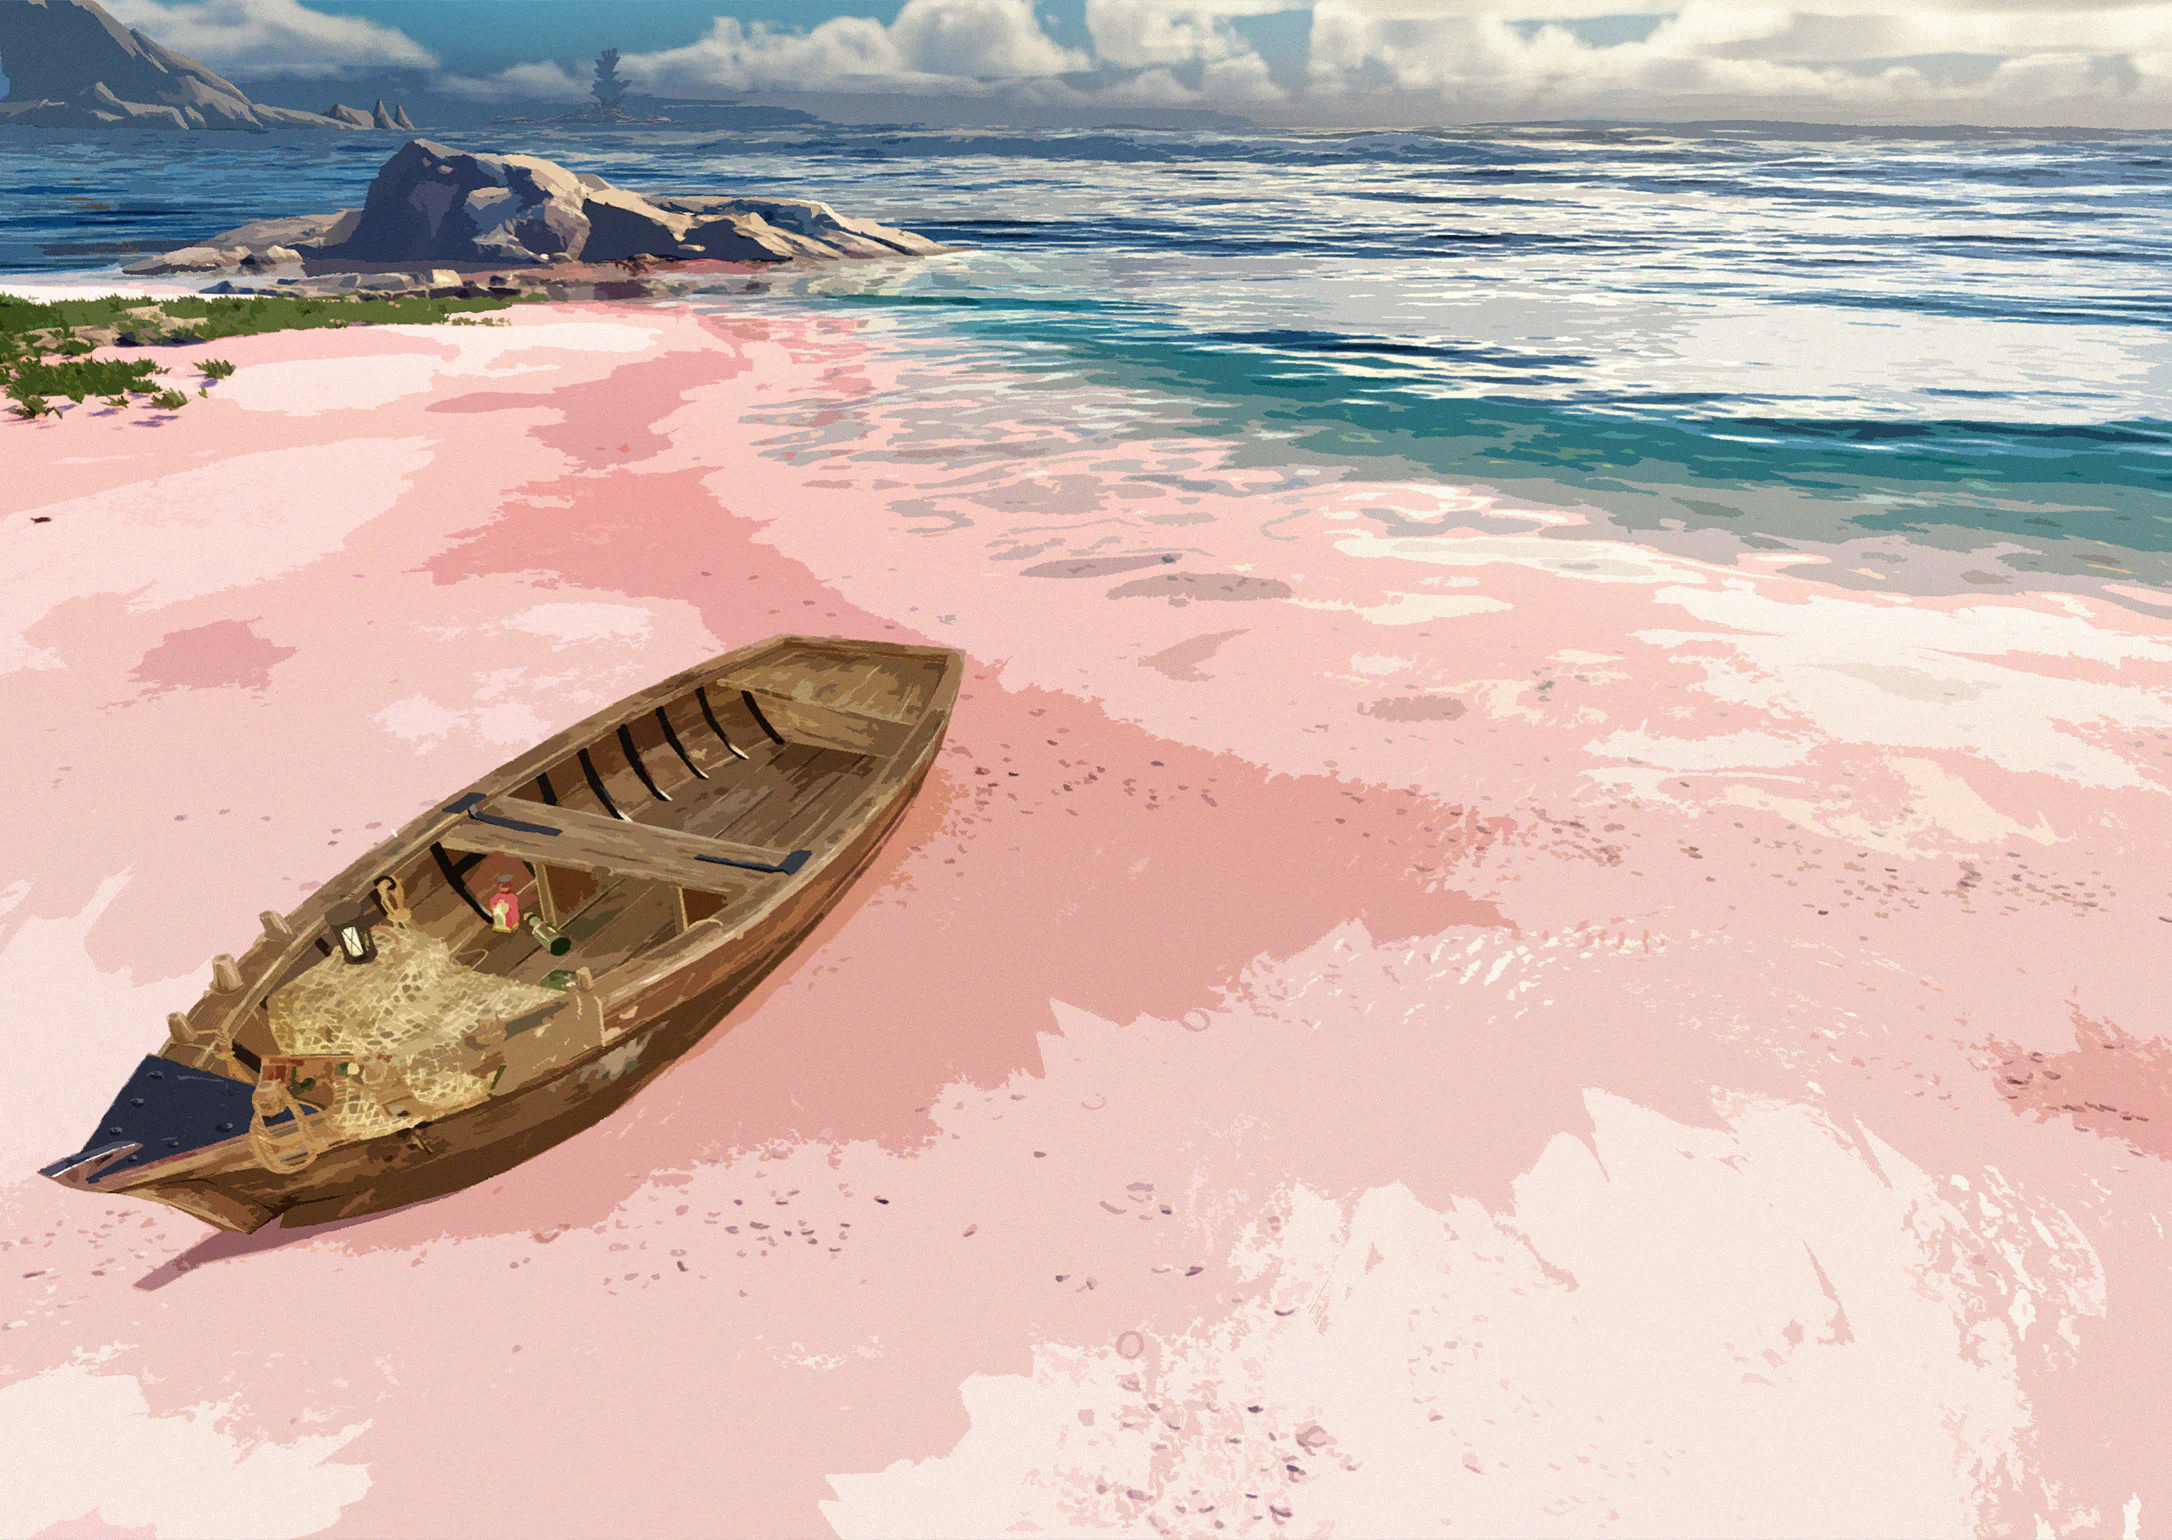
Ais proposed a poetry contest about the pink beach. The loser makes dinner. I wrote that our urge to uncover secrets colored the island like sunset. Ais wrote that a rat bit a jar of pink syrup open in the sea.
Collection tip: Visit Pink Beach and record the sight. For caves and underground locations, check the floor.
![Wine Cavern · Wedding illustration]() Scenery #15Wine Cavern · WeddingOpen
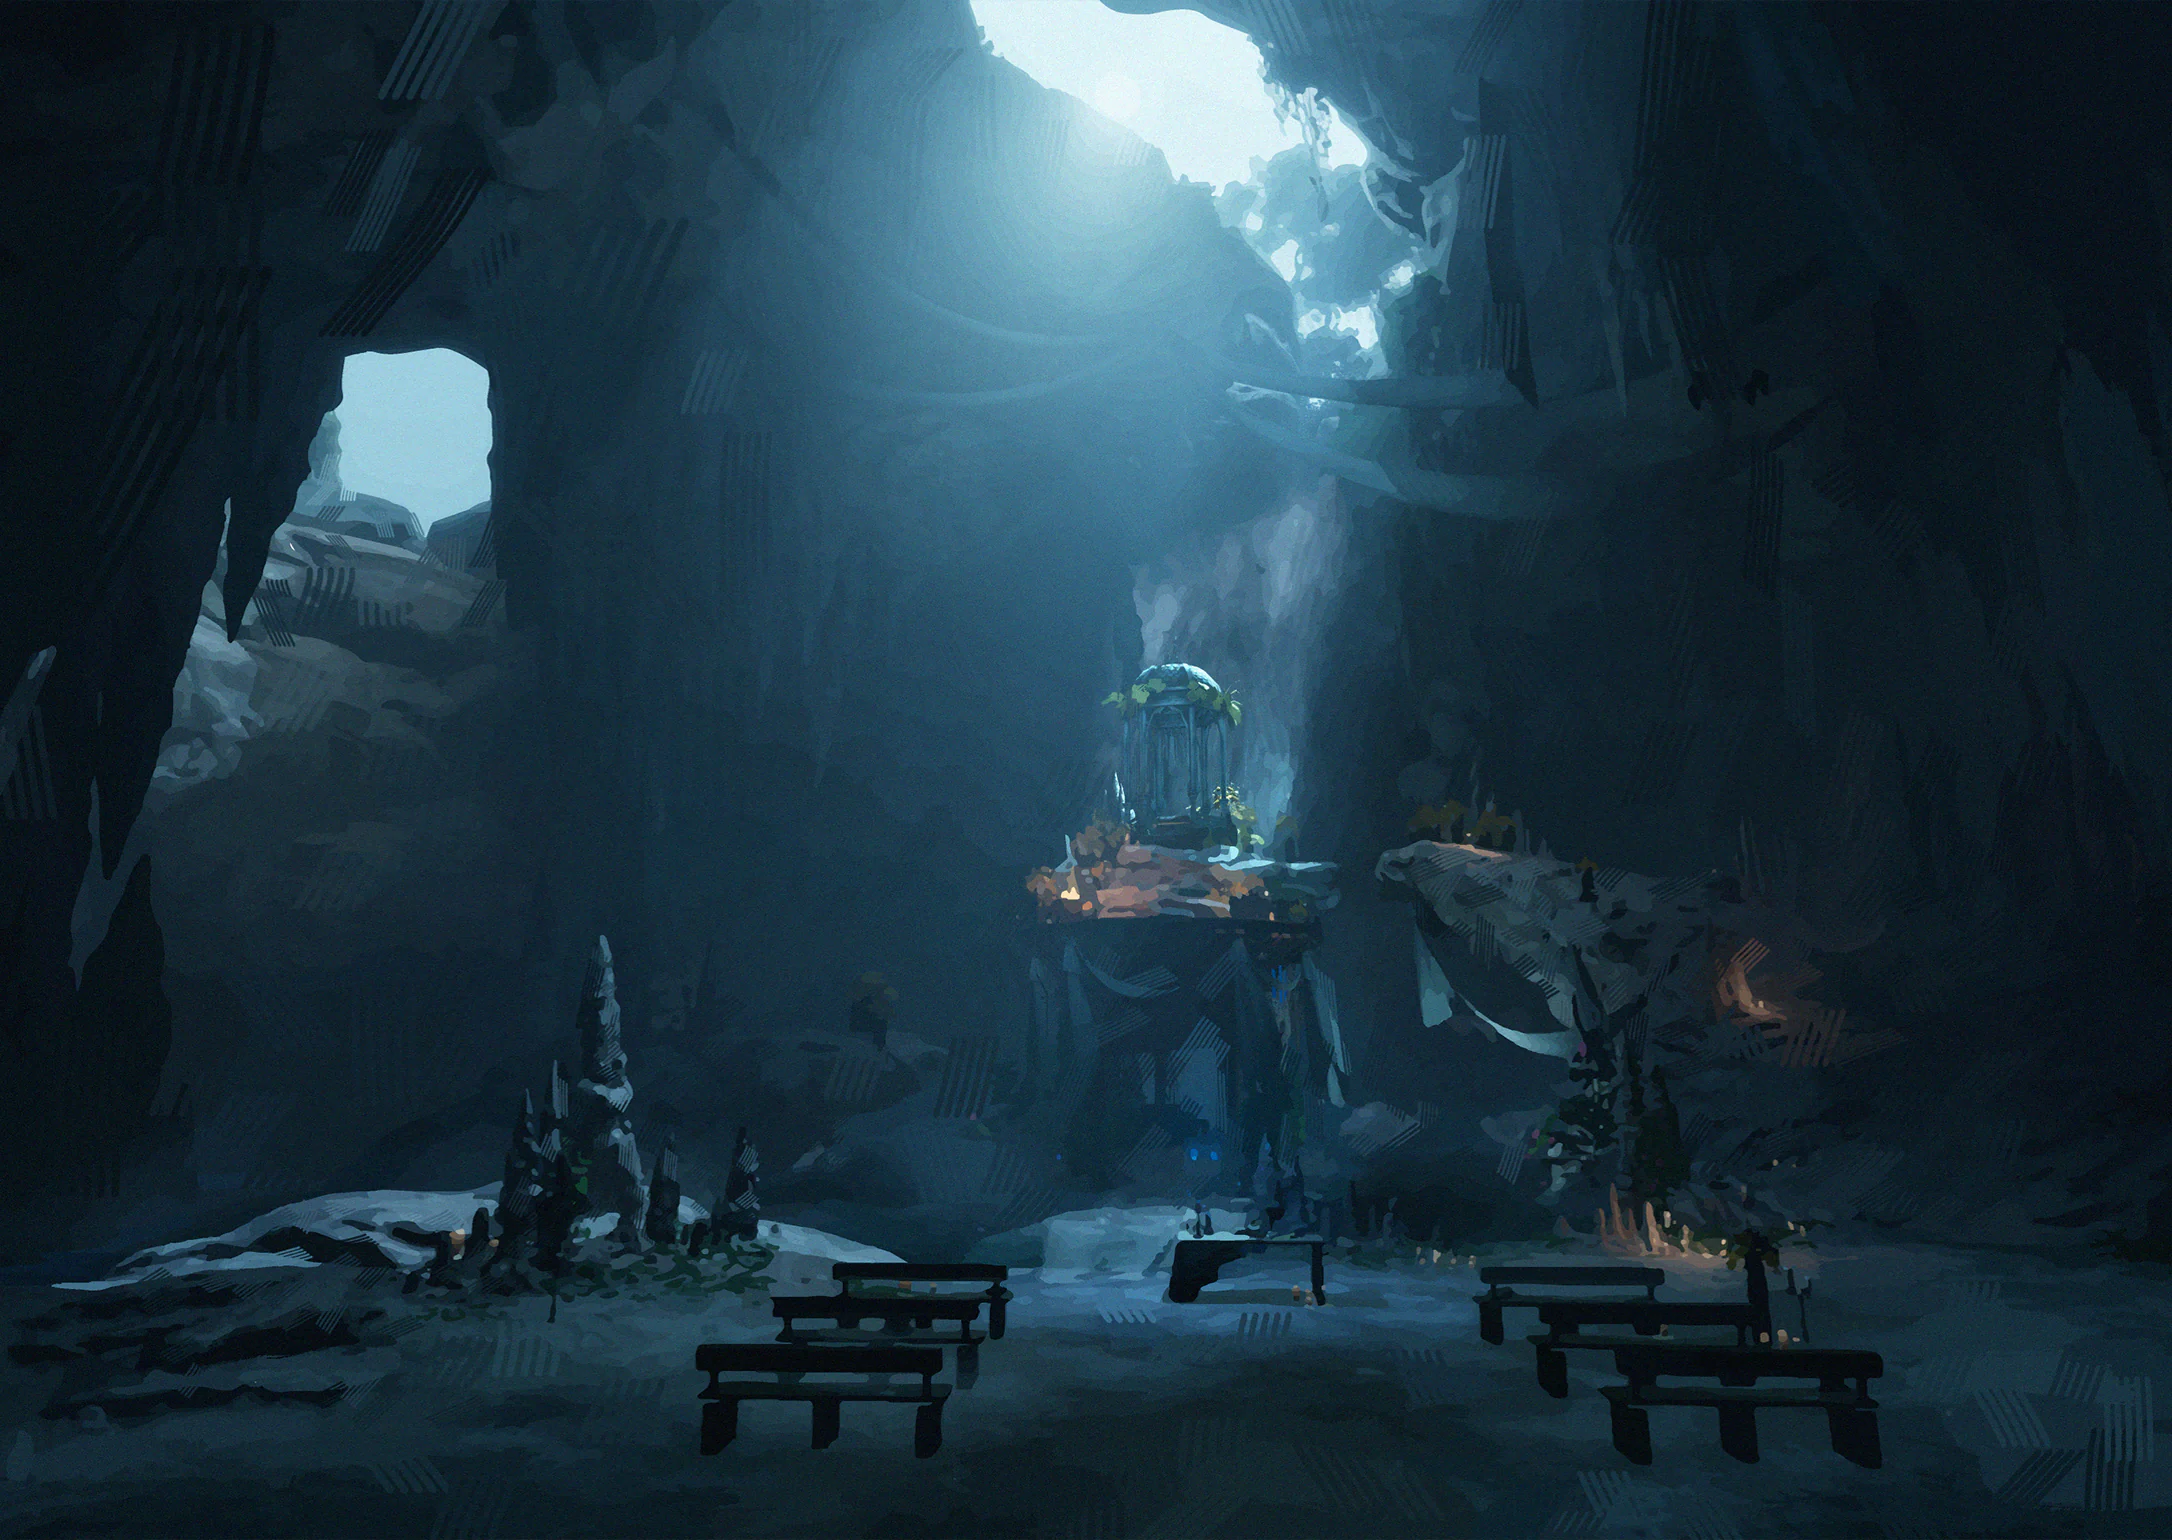
The groom was missing and the bride had disappeared. Ais and I found things on the guests' seats and tried to piece together the past. Then she put everything back. Who are we to judge something we cannot change?
Collection tip: Visit Wine Cavern and record the sight. For caves and underground locations, check the floor.
![Echo Island · Mermaid Morlian’s Habitat illustration]() Scenery #16Echo Island · Mermaid Morlian’s HabitatOpen
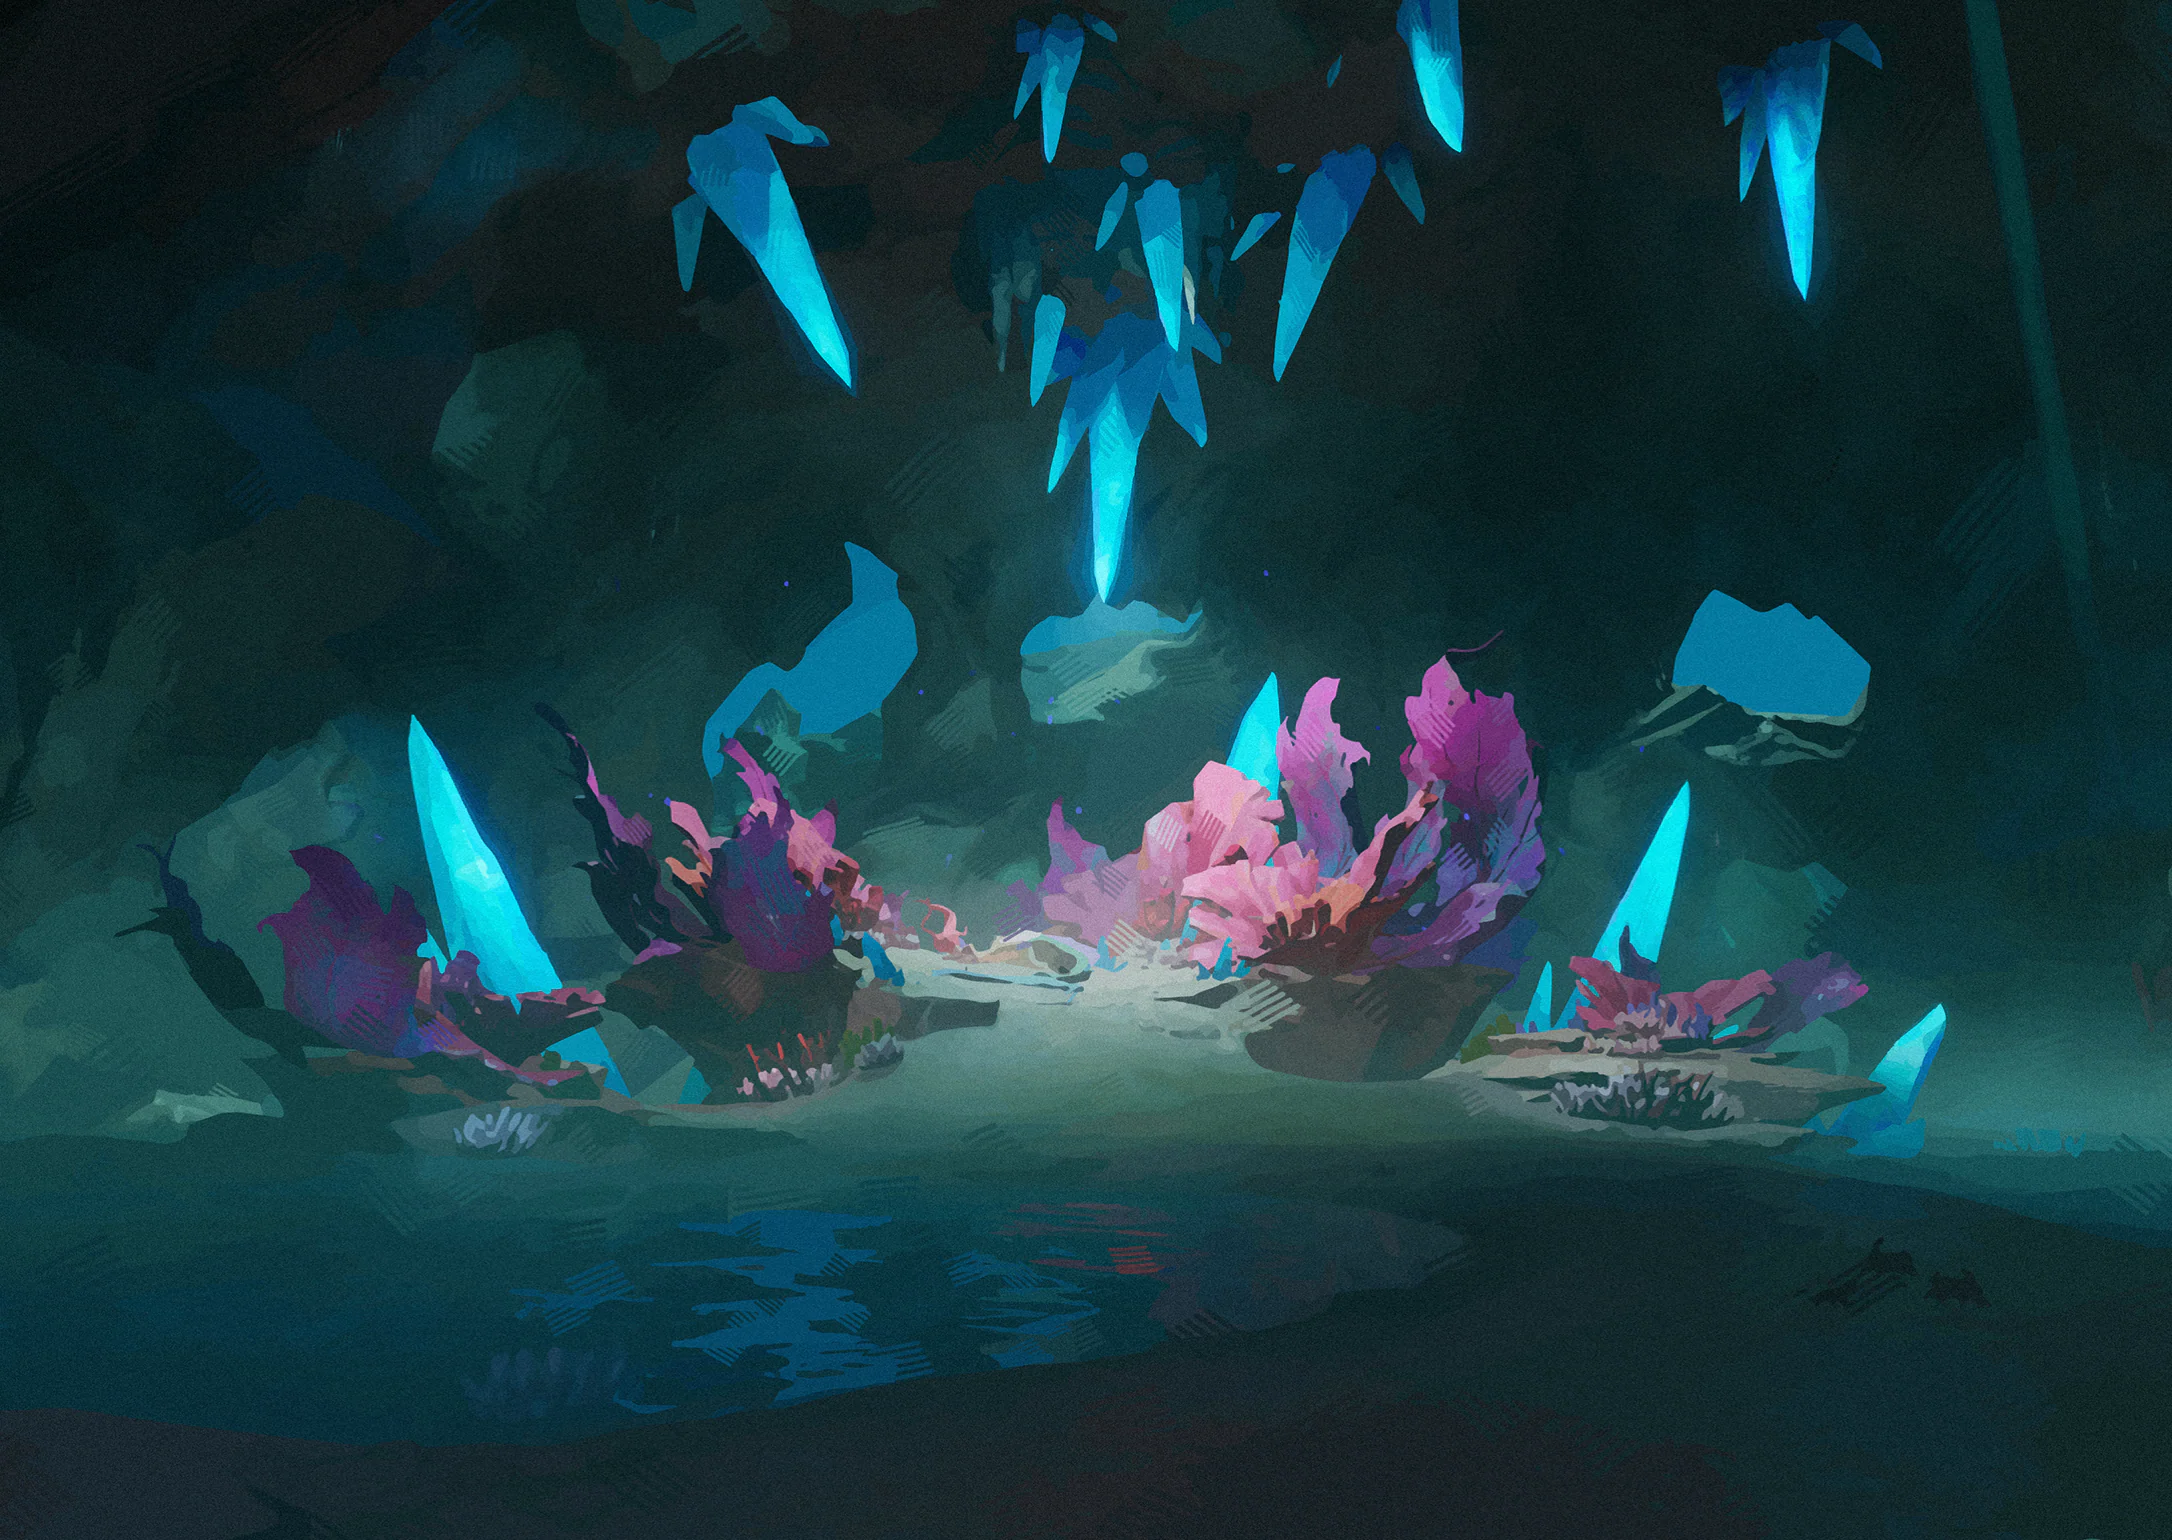
I heard the mermaid sing among the shattered crystals. No words can capture how it hit my heart. Legends tell of her beauty and sailors sing of her fangs. I can only remember her sad dream.
Collection tip: Visit Echo Island and record the sight. For caves and underground locations, check the floor.
![Welcome Coast · Root Altar illustration]() Scenery #17Welcome Coast · Root AltarOpen
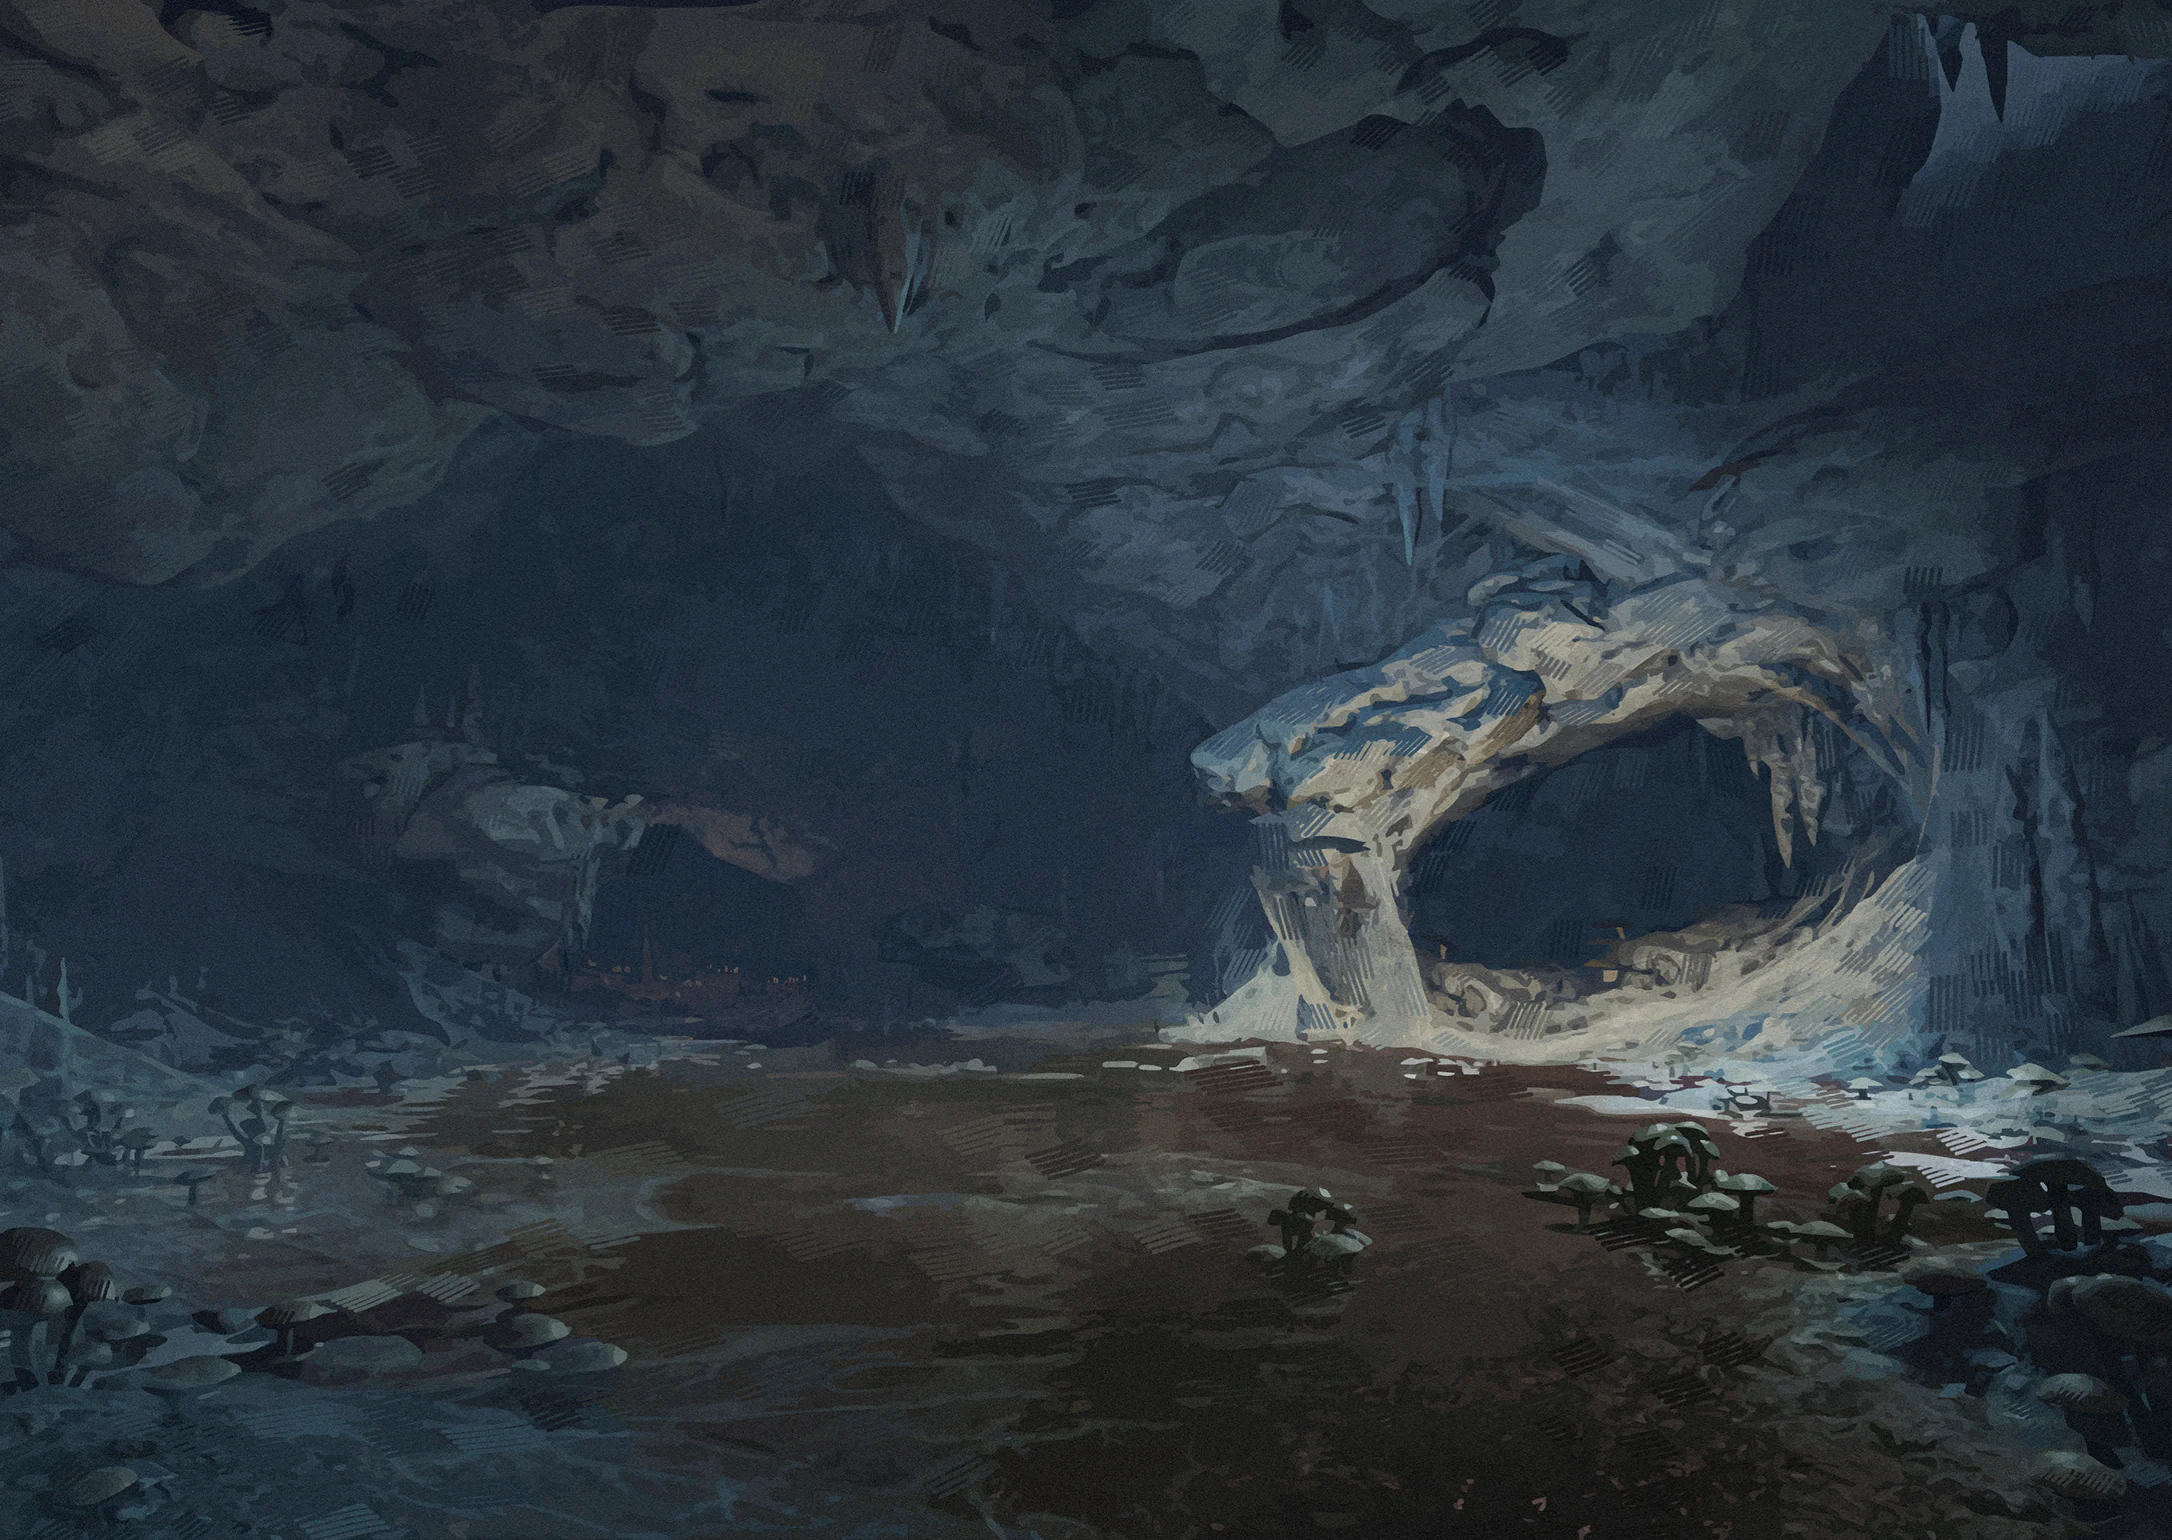
Ais and I stepped into a sticky pool and saw each other's hair stand up. Squishy mushrooms, tangled mycelium and unidentifiable creatures darting across the ground. Good for fungi, dreadful for people. I'm never coming back.
Collection tip: Visit Welcome Coast and record the sight. For caves and underground locations, check the floor.
![Welcome Coast · Silkbound Tree illustration]() Scenery #18Welcome Coast · Silkbound TreeOpen
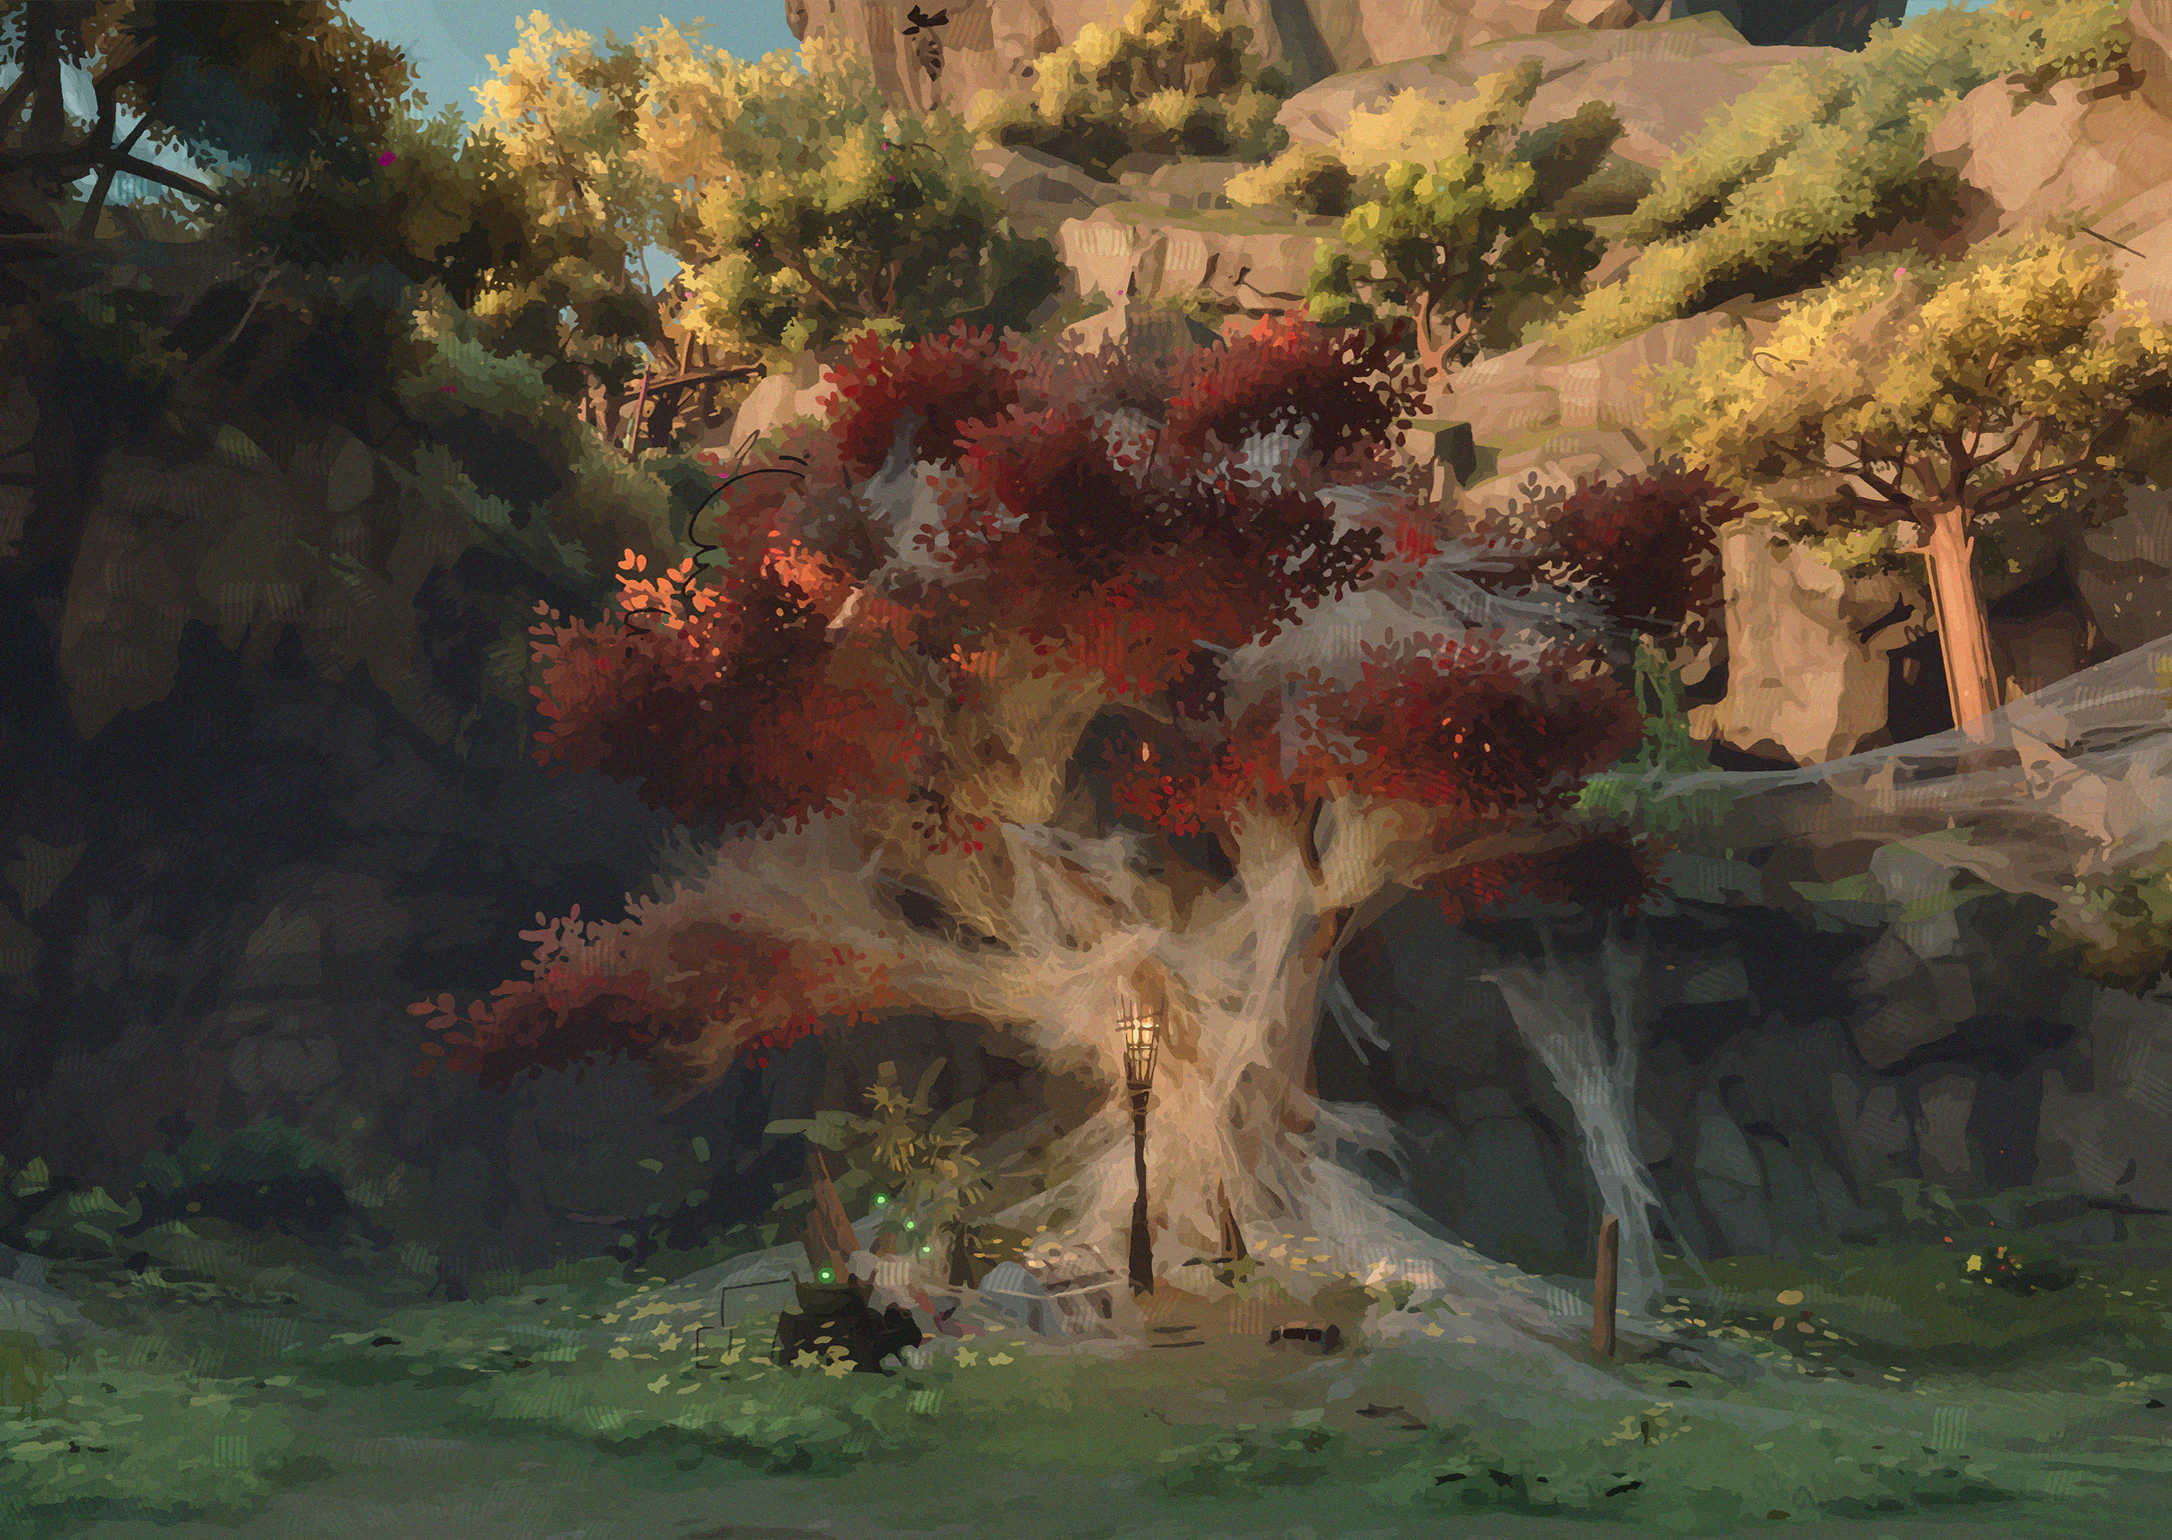
Burning the mycelium off the giant tree felt like saving a dying person who still wanted to live. Ais heard the tree sigh in the flames. After what this island has taught me, I can believe a tree might sigh.
Collection tip: Visit Welcome Coast and record the sight. For caves and underground locations, check the floor.
![Herb Cave · Looping Ravine illustration]() Scenery #19Herb Cave · Looping RavineOpen
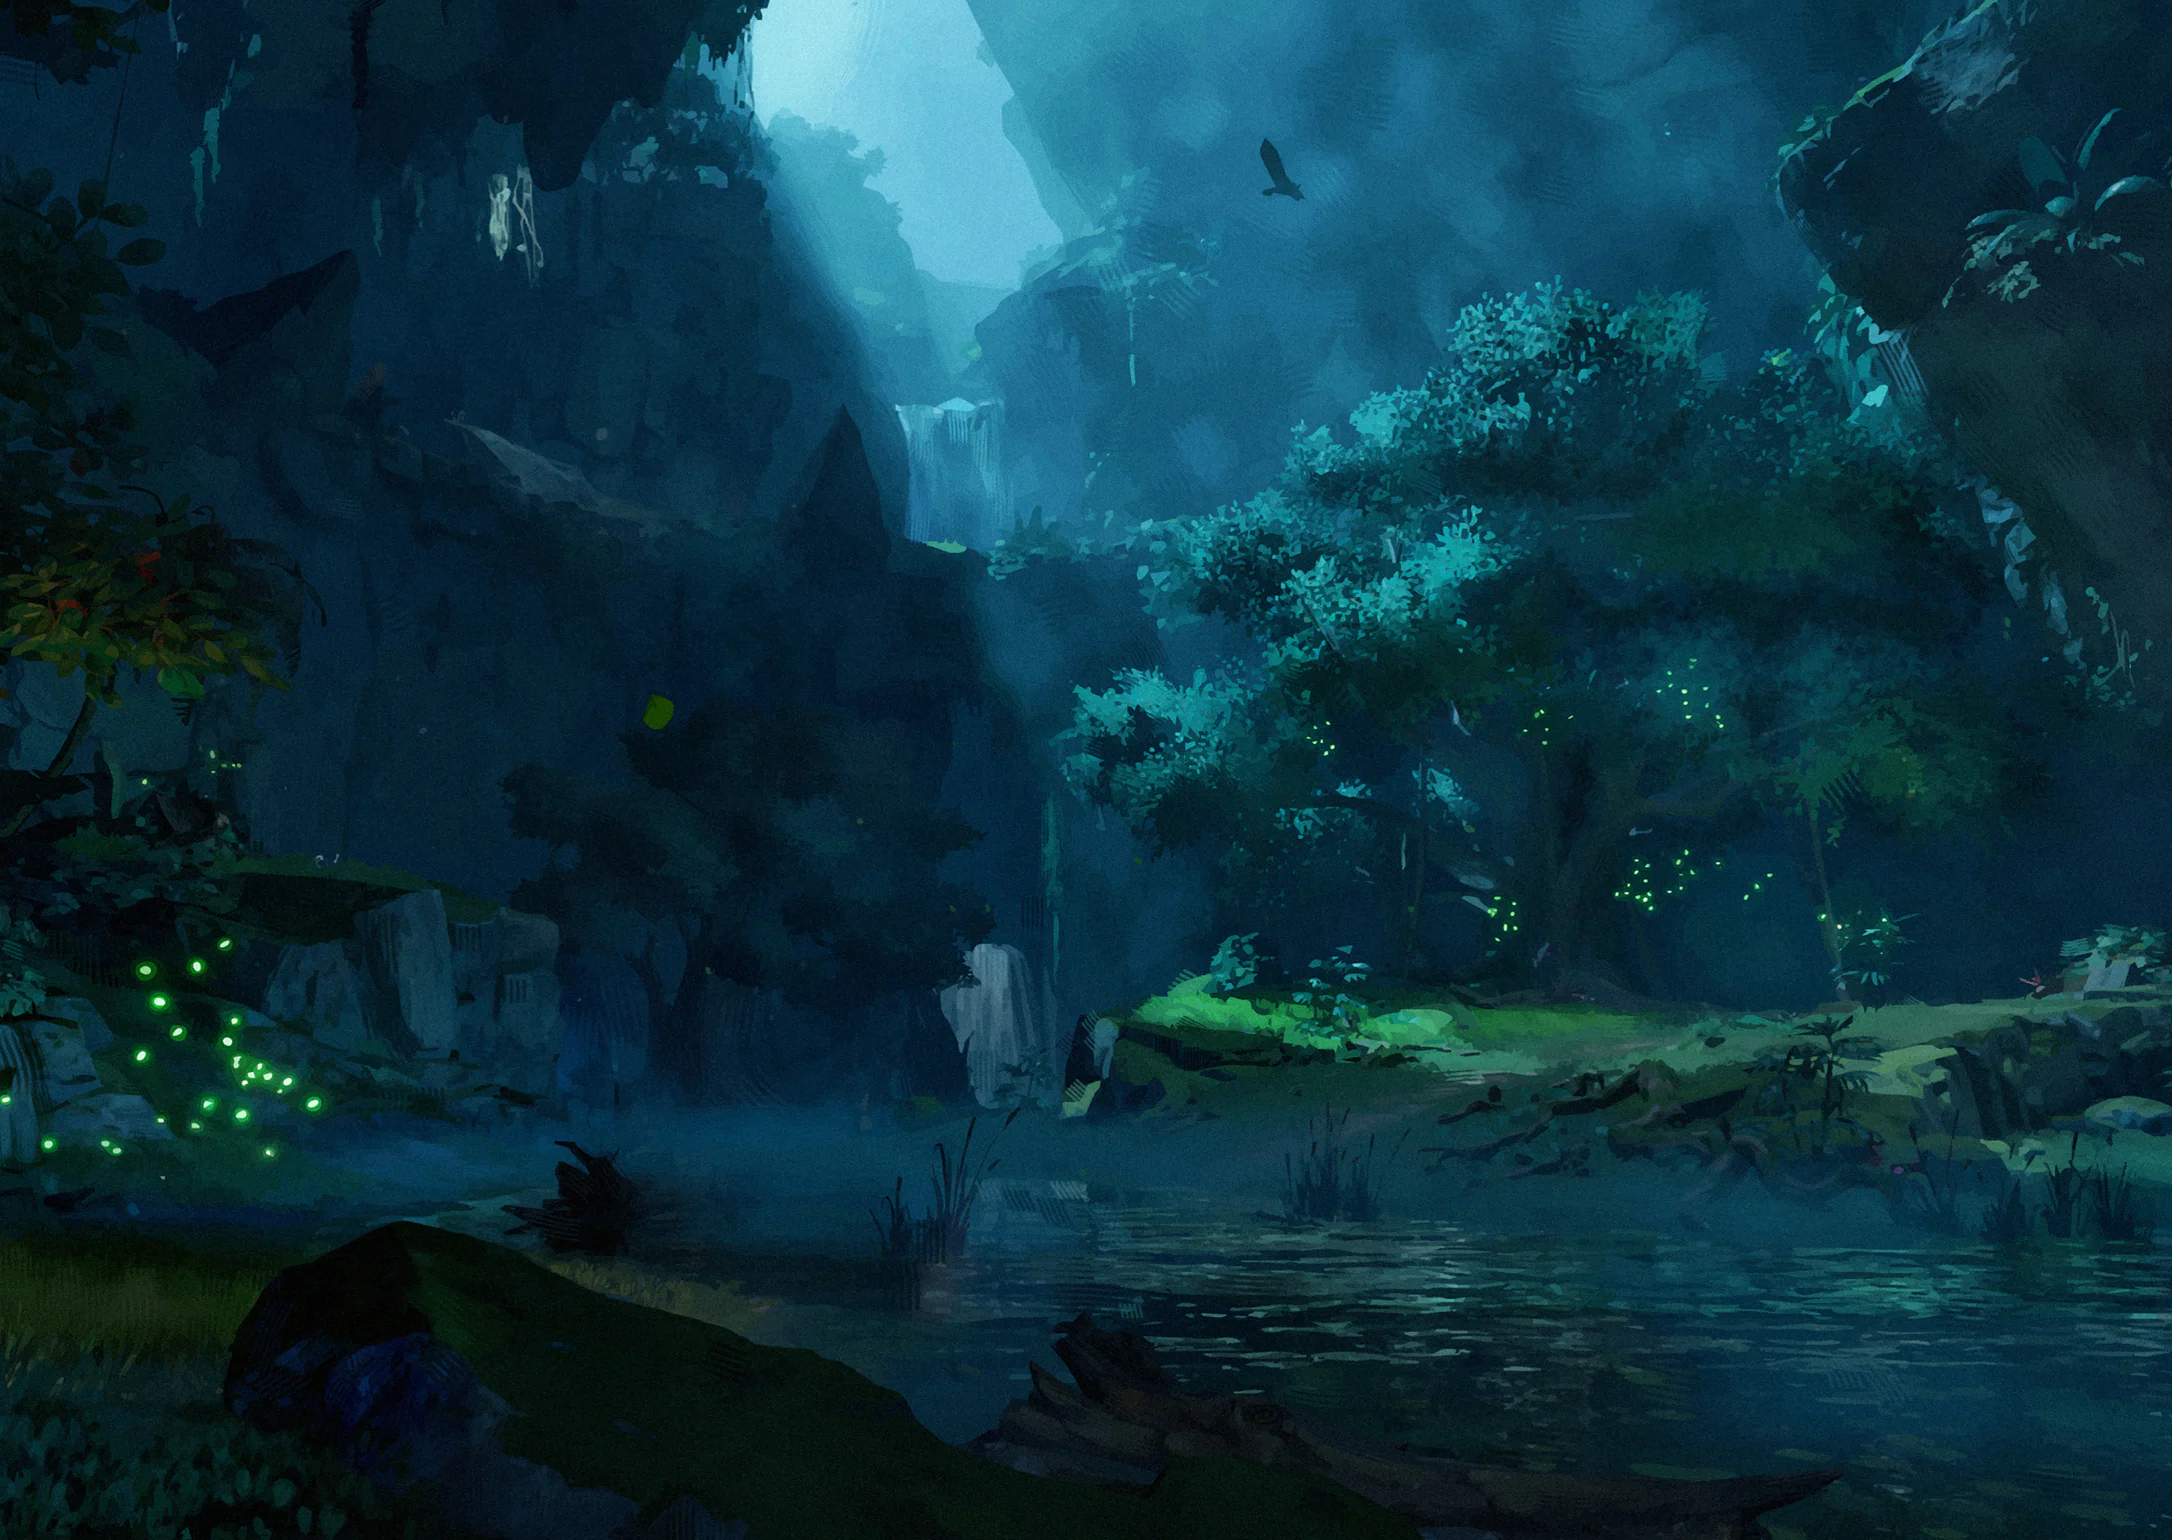
A winding path on an uninhabited island leads down to a beautiful stream. We fetched tents and food and watched the light move across the valley from night through the next evening. The peace was unlike anything at sea. Ais still wants to go back.
Collection tip: Visit Herb Cave and record the sight. For caves and underground locations, check the floor.
![Bridge Crossing Island: Net Mire illustration]() Scenery #20Bridge Crossing Island: Net MireOpen
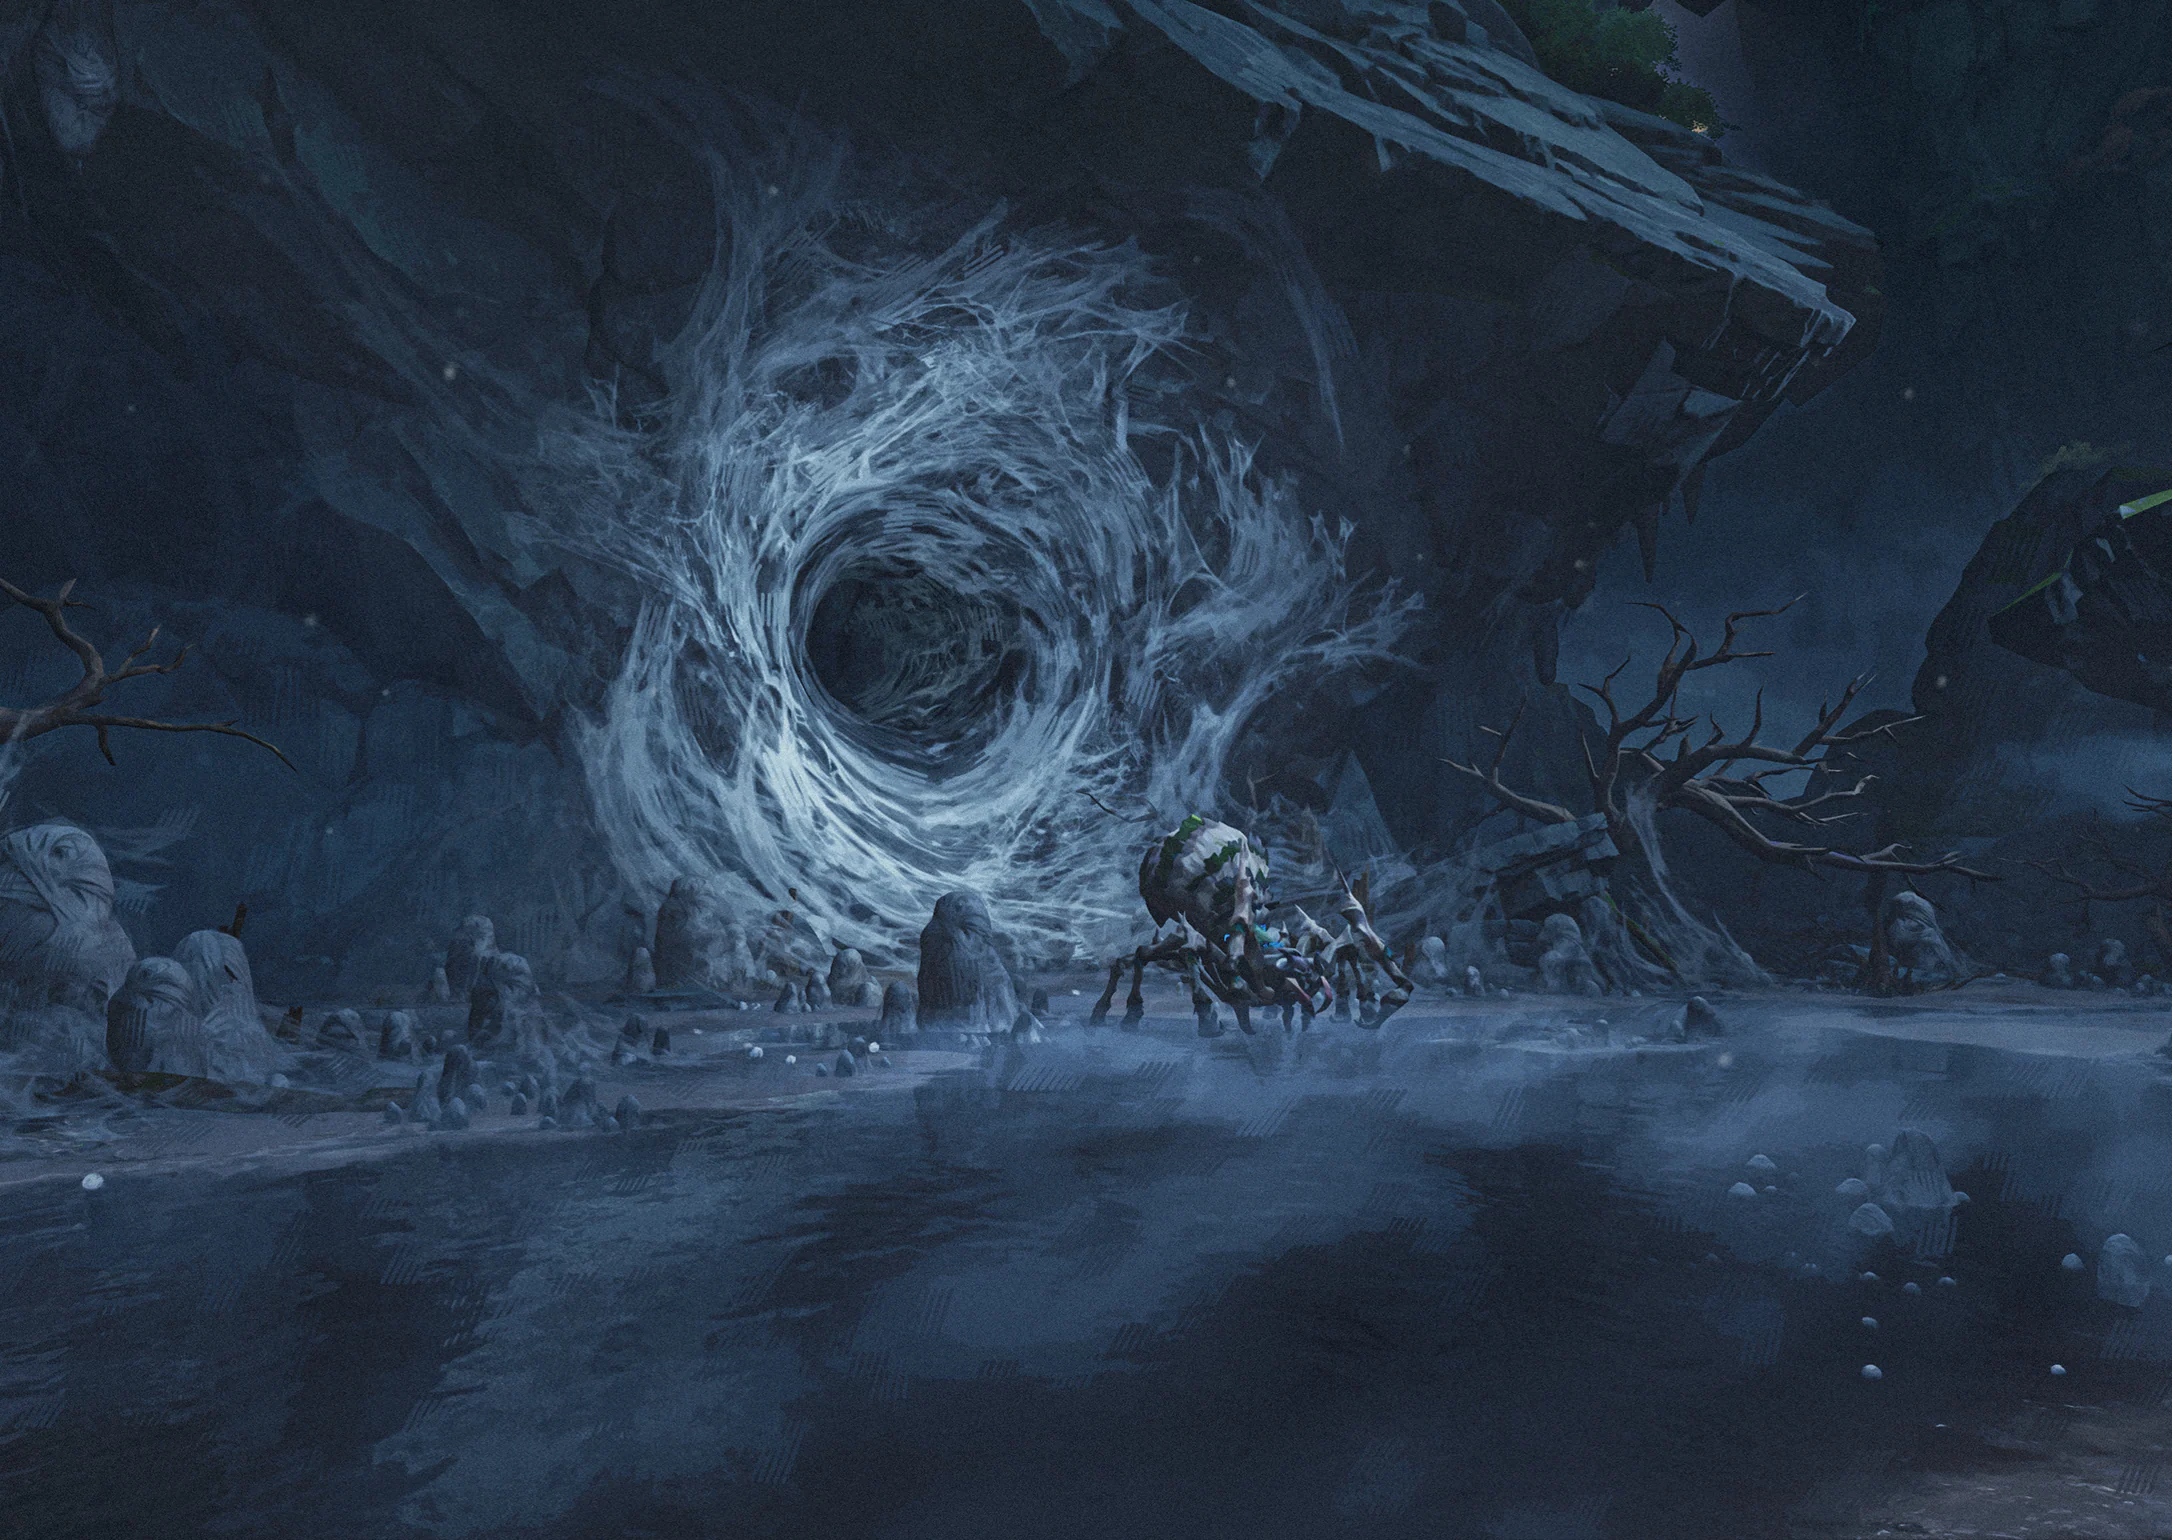
A hole in the mountain like a giant eye, wound with spider silk. Ais threw in a stone and said there must be treasure in the depths. I caught her before she went in. The spiders outside were enough for me.
Collection tip: Visit Bridge Crossing Island: Net Mire and record the sight. For caves and underground locations, check the floor.
![Bridge Crossing Island: Grand Flower Hall illustration]() Scenery #21Bridge Crossing Island: Grand Flower HallOpen
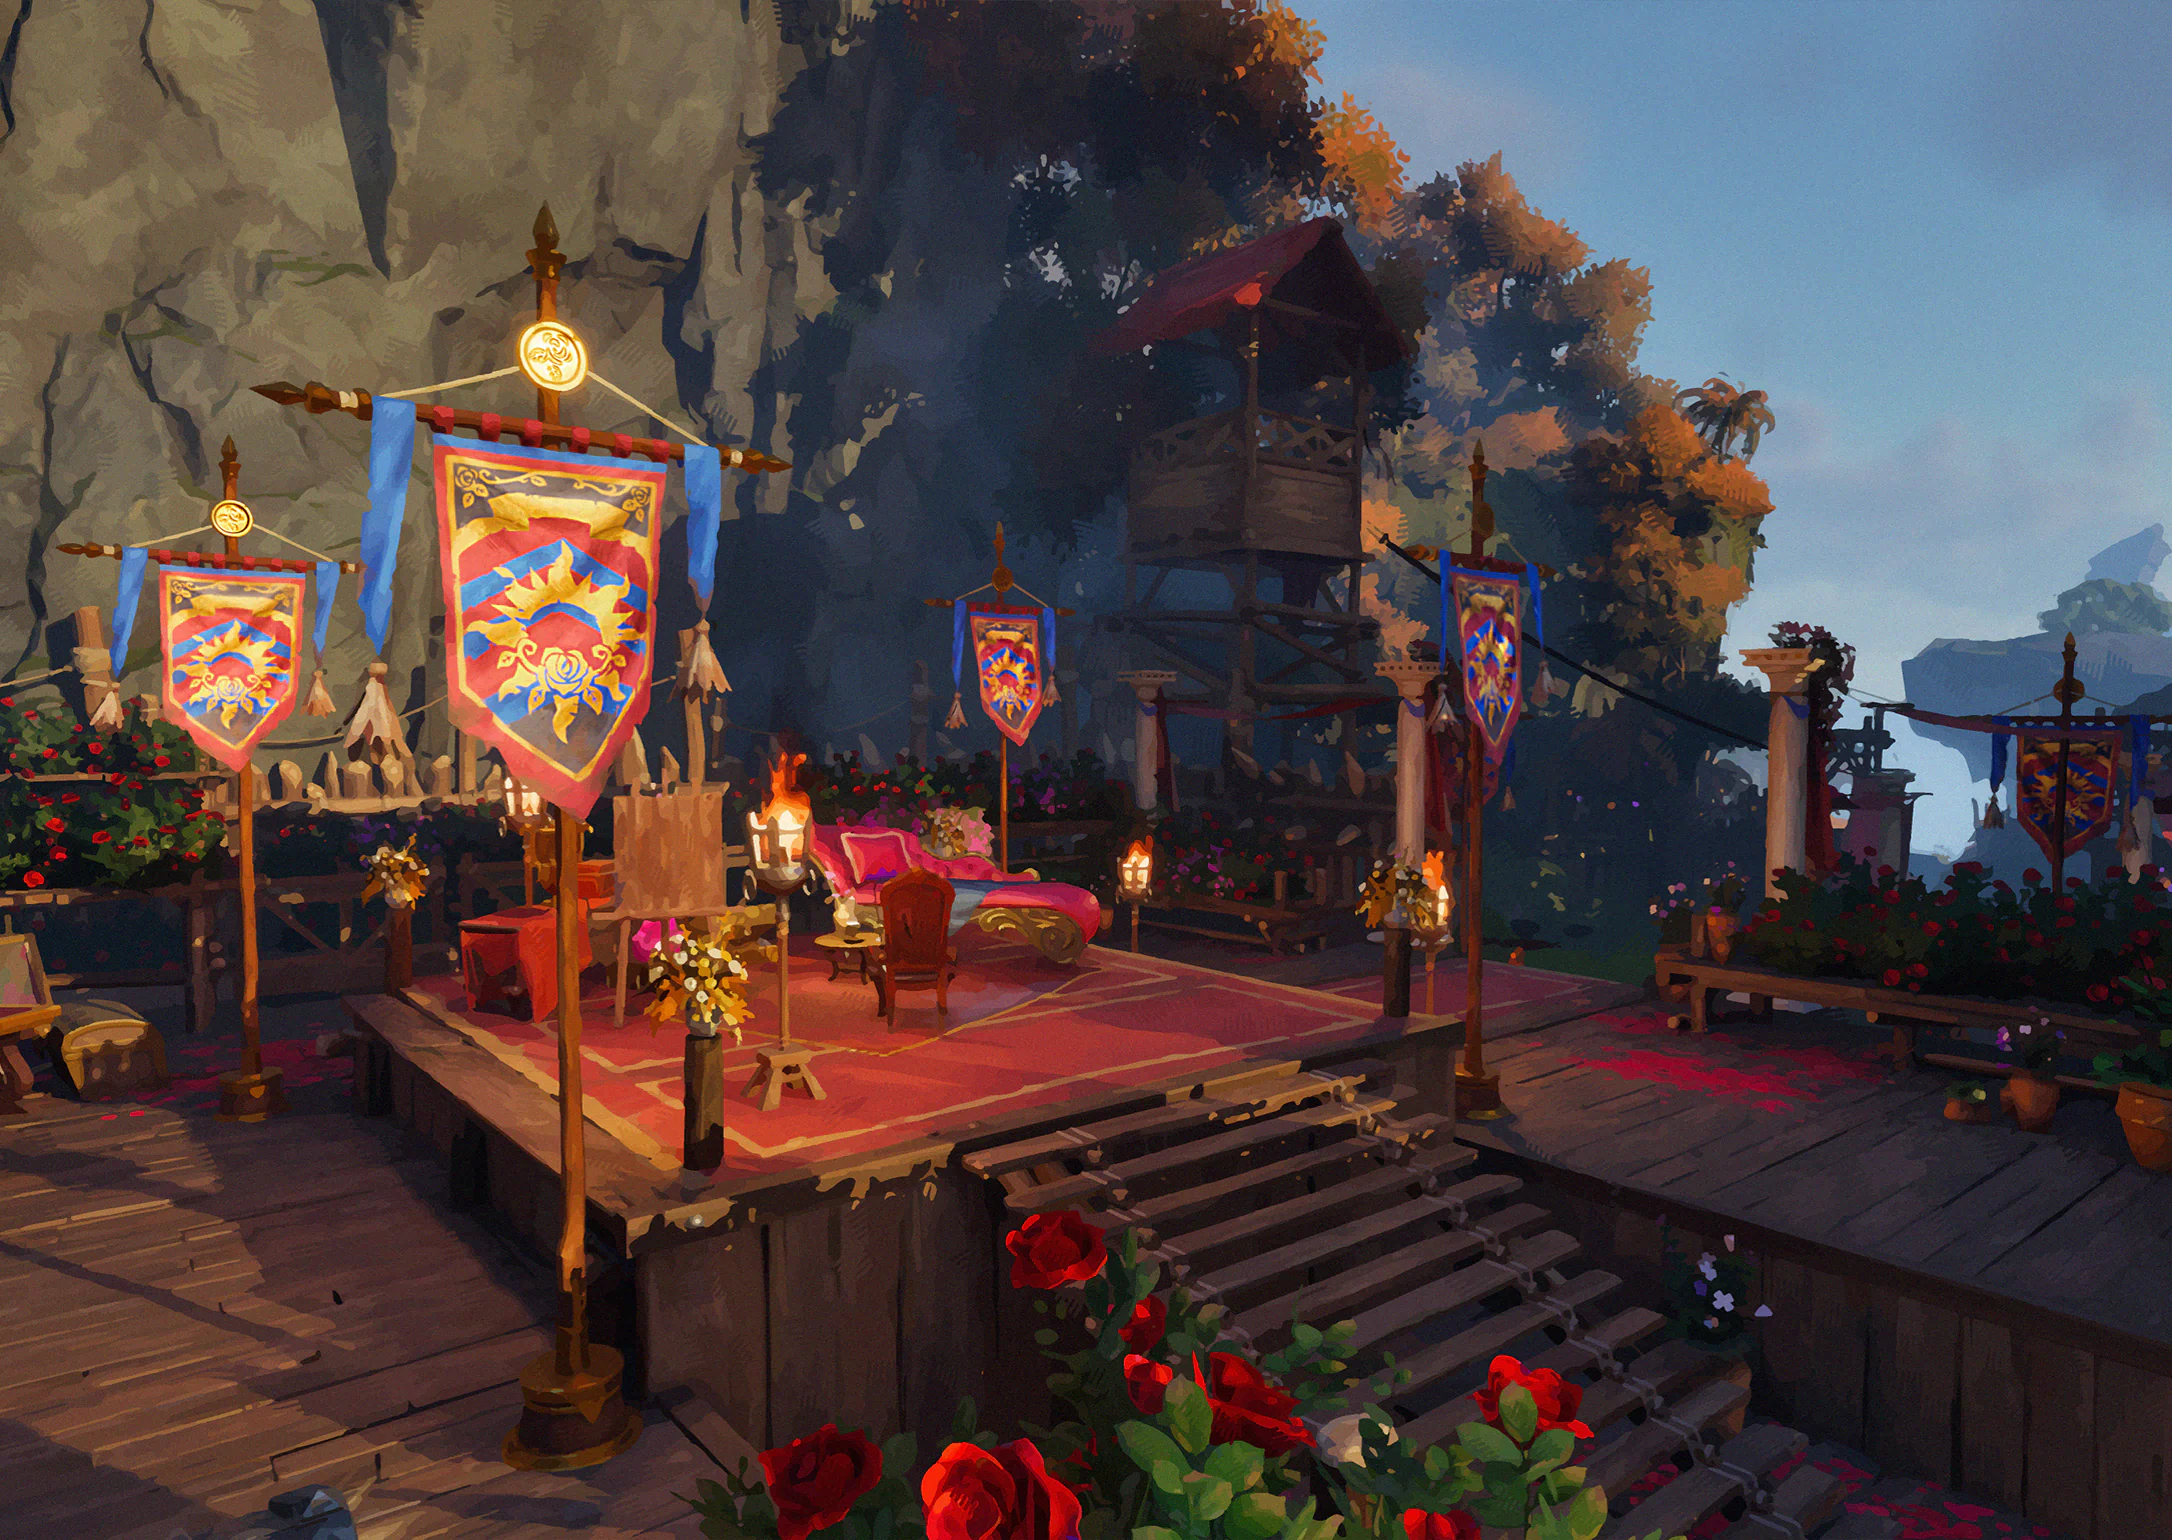
Ingram has soft couches, fresh flowers, a banner, attendants to fix his hair and a painter always ready. The Rayne family must still have money. Ais is already thinking about a visit to their island. She says wealth shouldn't belong to just one person.
Collection tip: Visit Bridge Crossing Island: Net Mire and record the sight. For caves and underground locations, check the floor.
![Bridge Crossing Island: Flower Wall illustration]() Scenery #22Bridge Crossing Island: Flower WallOpen
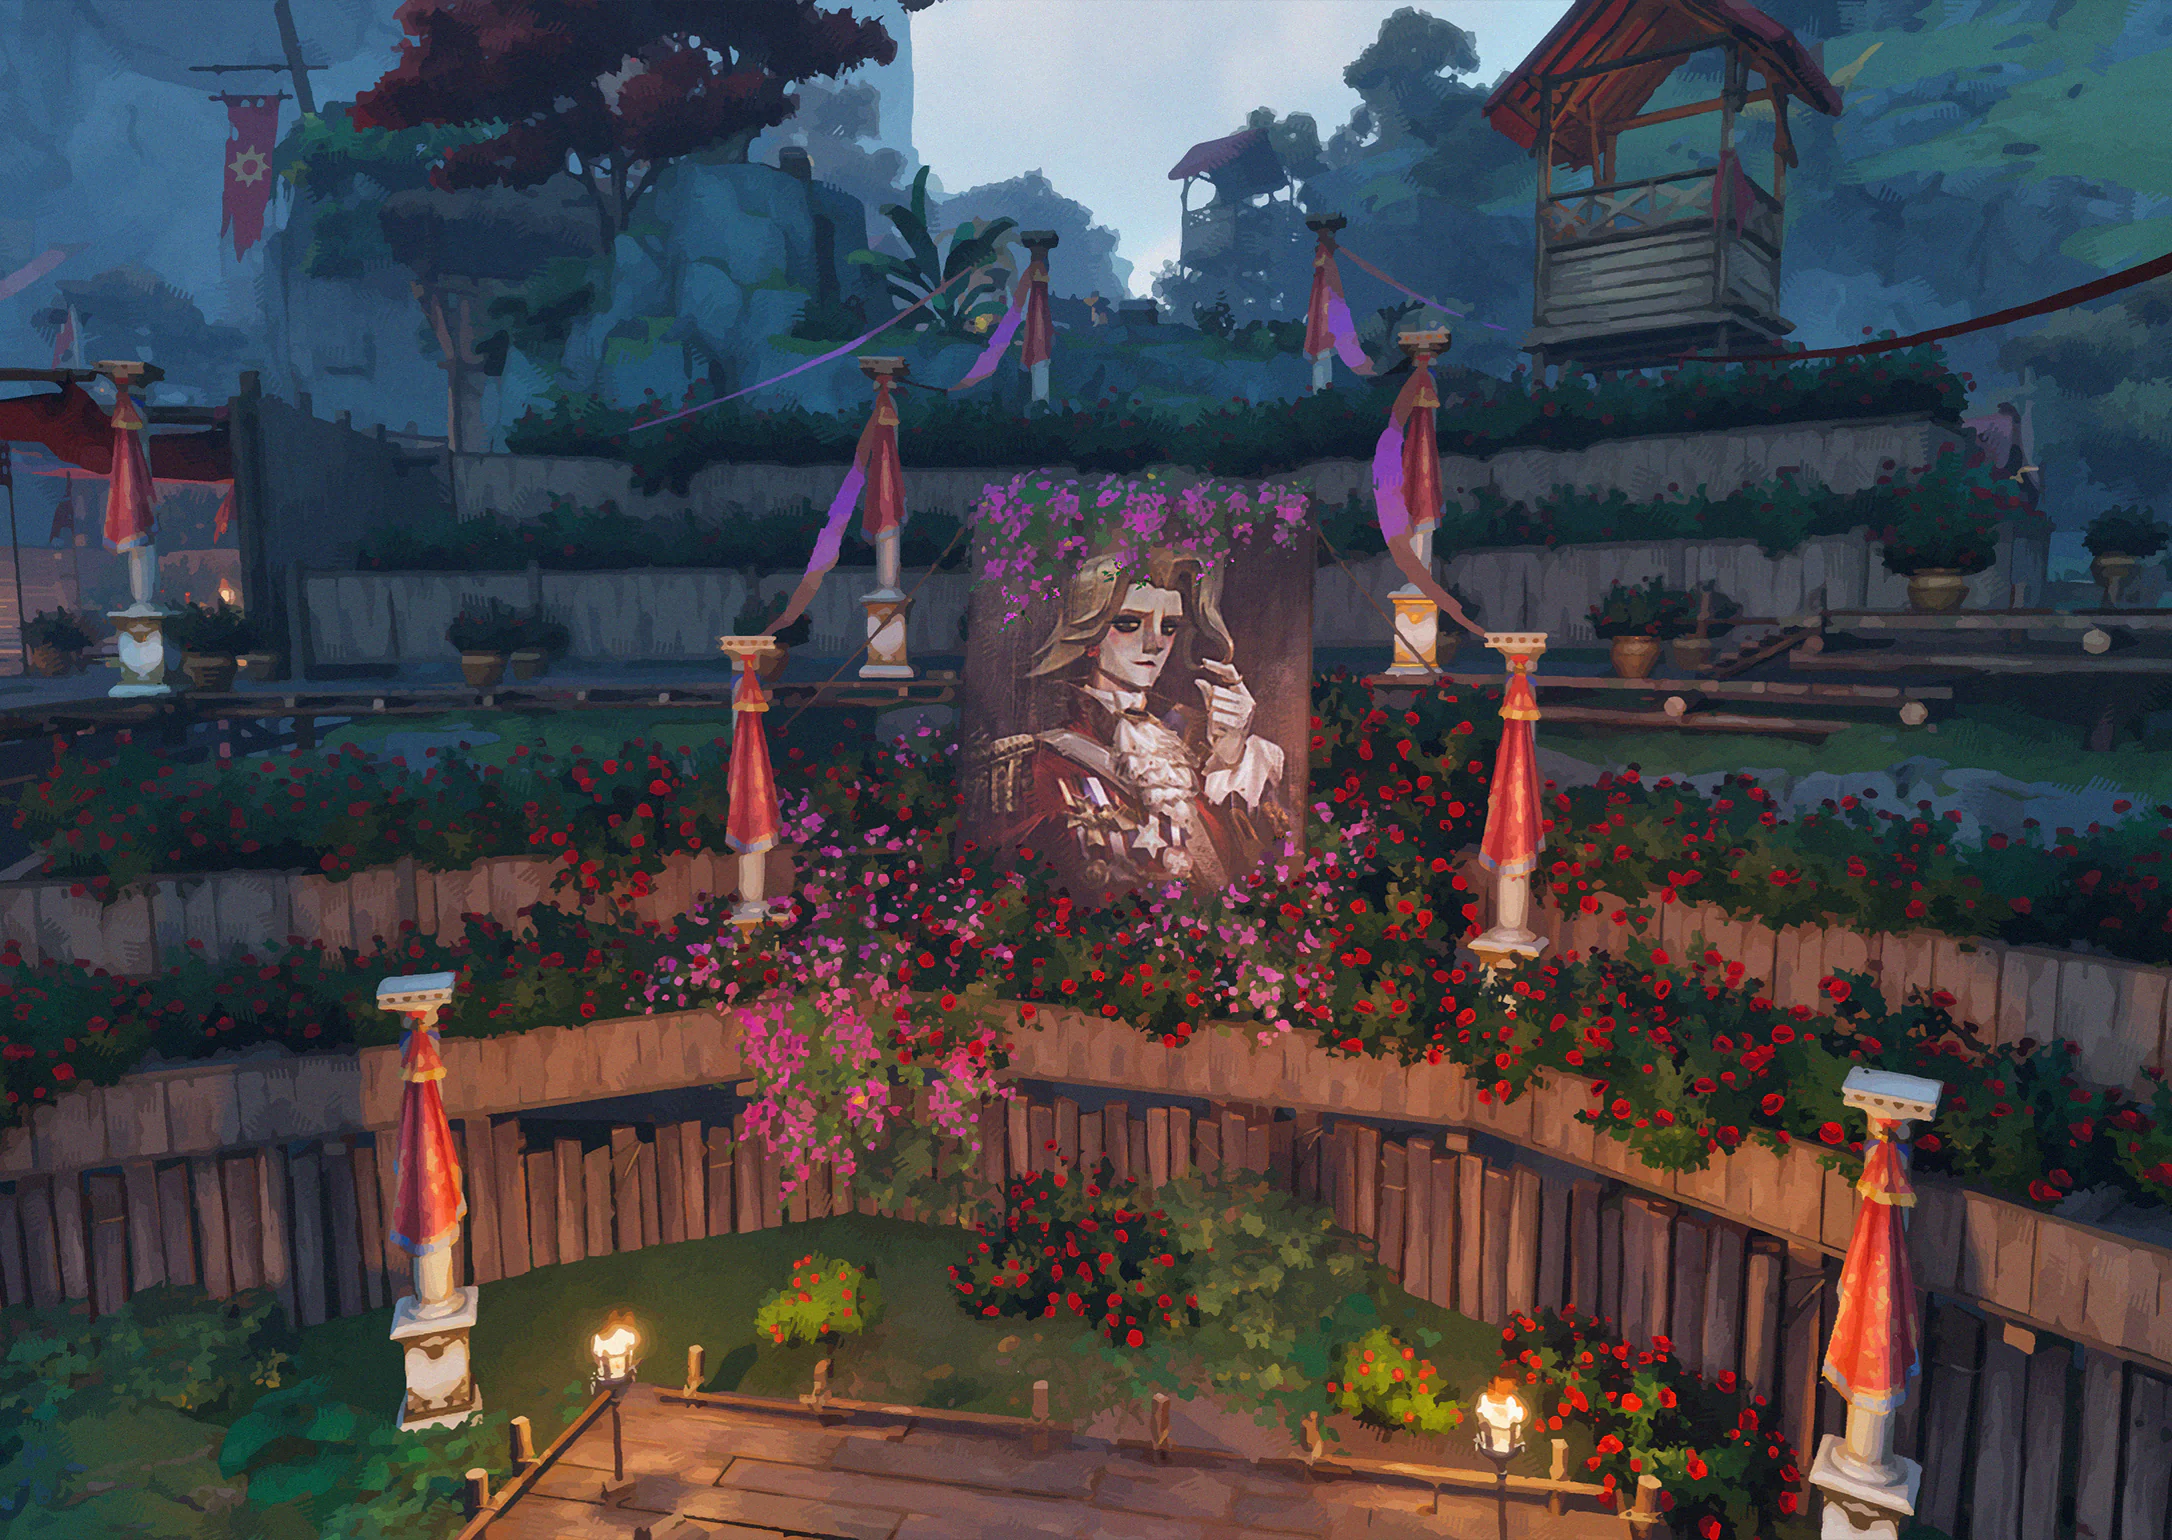
A huge wall of flowers frames Ingram's portrait. His admirers would go mad for it. Ais says they'd pay a fortune to be painted with the flowers and the portrait. We'd be rich by the end of the week.
Collection tip: Visit Bridge Crossing Island: Net Mire and record the sight. For caves and underground locations, check the floor.
![Bridge Crossing Island: Construction Site illustration]() Scenery #23Bridge Crossing Island: Construction SiteOpen
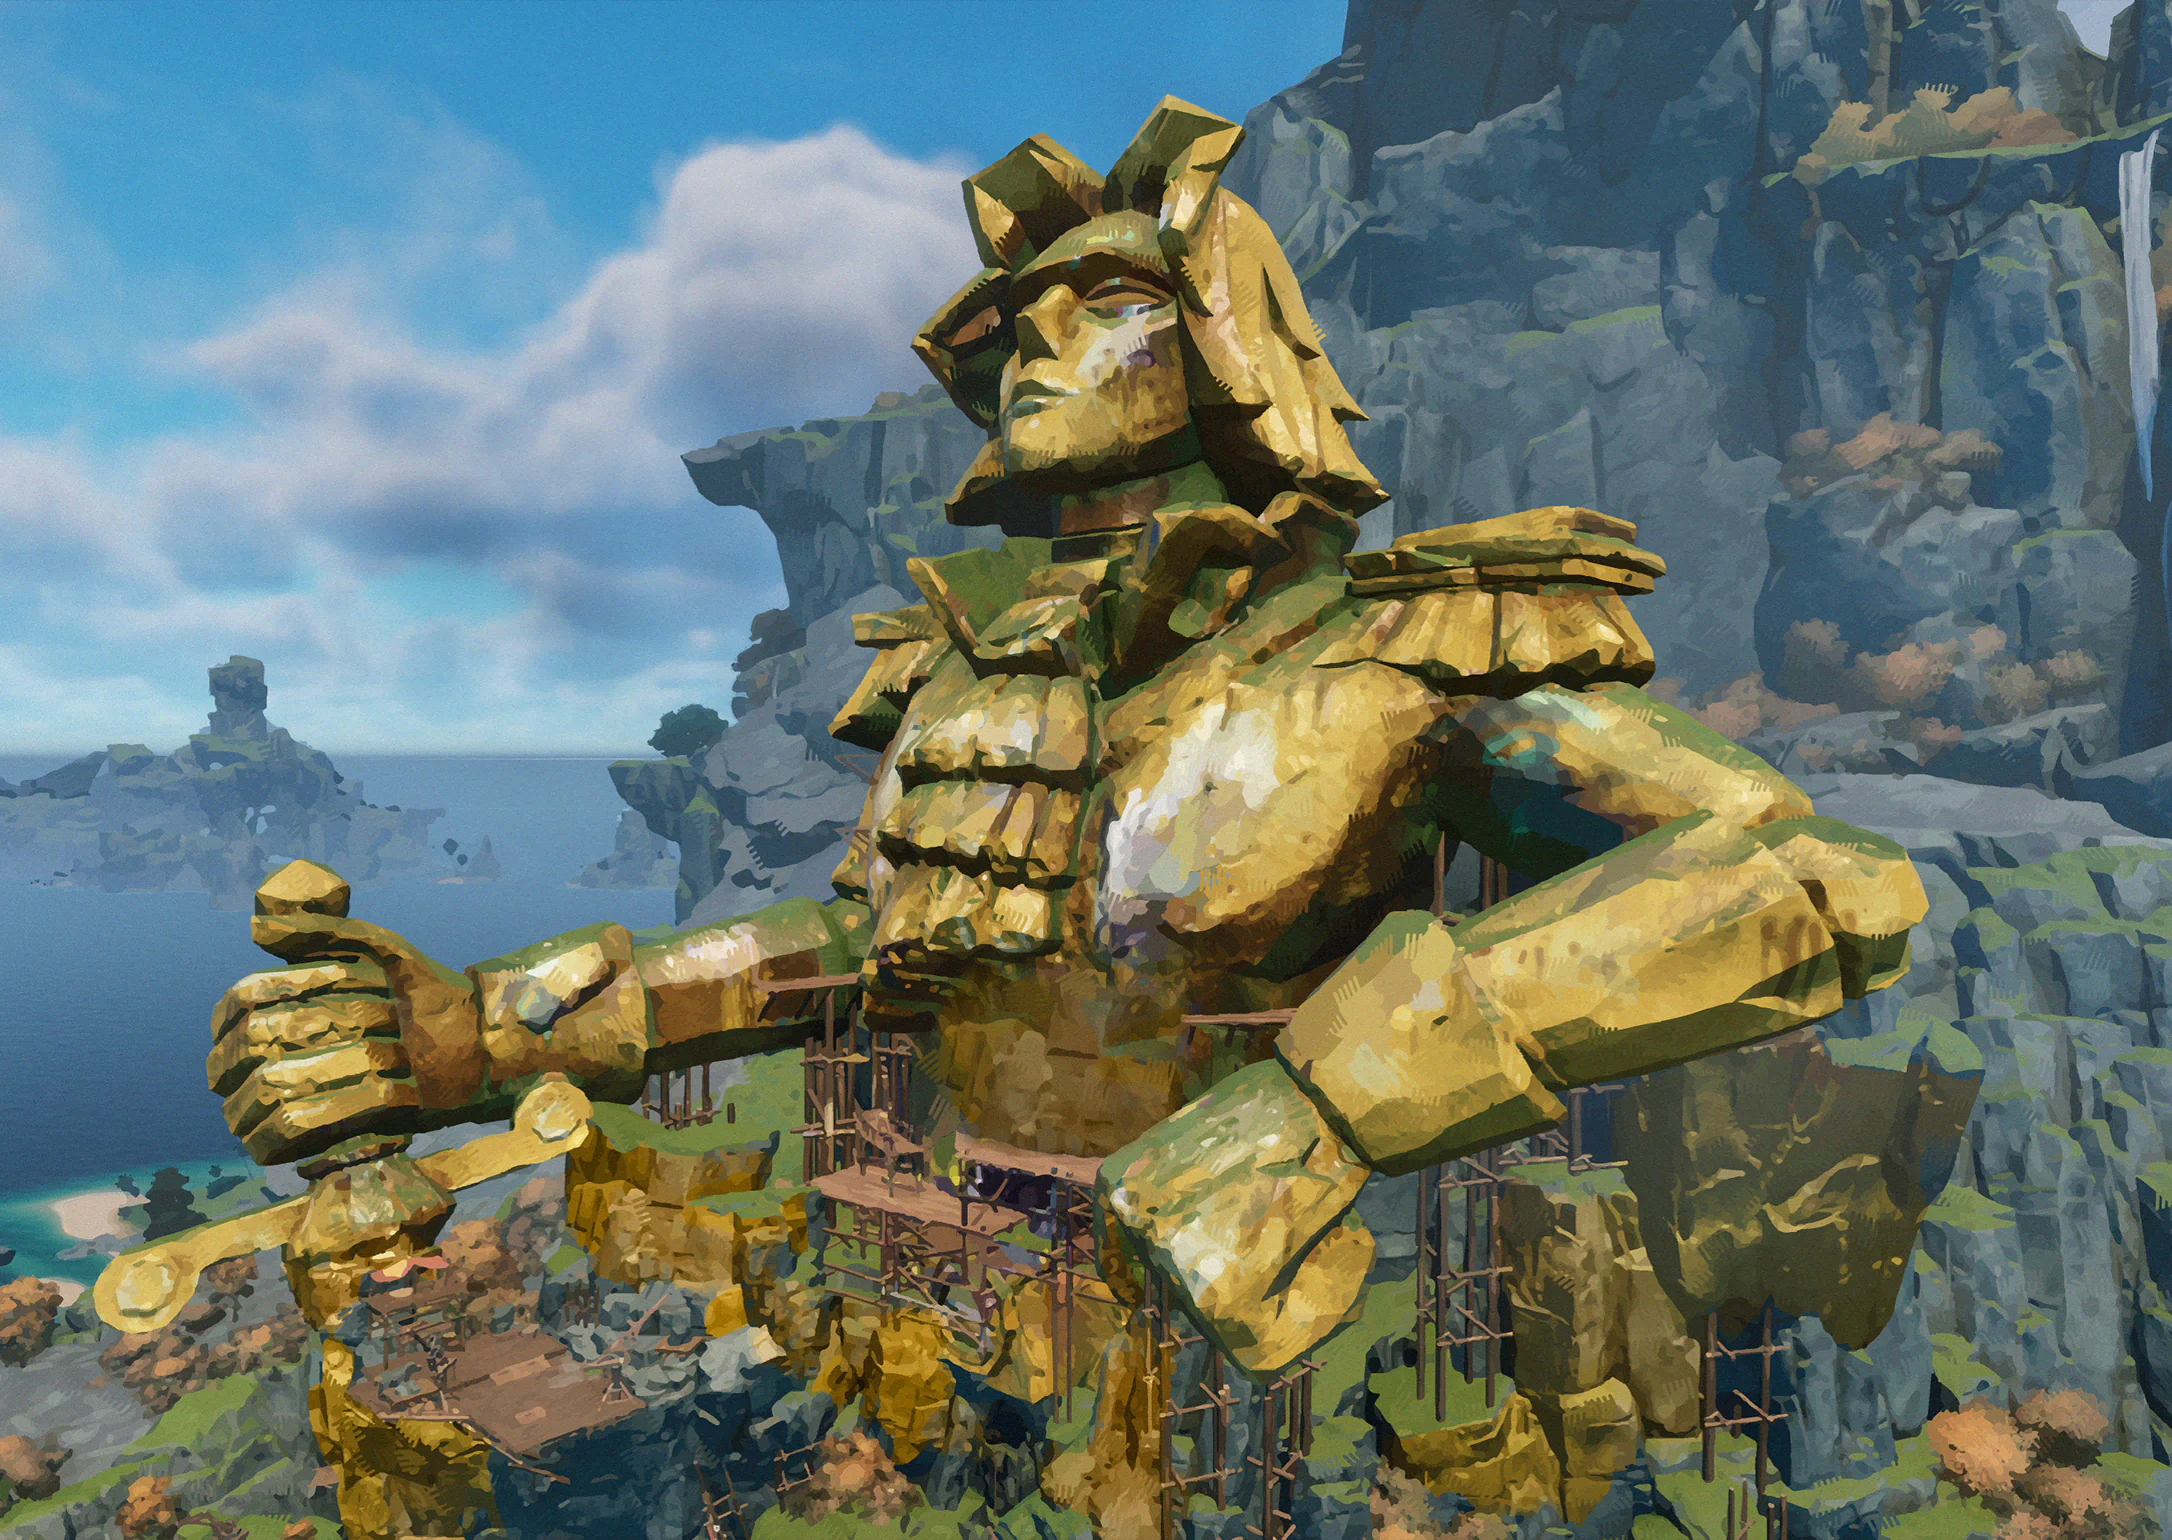
Neither of us knew what to say about the statue. Ais finally put it simply: Ingram could try a little harder.
Collection tip: Visit Bridge Crossing Island: Net Mire and record the sight. For caves and underground locations, check the floor.
![Bridge Crossing Island: Gulliver’s Kitchen illustration]() Scenery #24Bridge Crossing Island: Gulliver’s KitchenOpen
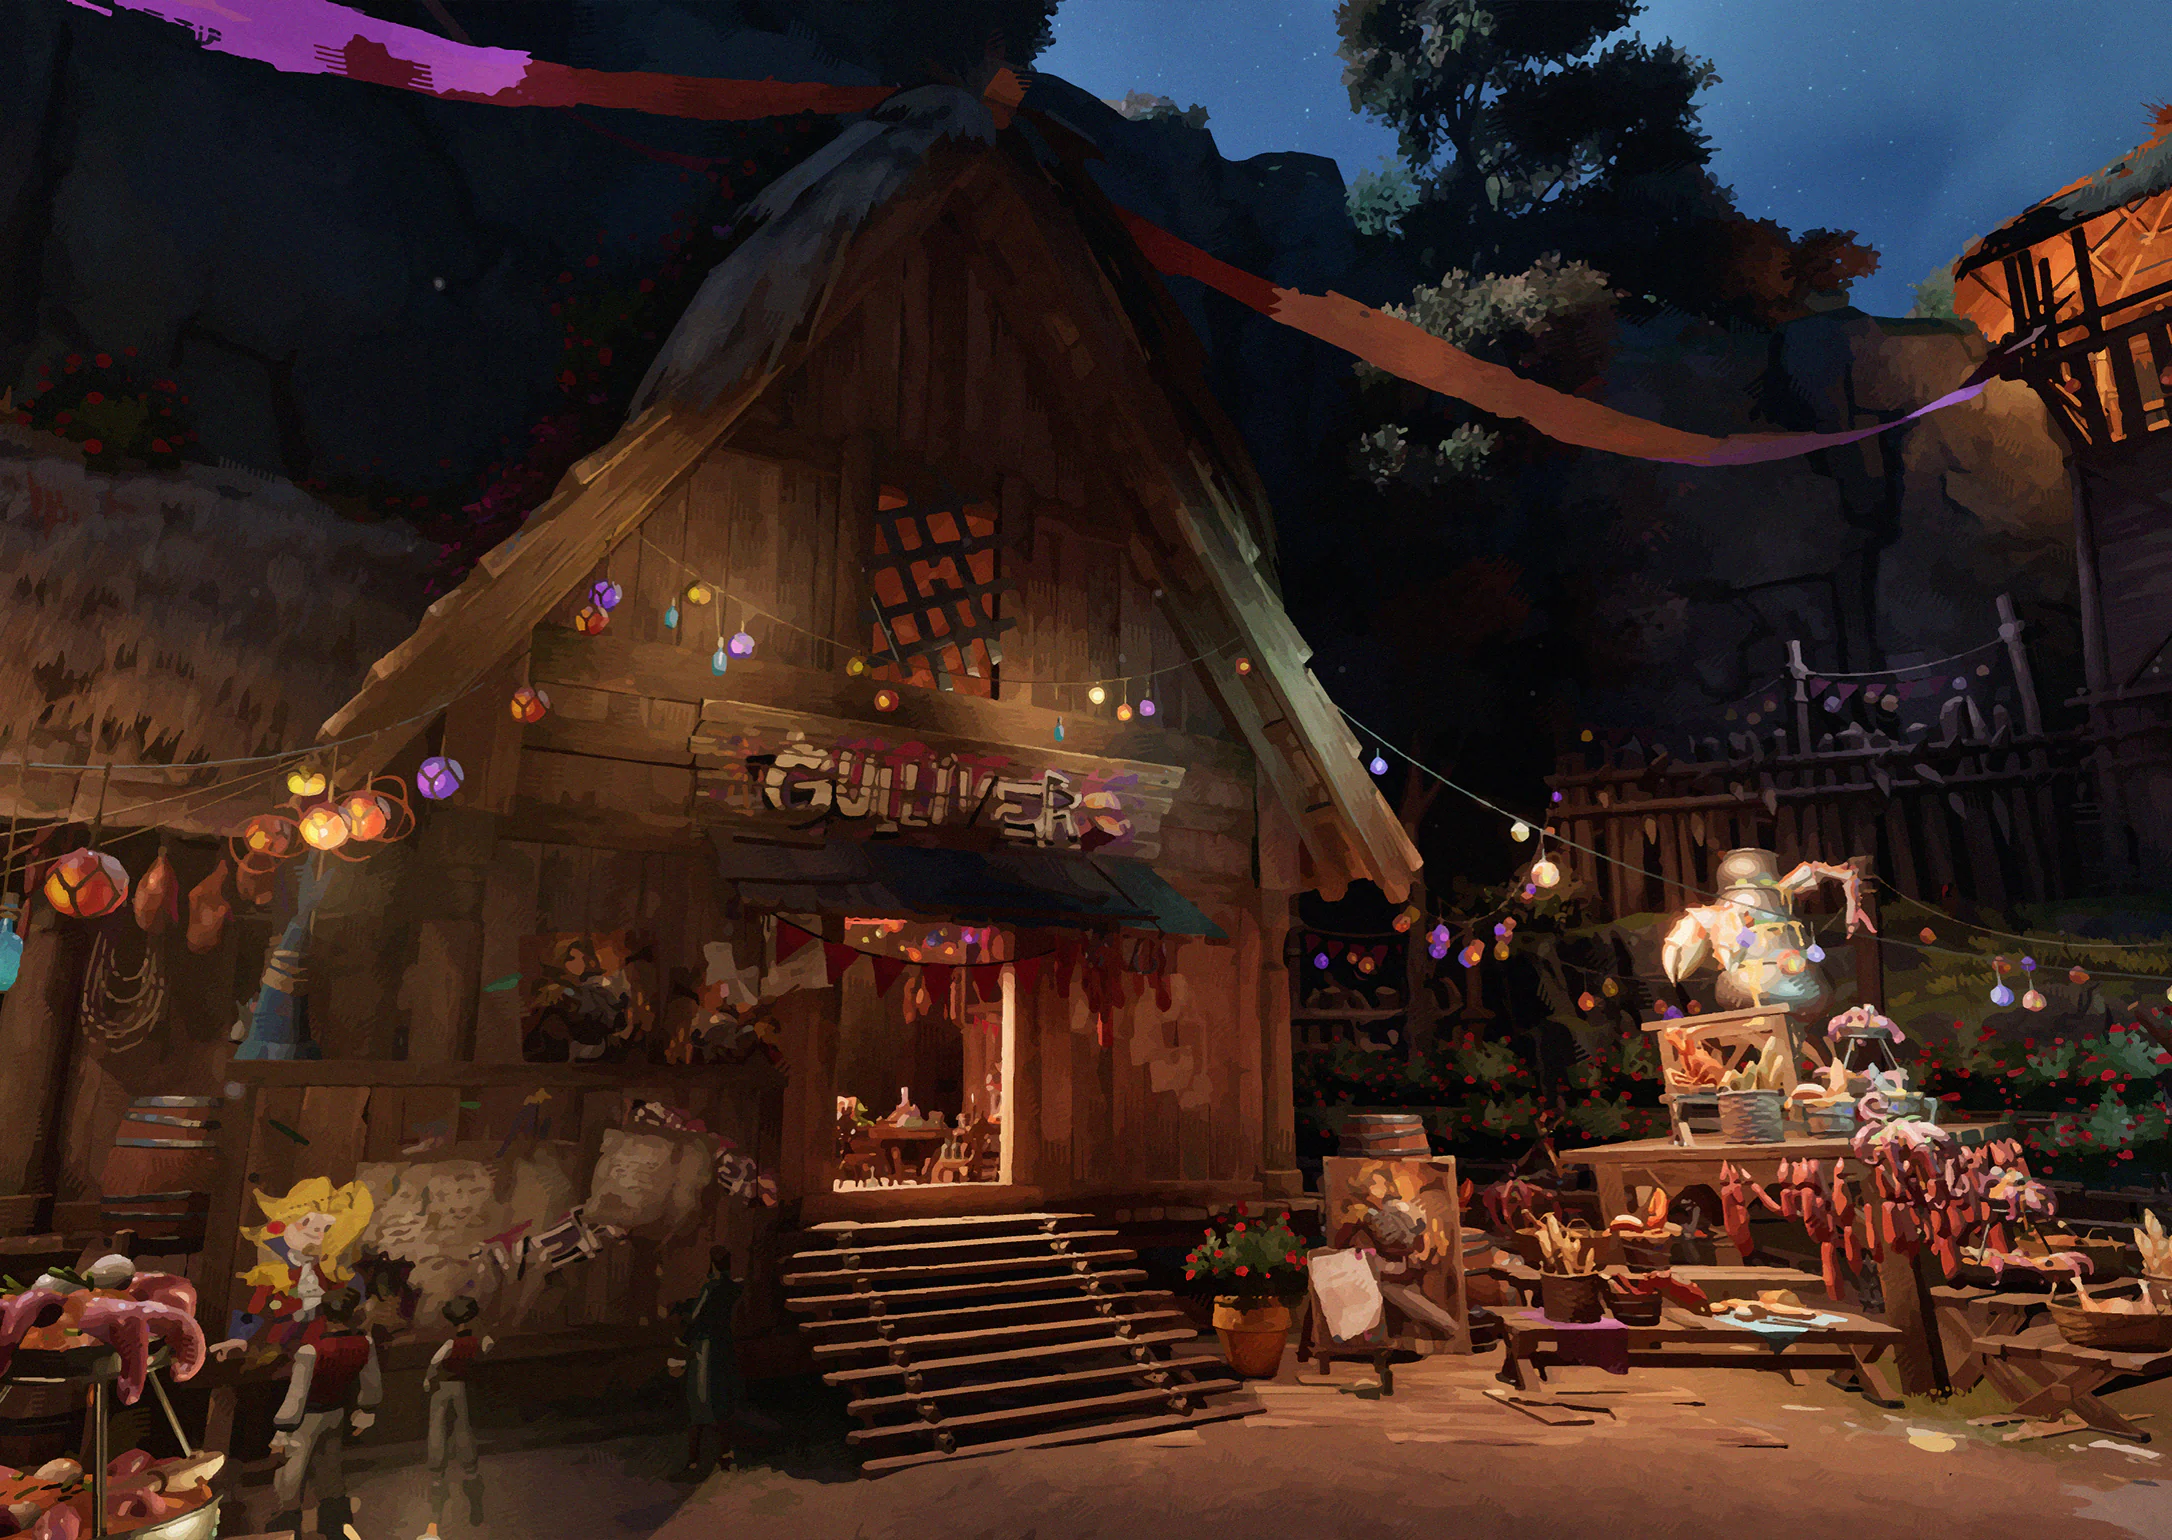
We watched Gulliver's Kitchen turn from a bare, cobwebbed shop into a crowded room glowing with candles. Ais says the owner's pockets got so full he popped two buttons on his Sea Eagle uniform. I think the uniform still helps. Raise a glass to the Lucky Duel!
Collection tip: Visit Bridge Crossing Island: Net Mire and record the sight. For caves and underground locations, check the floor.
![Statue Island · Altar of Mercy illustration]() Scenery #25Statue Island · Altar of MercyOpen
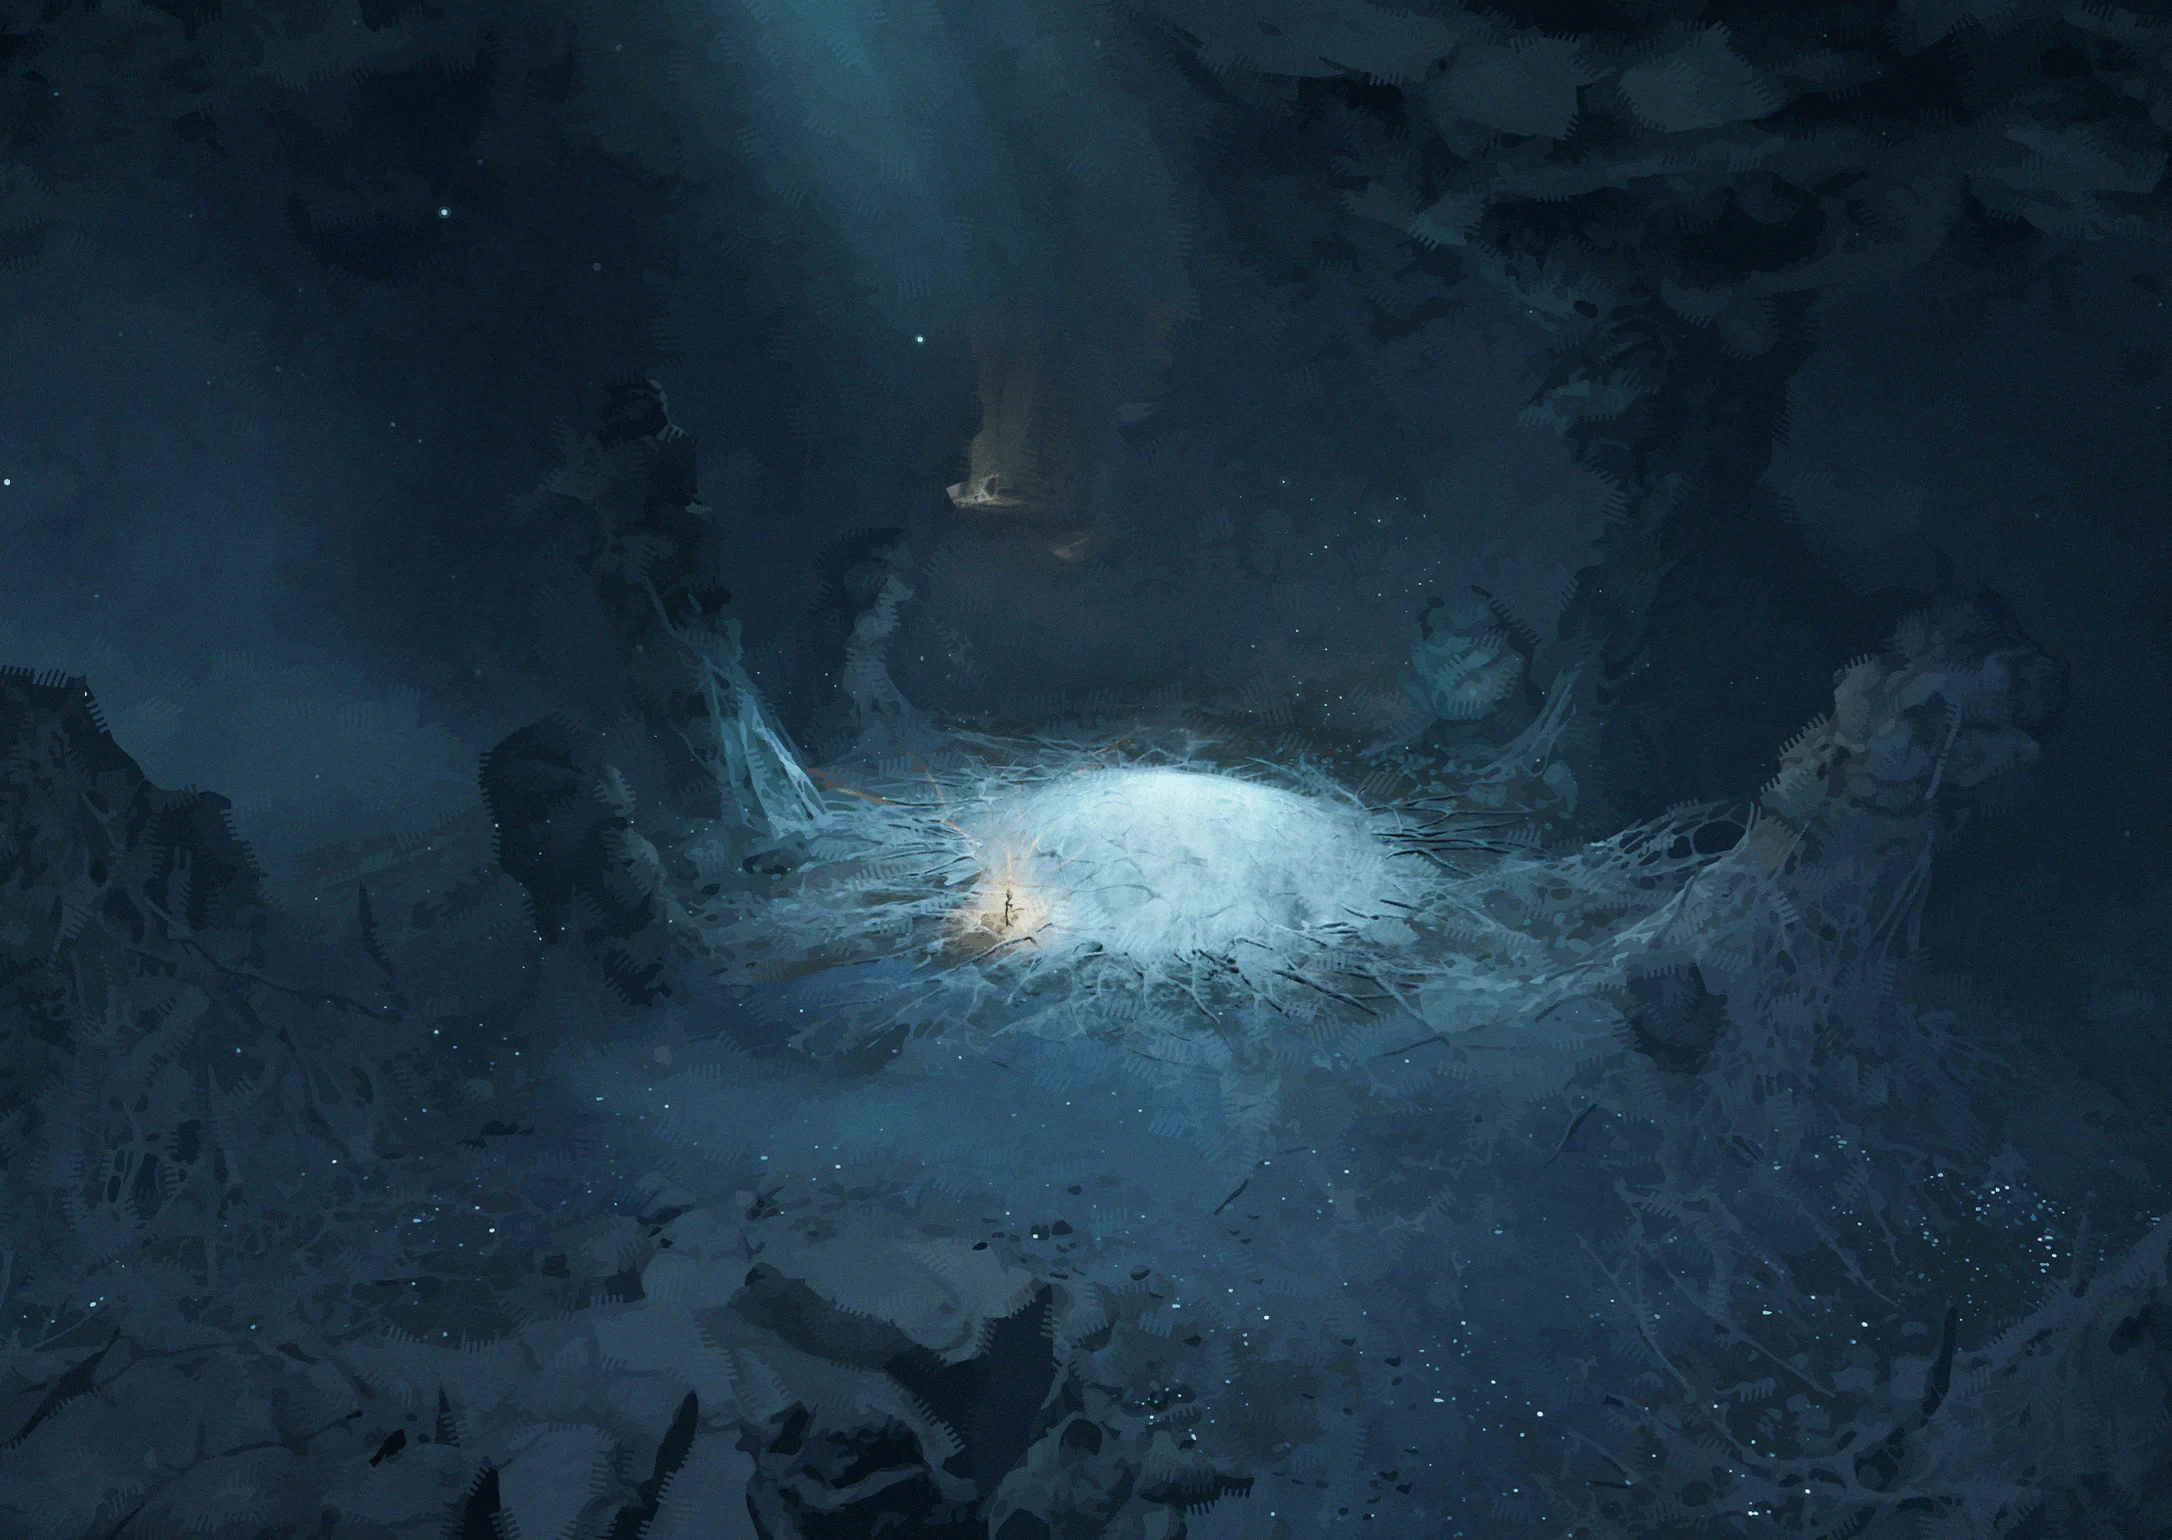
Fate turns in circles here. Ais says to look on the bright side. We sailed through a storm and saw the sun rise without knowing what tomorrow would bring. For now, we ended one unhappy cycle and brought a long-lost traveler home.
Collection tip: Visit Statue Island and record the sight. For caves and underground locations, check the floor.
![Statue Island · Ancestor Peak illustration]() Scenery #26Statue Island · Ancestor PeakOpen
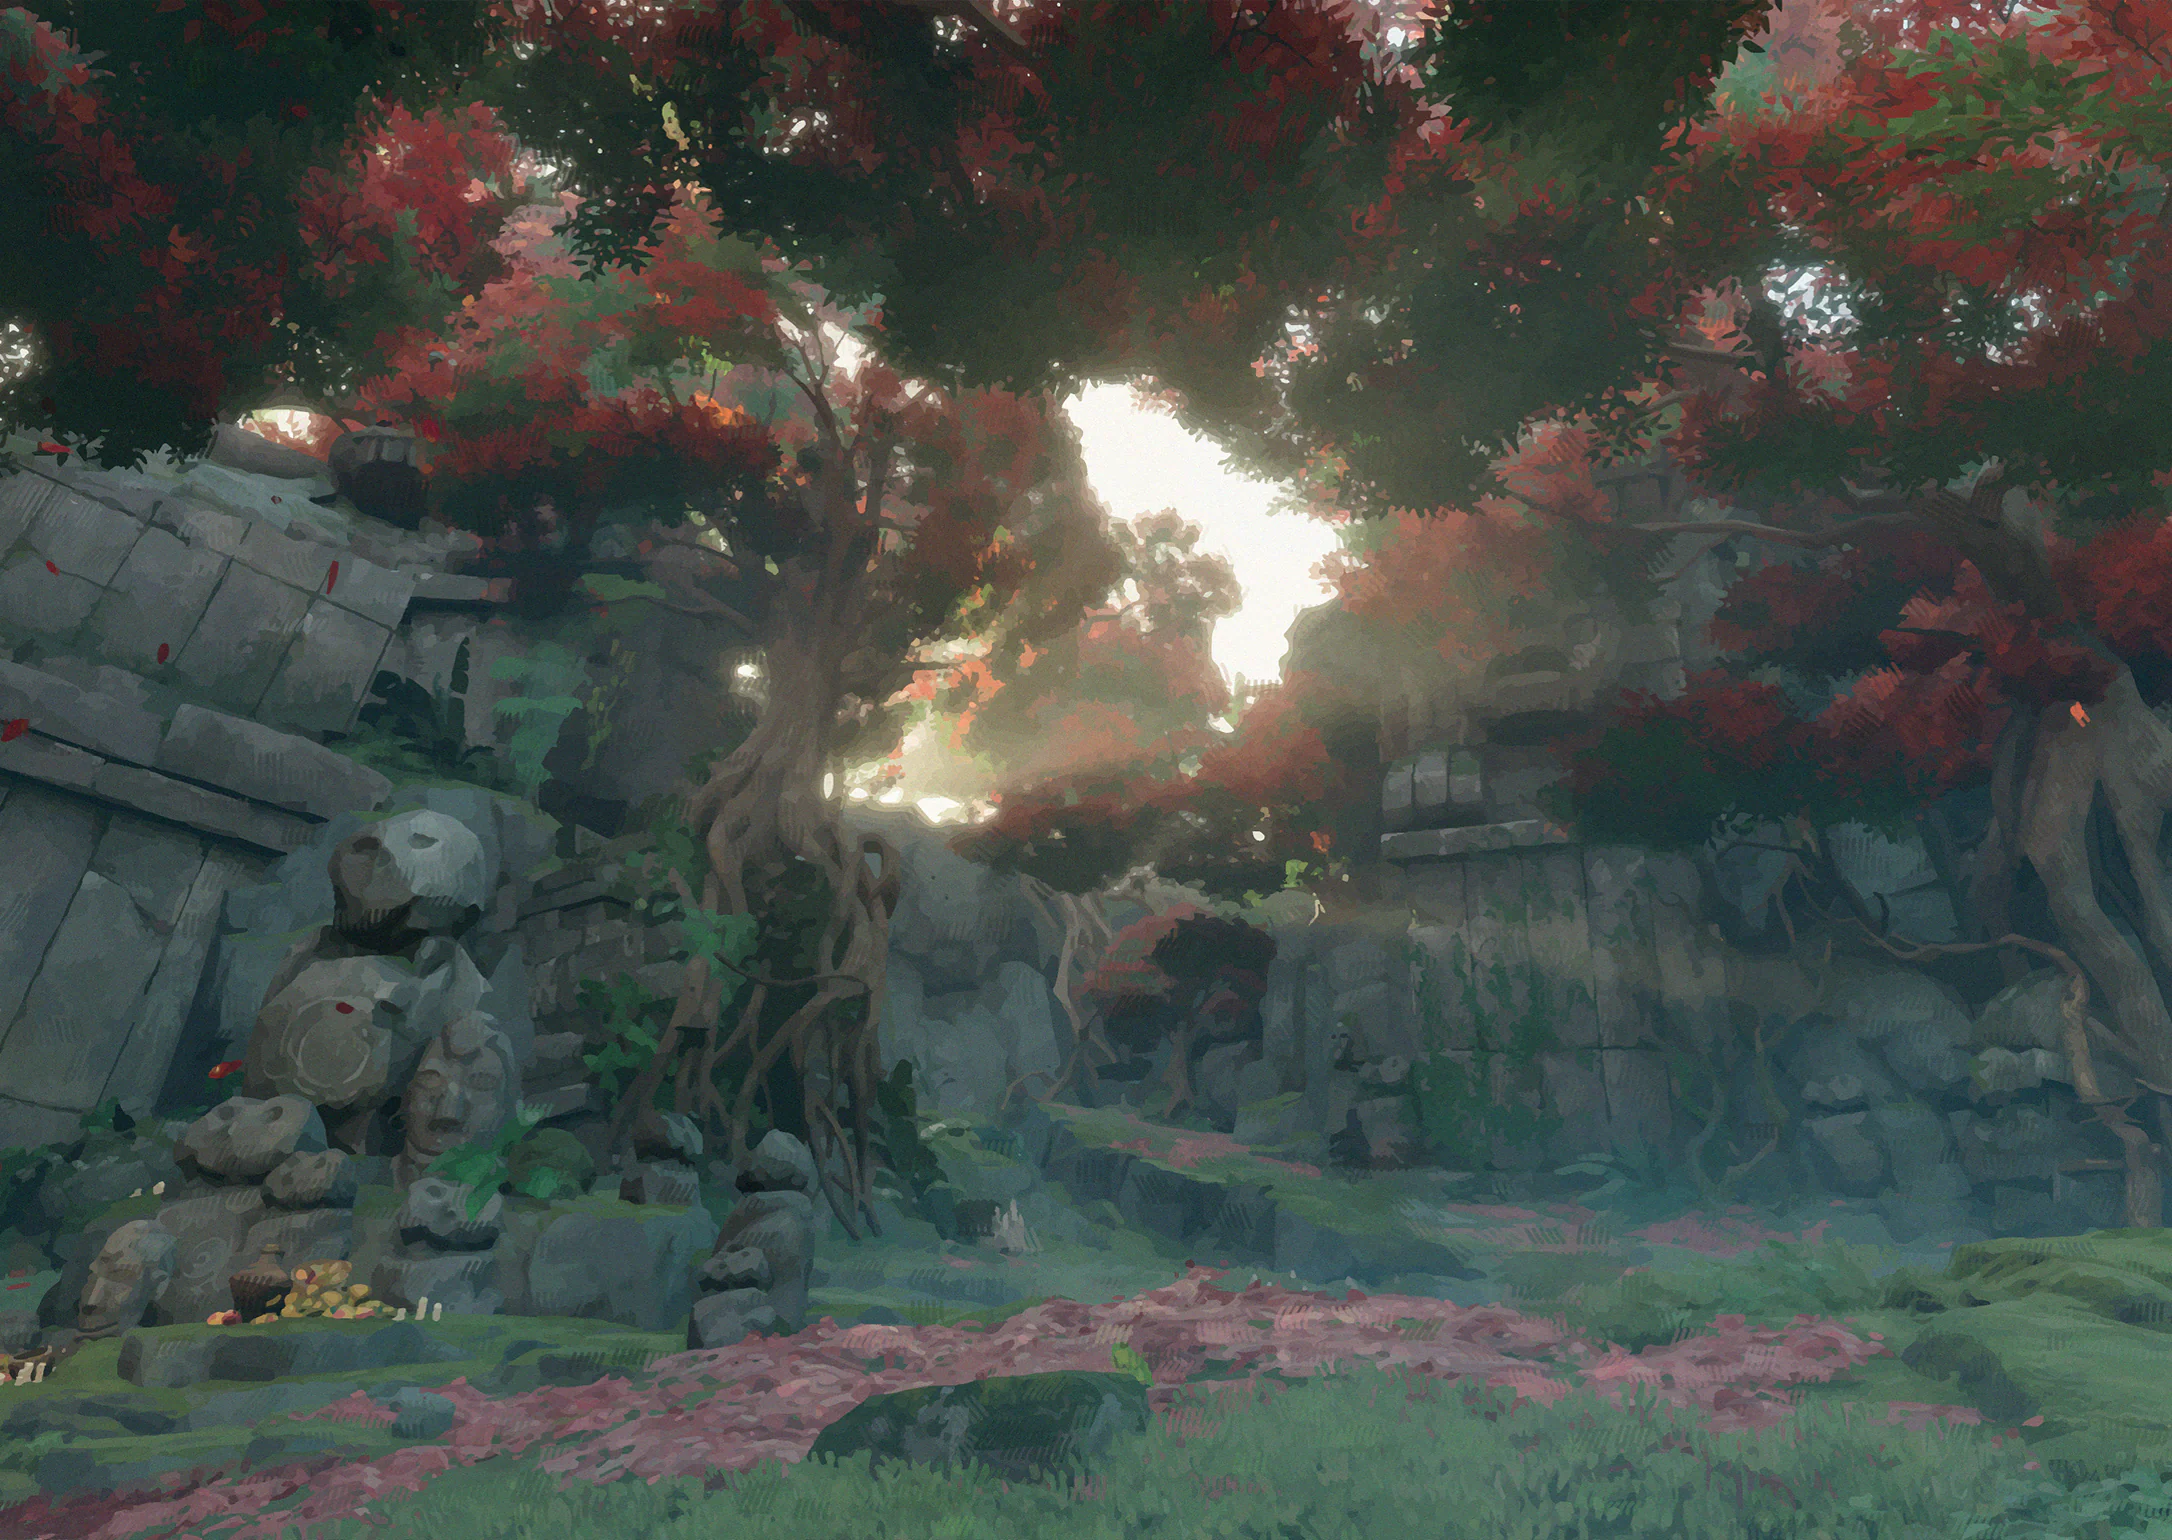
Sunlight broke through red leaves as statues looked out from the peak. Each must have a story of its own. If Ais ever carves ours, she says she'll start with her secret cabin. That's where it began.
Collection tip: Visit Statue Island and record the sight. For caves and underground locations, check the floor.
![Statue Island · Quiet Sanctuary illustration]() Scenery #27Statue Island · Quiet SanctuaryOpen
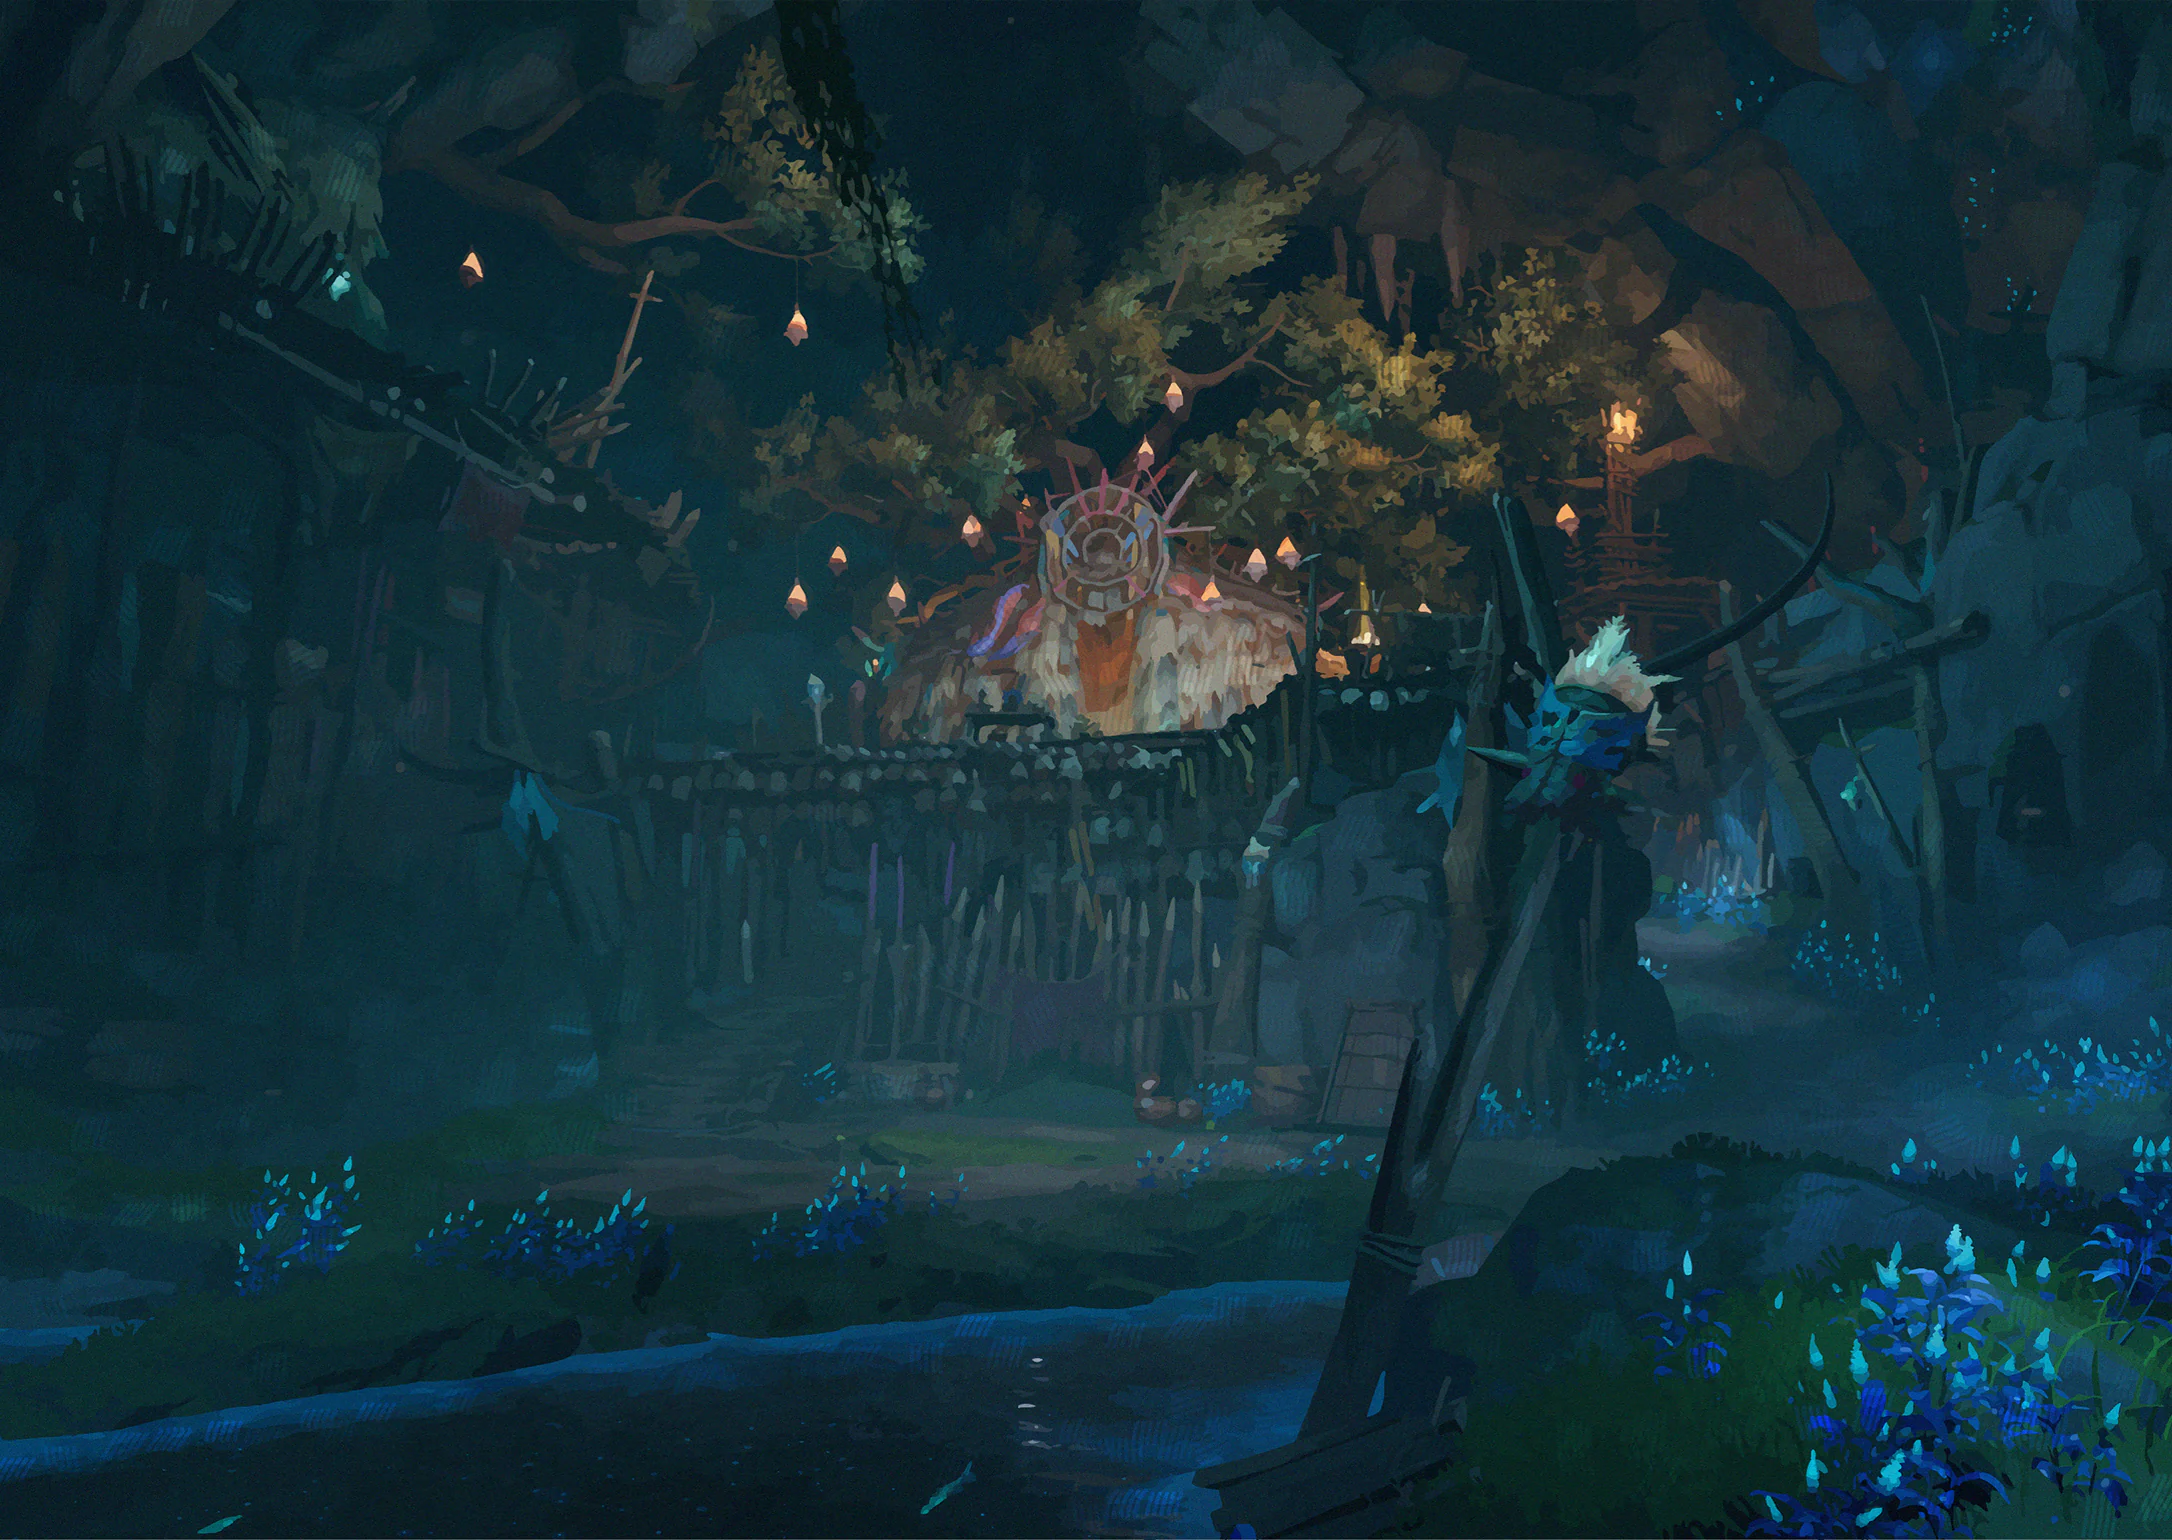
The islanders admit visitors to this sacred sanctuary only by permission. It houses the priests and carries the hope that the people will endure. The cold would make even a priest ill. That's a heavy hope to carry.
Collection tip: Visit Statue Island and record the sight. For caves and underground locations, check the floor.
![Statue Island · Lingering Memories illustration]() Scenery #28Statue Island · Lingering MemoriesOpen
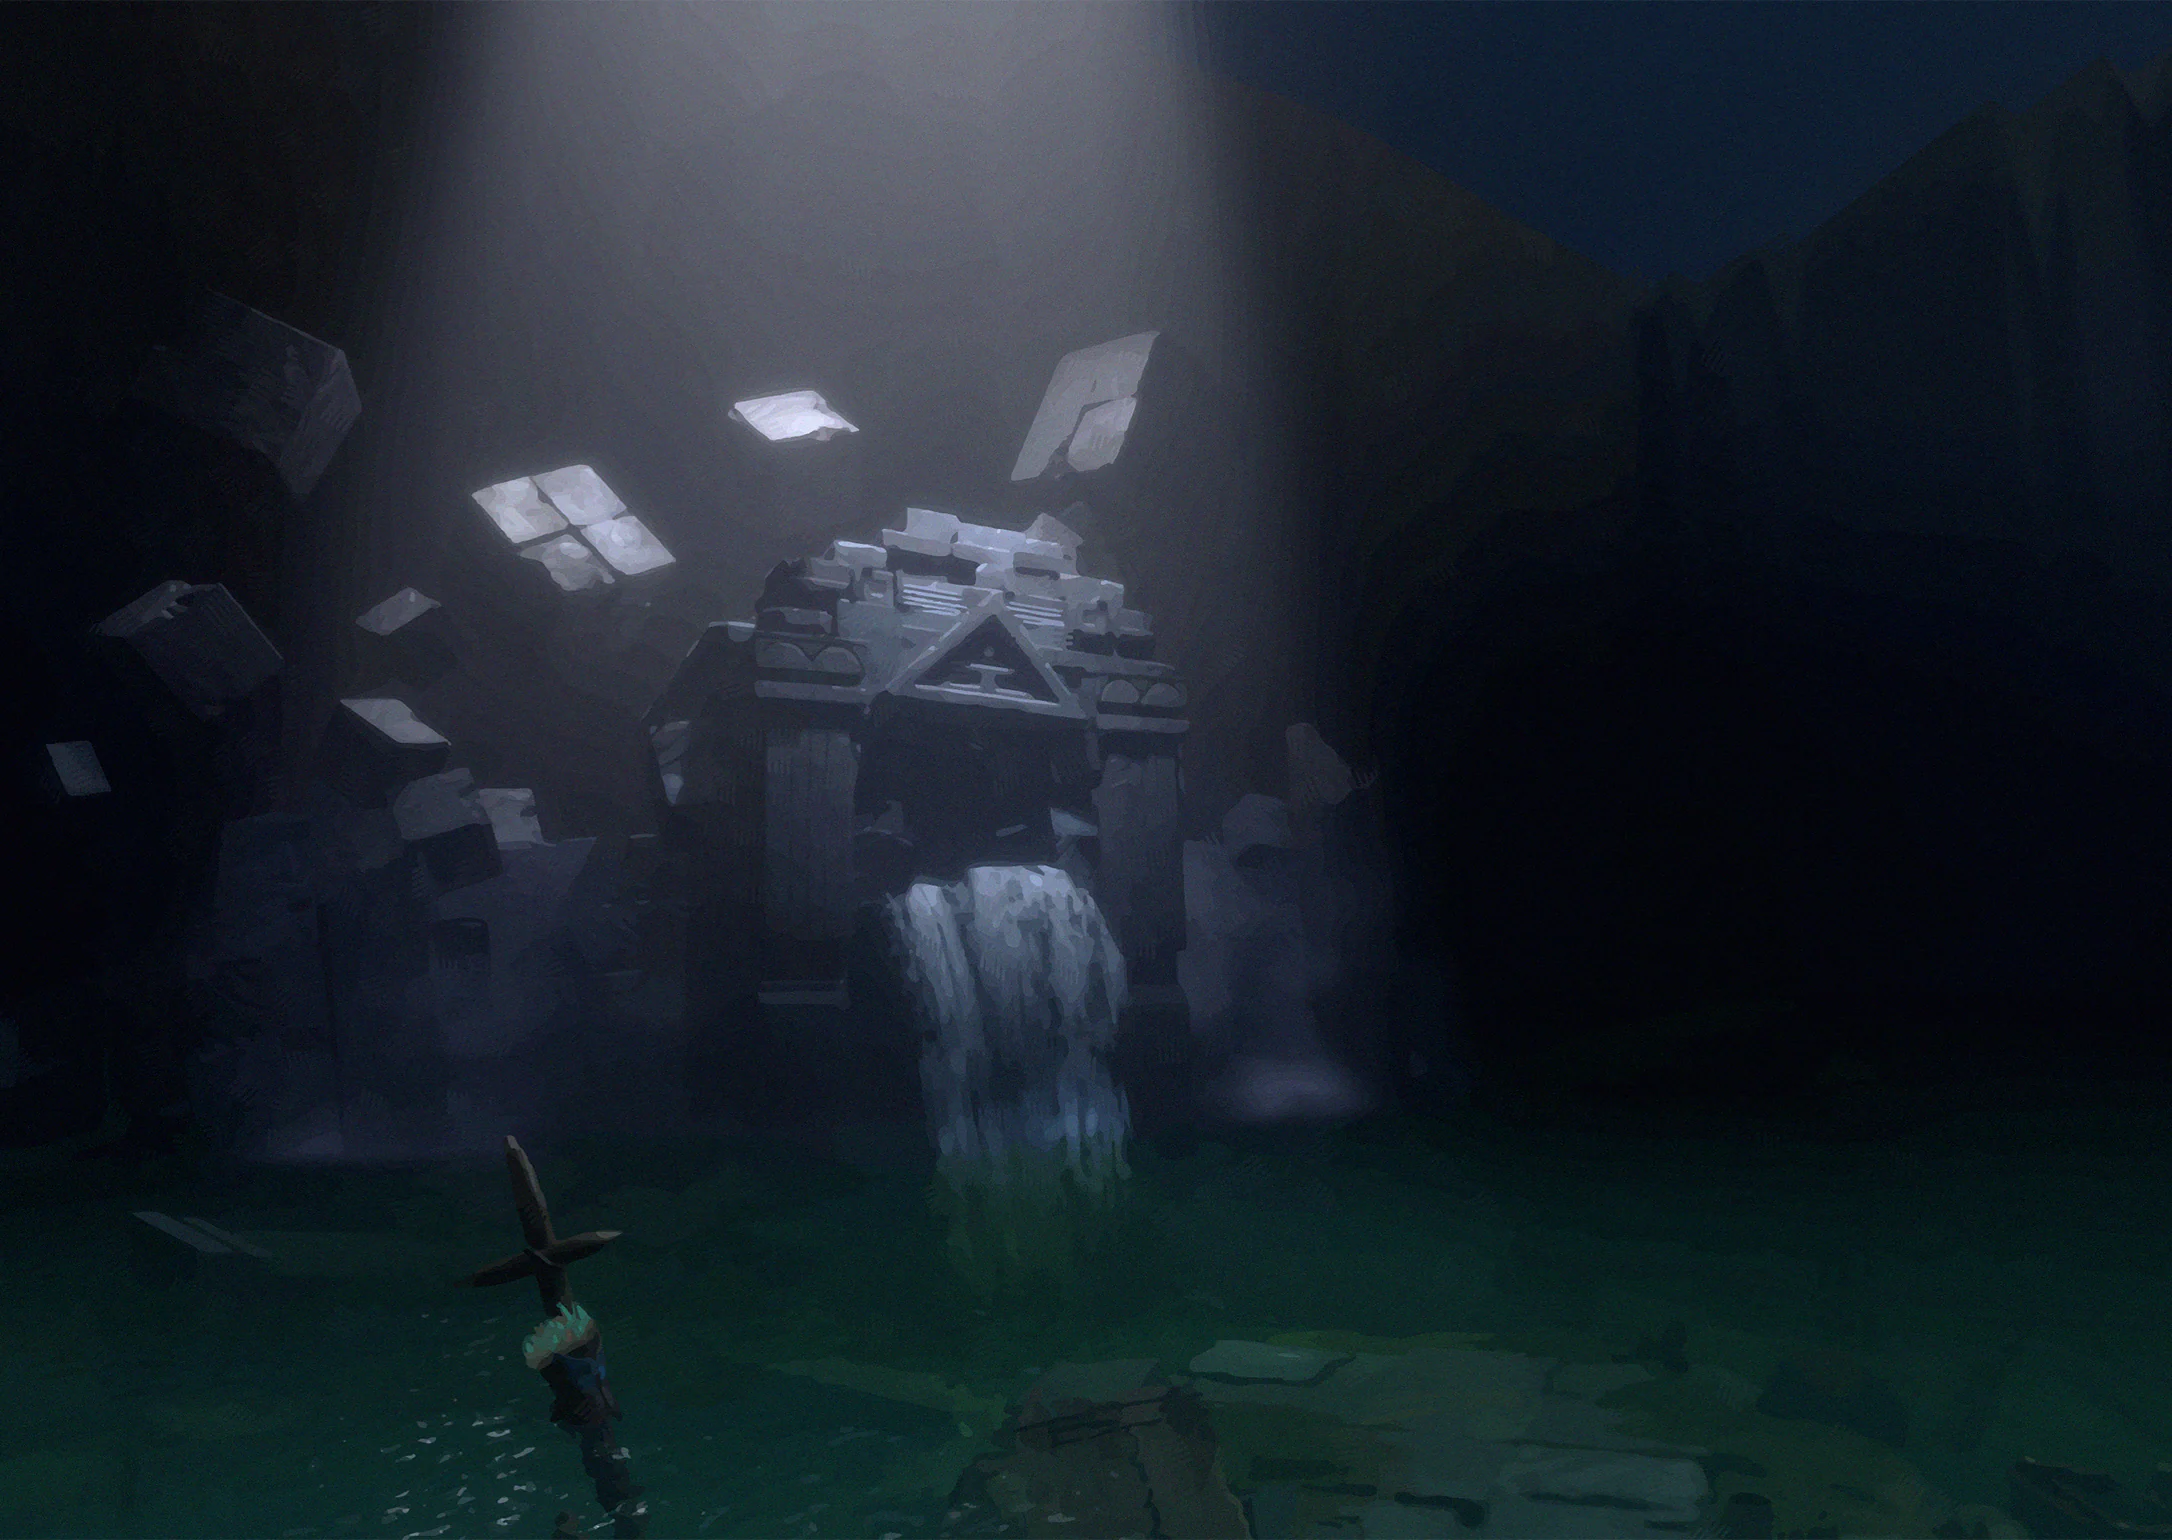
Little light reaches this place, and the water could rise at any moment. Ais and I held on to each other as we saw pieces of the island's past in the dark. We wrote down what we remembered so the story wouldn't be lost again.
Collection tip: Visit Statue Island and record the sight. For caves and underground locations, check the floor.
![Statue Island · Kusi’s Old House illustration]() Scenery #29Statue Island · Kusi’s Old HouseOpen
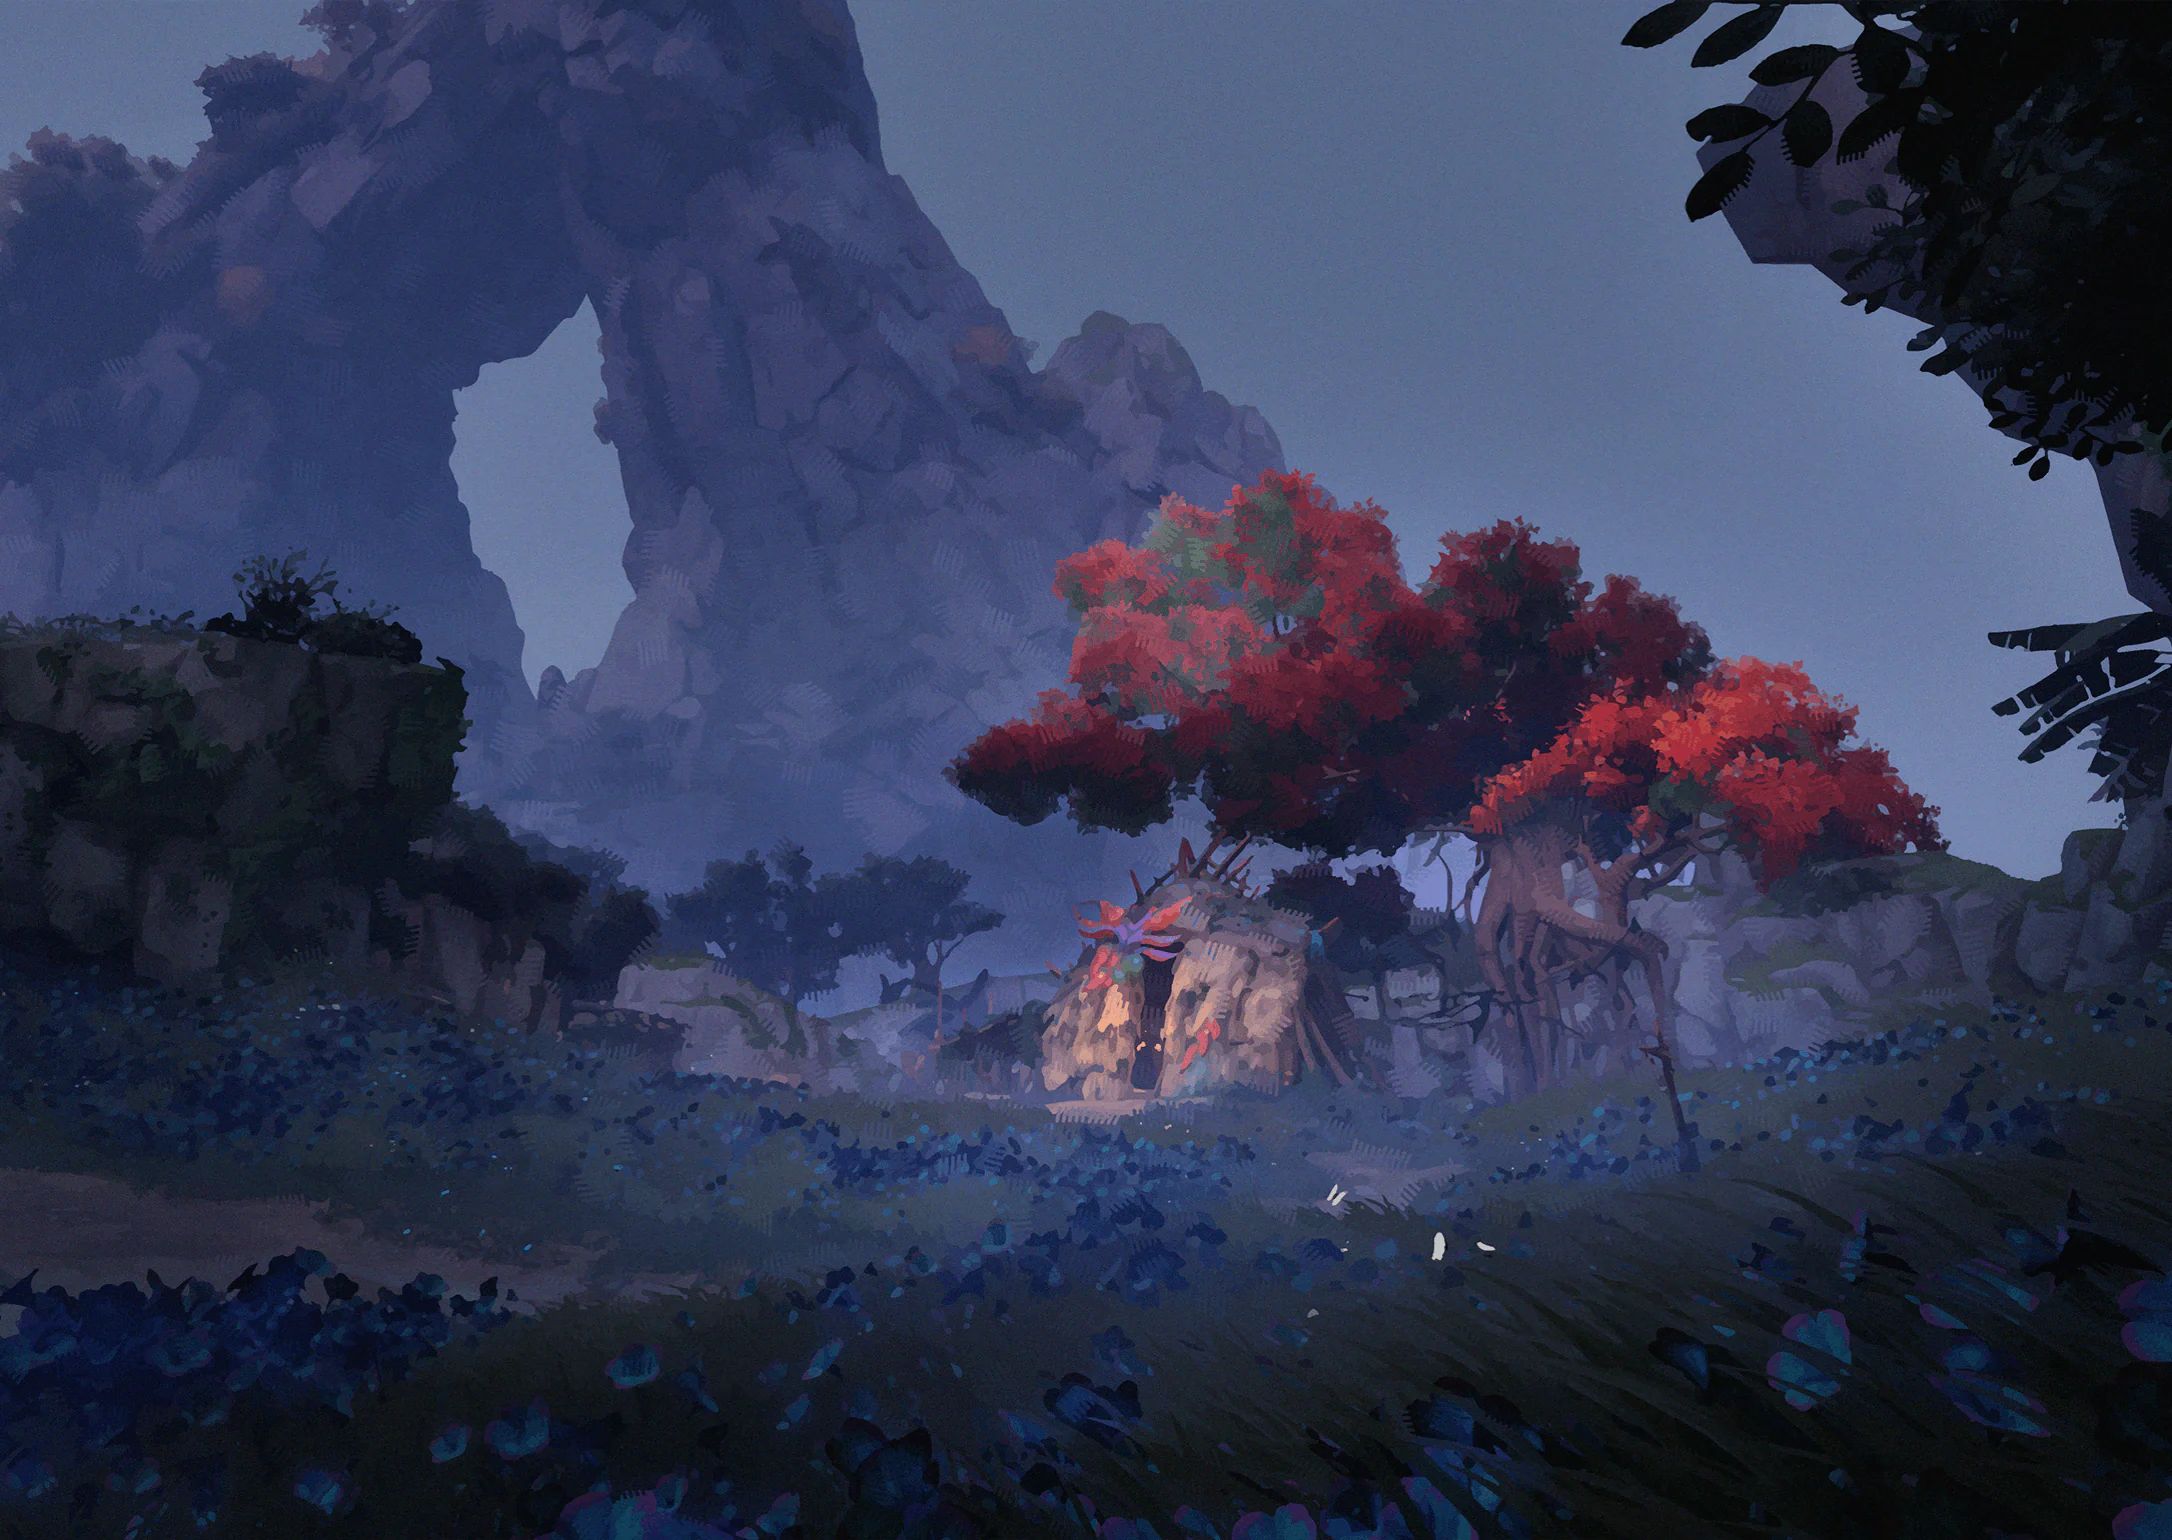
Kusi's house has been cared for long after he left. Did the flowers, the old tree and the stream see the two children at their happiest? Ais decorated the statue. For someone always at sea, a person willing to wait for you is more reassuring than any harbor.
Collection tip: Visit Statue Island and record the sight. For caves and underground locations, check the floor.
![Deepwood Island · Forest Village illustration]() Scenery #30Deepwood Island · Forest VillageOpen
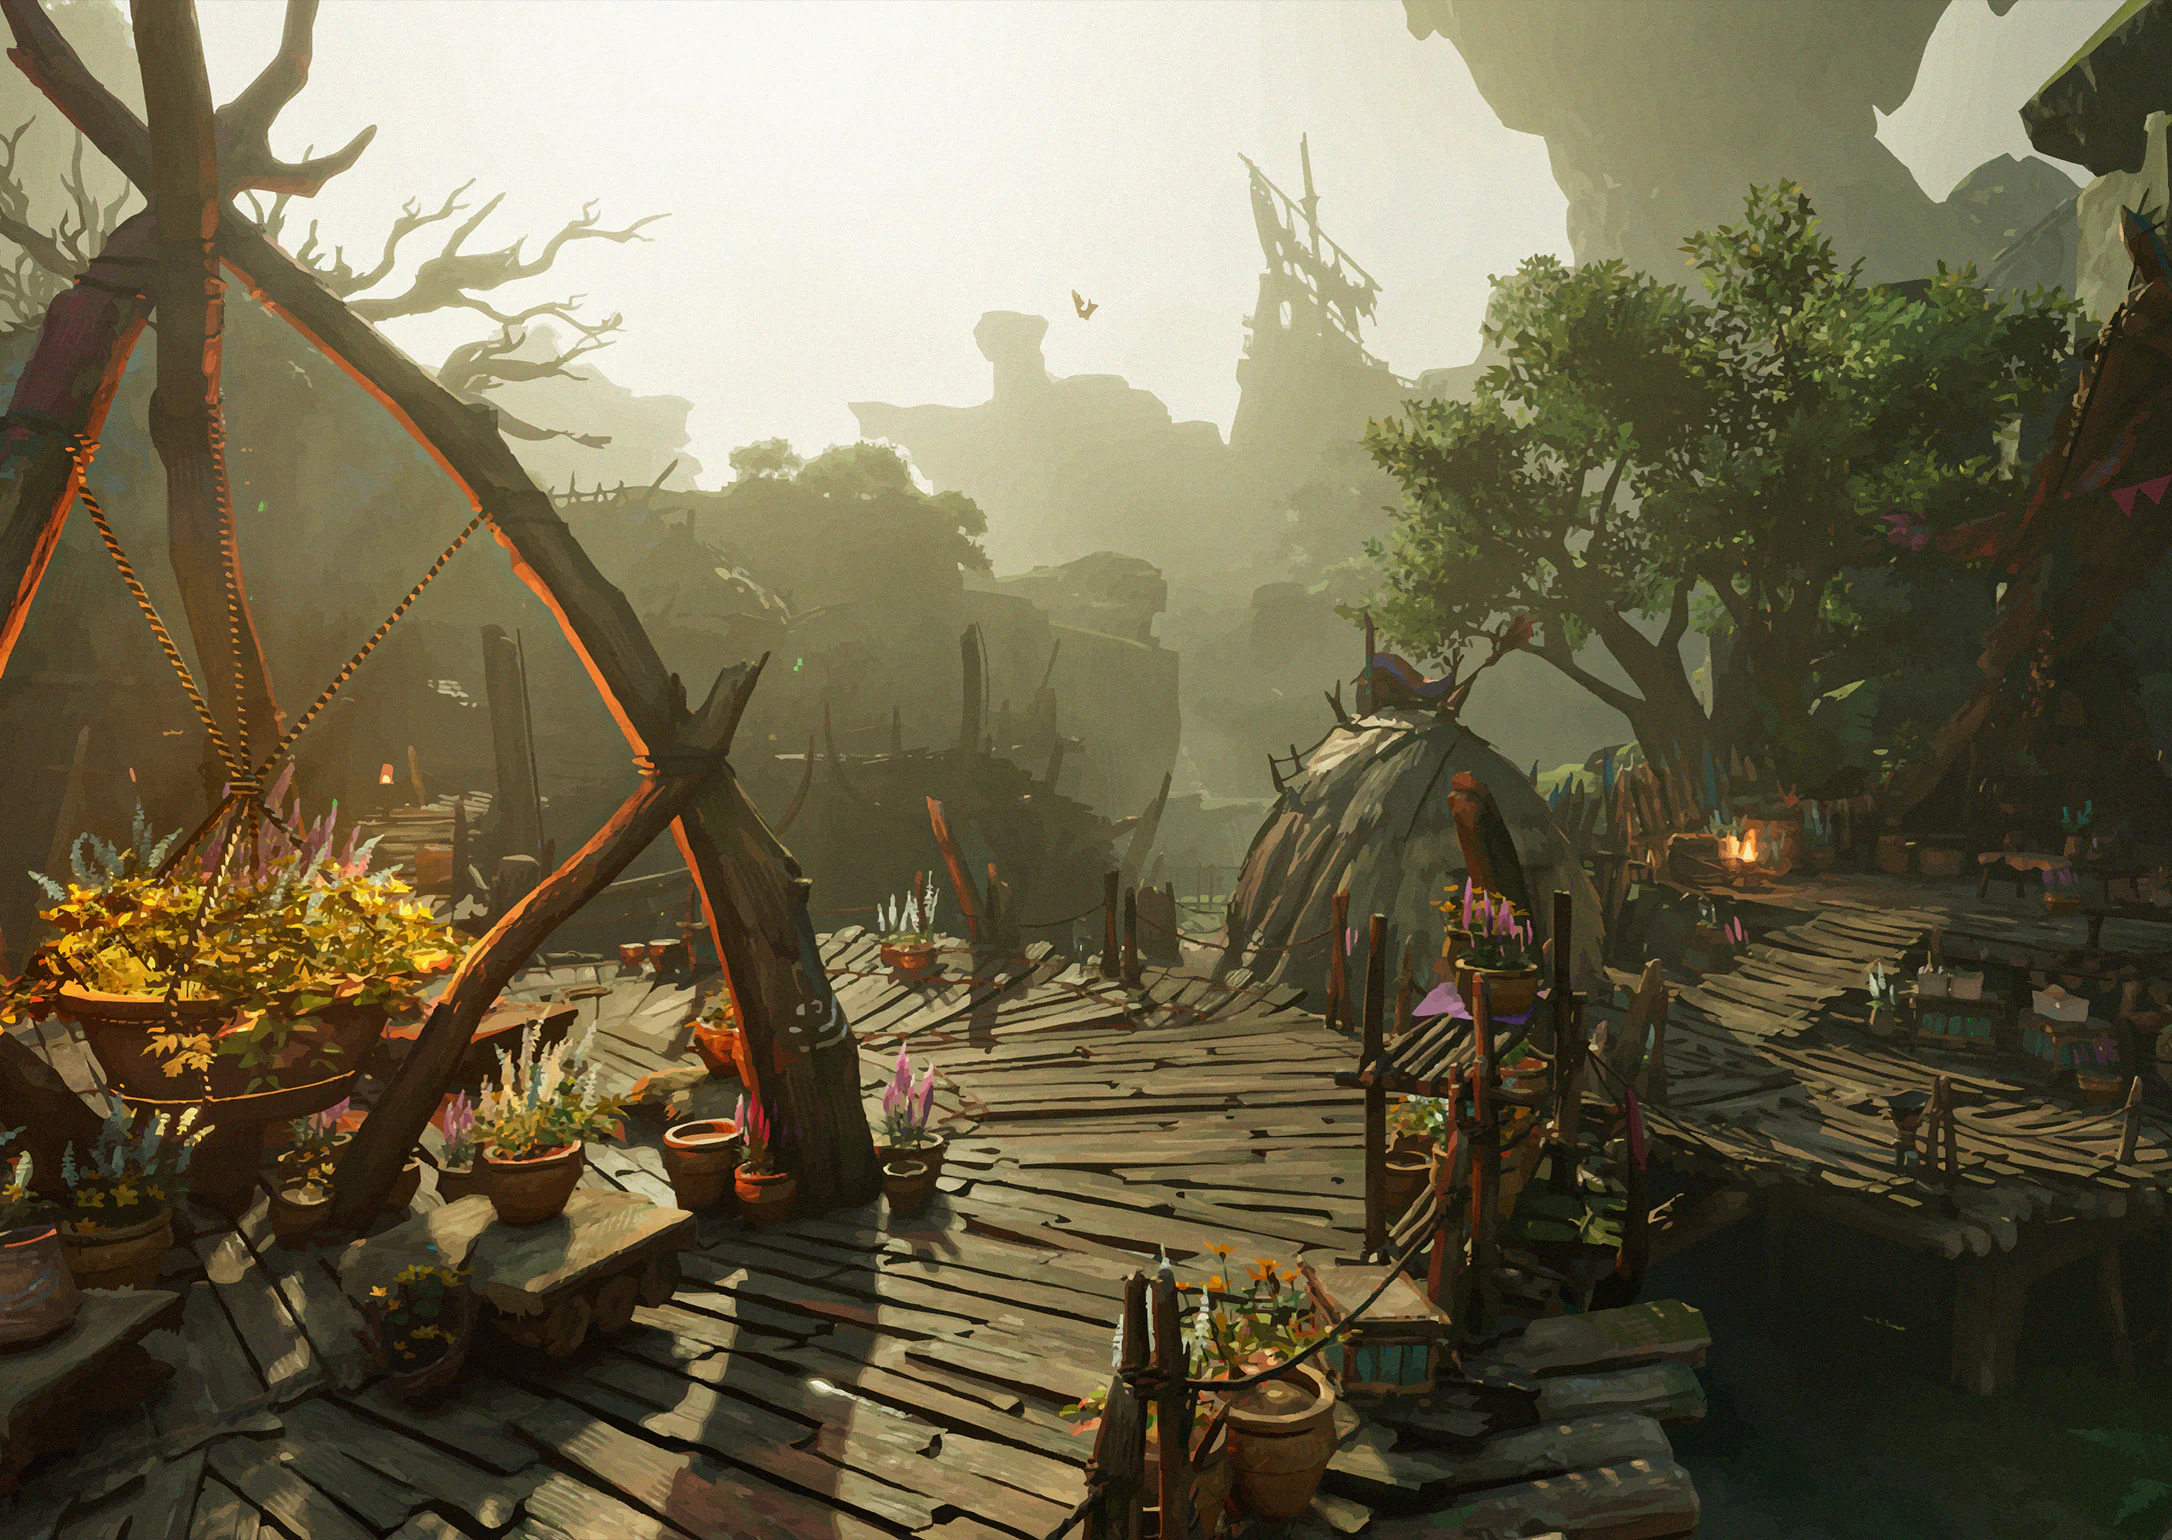
The village gave us a warm welcome. Ais stopped by the flowers and listened to the islanders explain them. It was the first village I'd seen with a giant basket of flowers in place of a central fire. It smelled like spring.
Collection tip: Visit Deepwood Island and record the sight. For caves and underground locations, check the floor.
![Deepwood Island · Shipwreck Ruins illustration]() Scenery #31Deepwood Island · Shipwreck RuinsOpen
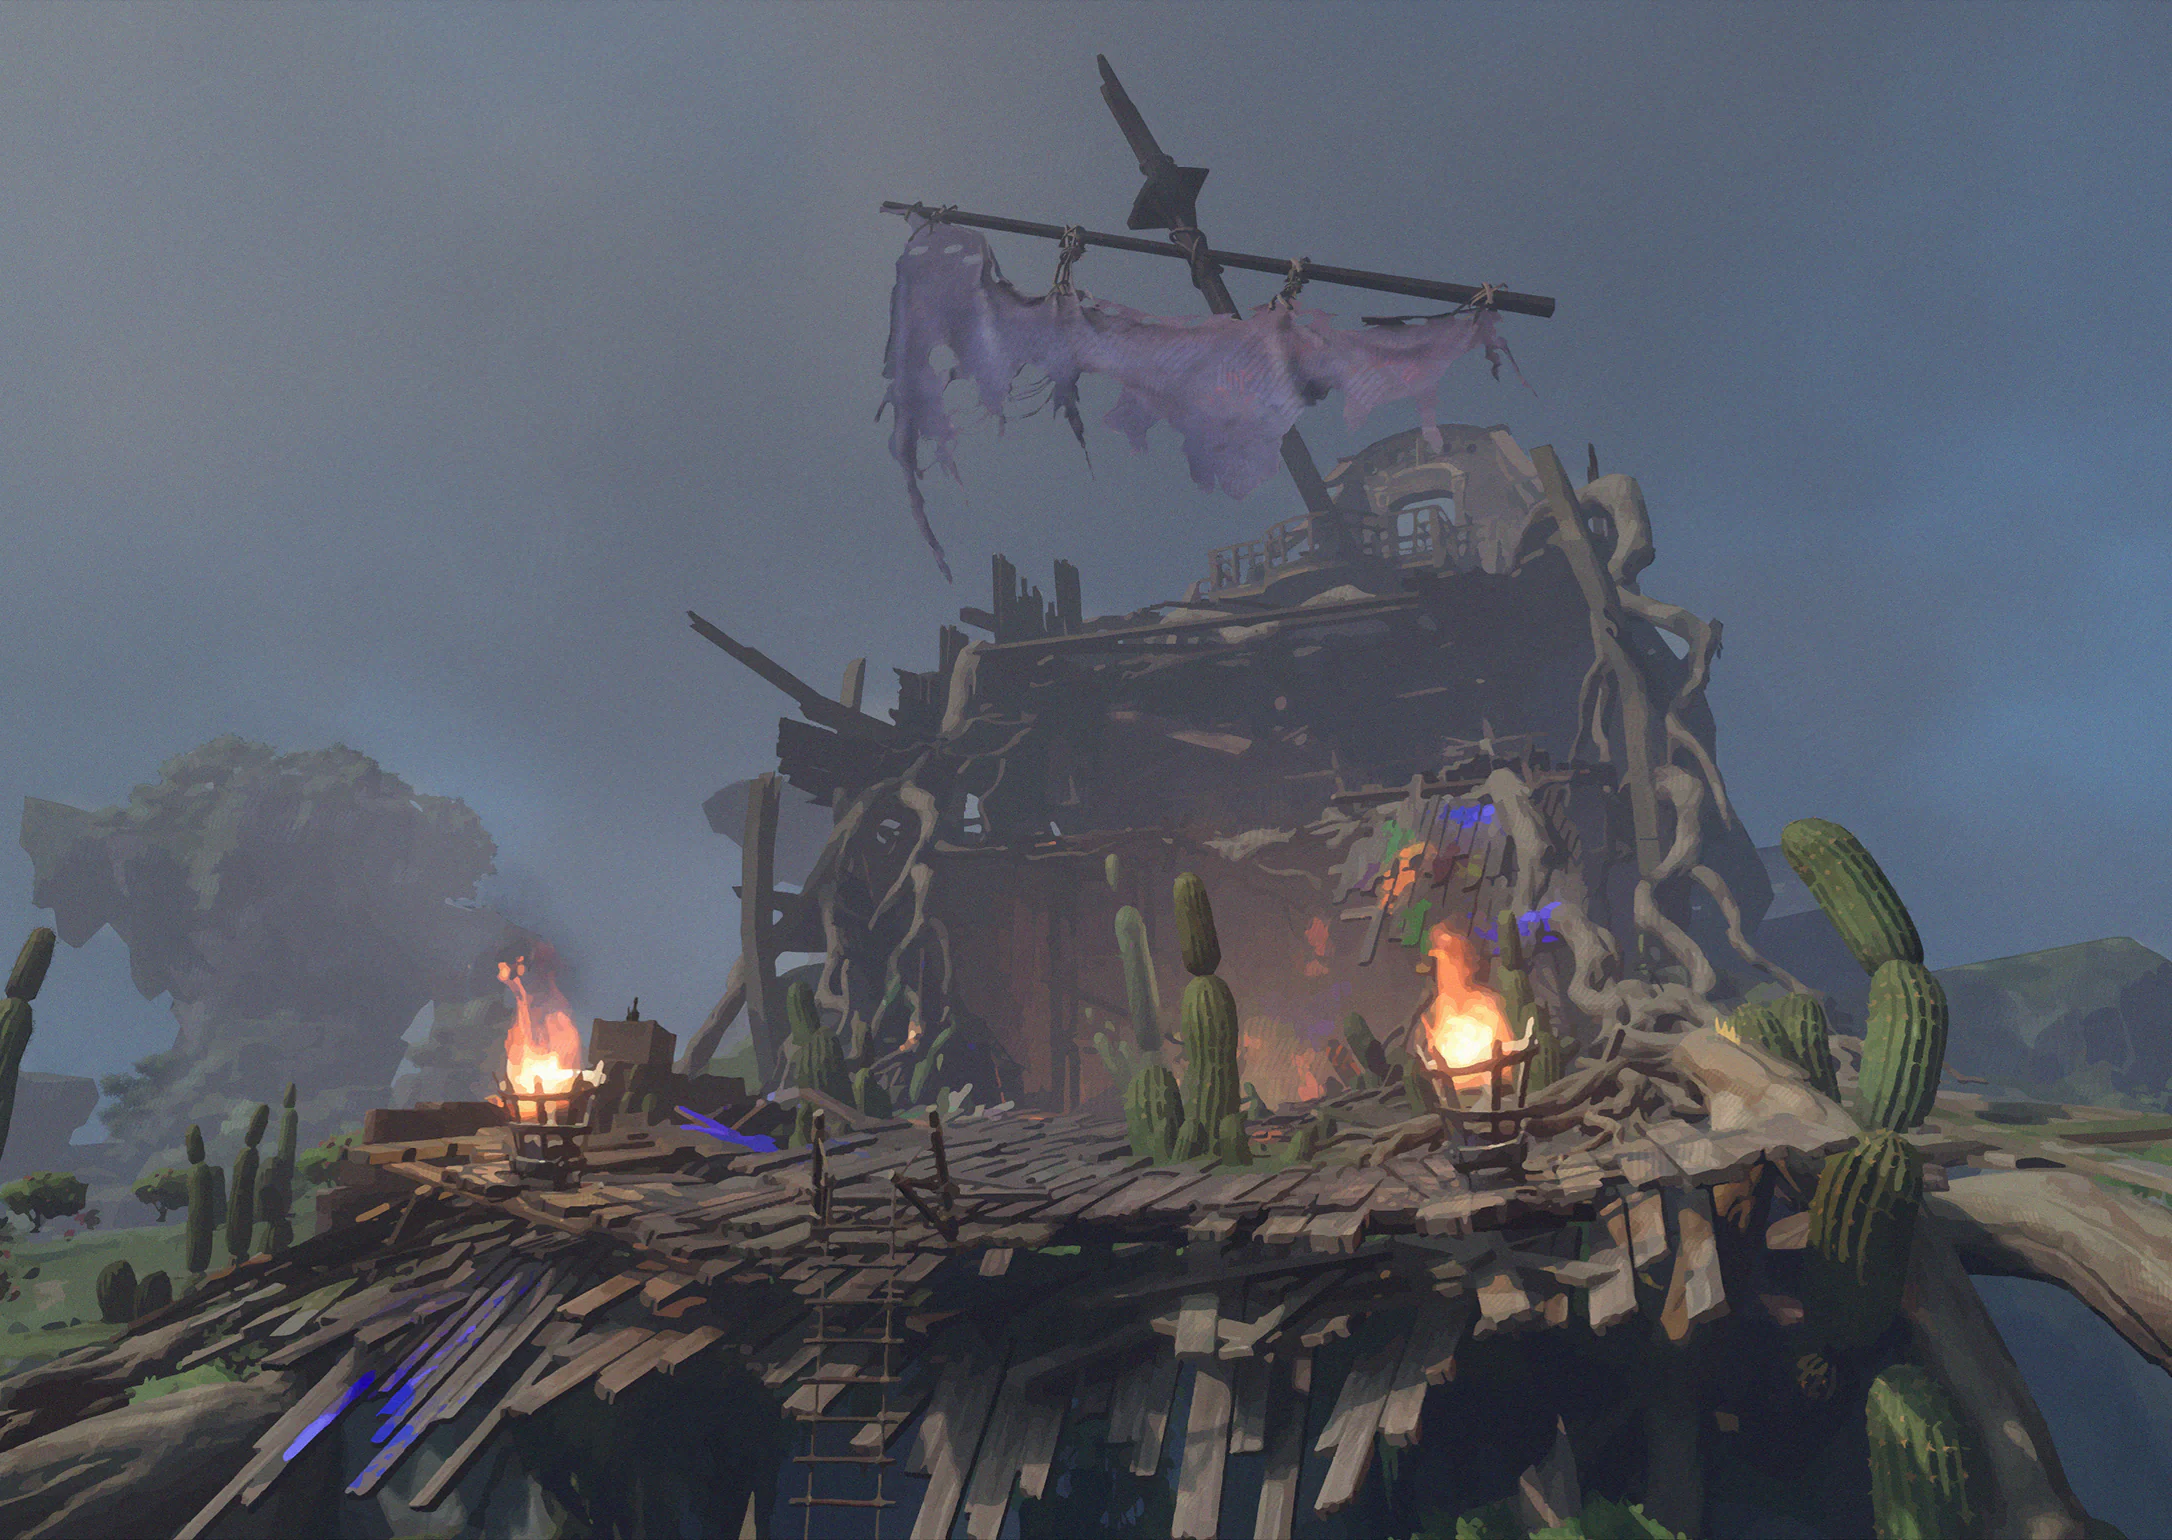
The plants aren't the only mad things here. Ais nearly slipped on paint climbing onto the wreck. In its center, a mysterious old man hugged his cacti as if the spines couldn't hurt him. This island gets stranger the longer we stay.
Collection tip: Visit Deepwood Island and record the sight. For caves and underground locations, check the floor.
![Deepwood Island · Miasma Marsh illustration]() Scenery #32Deepwood Island · Miasma MarshOpen
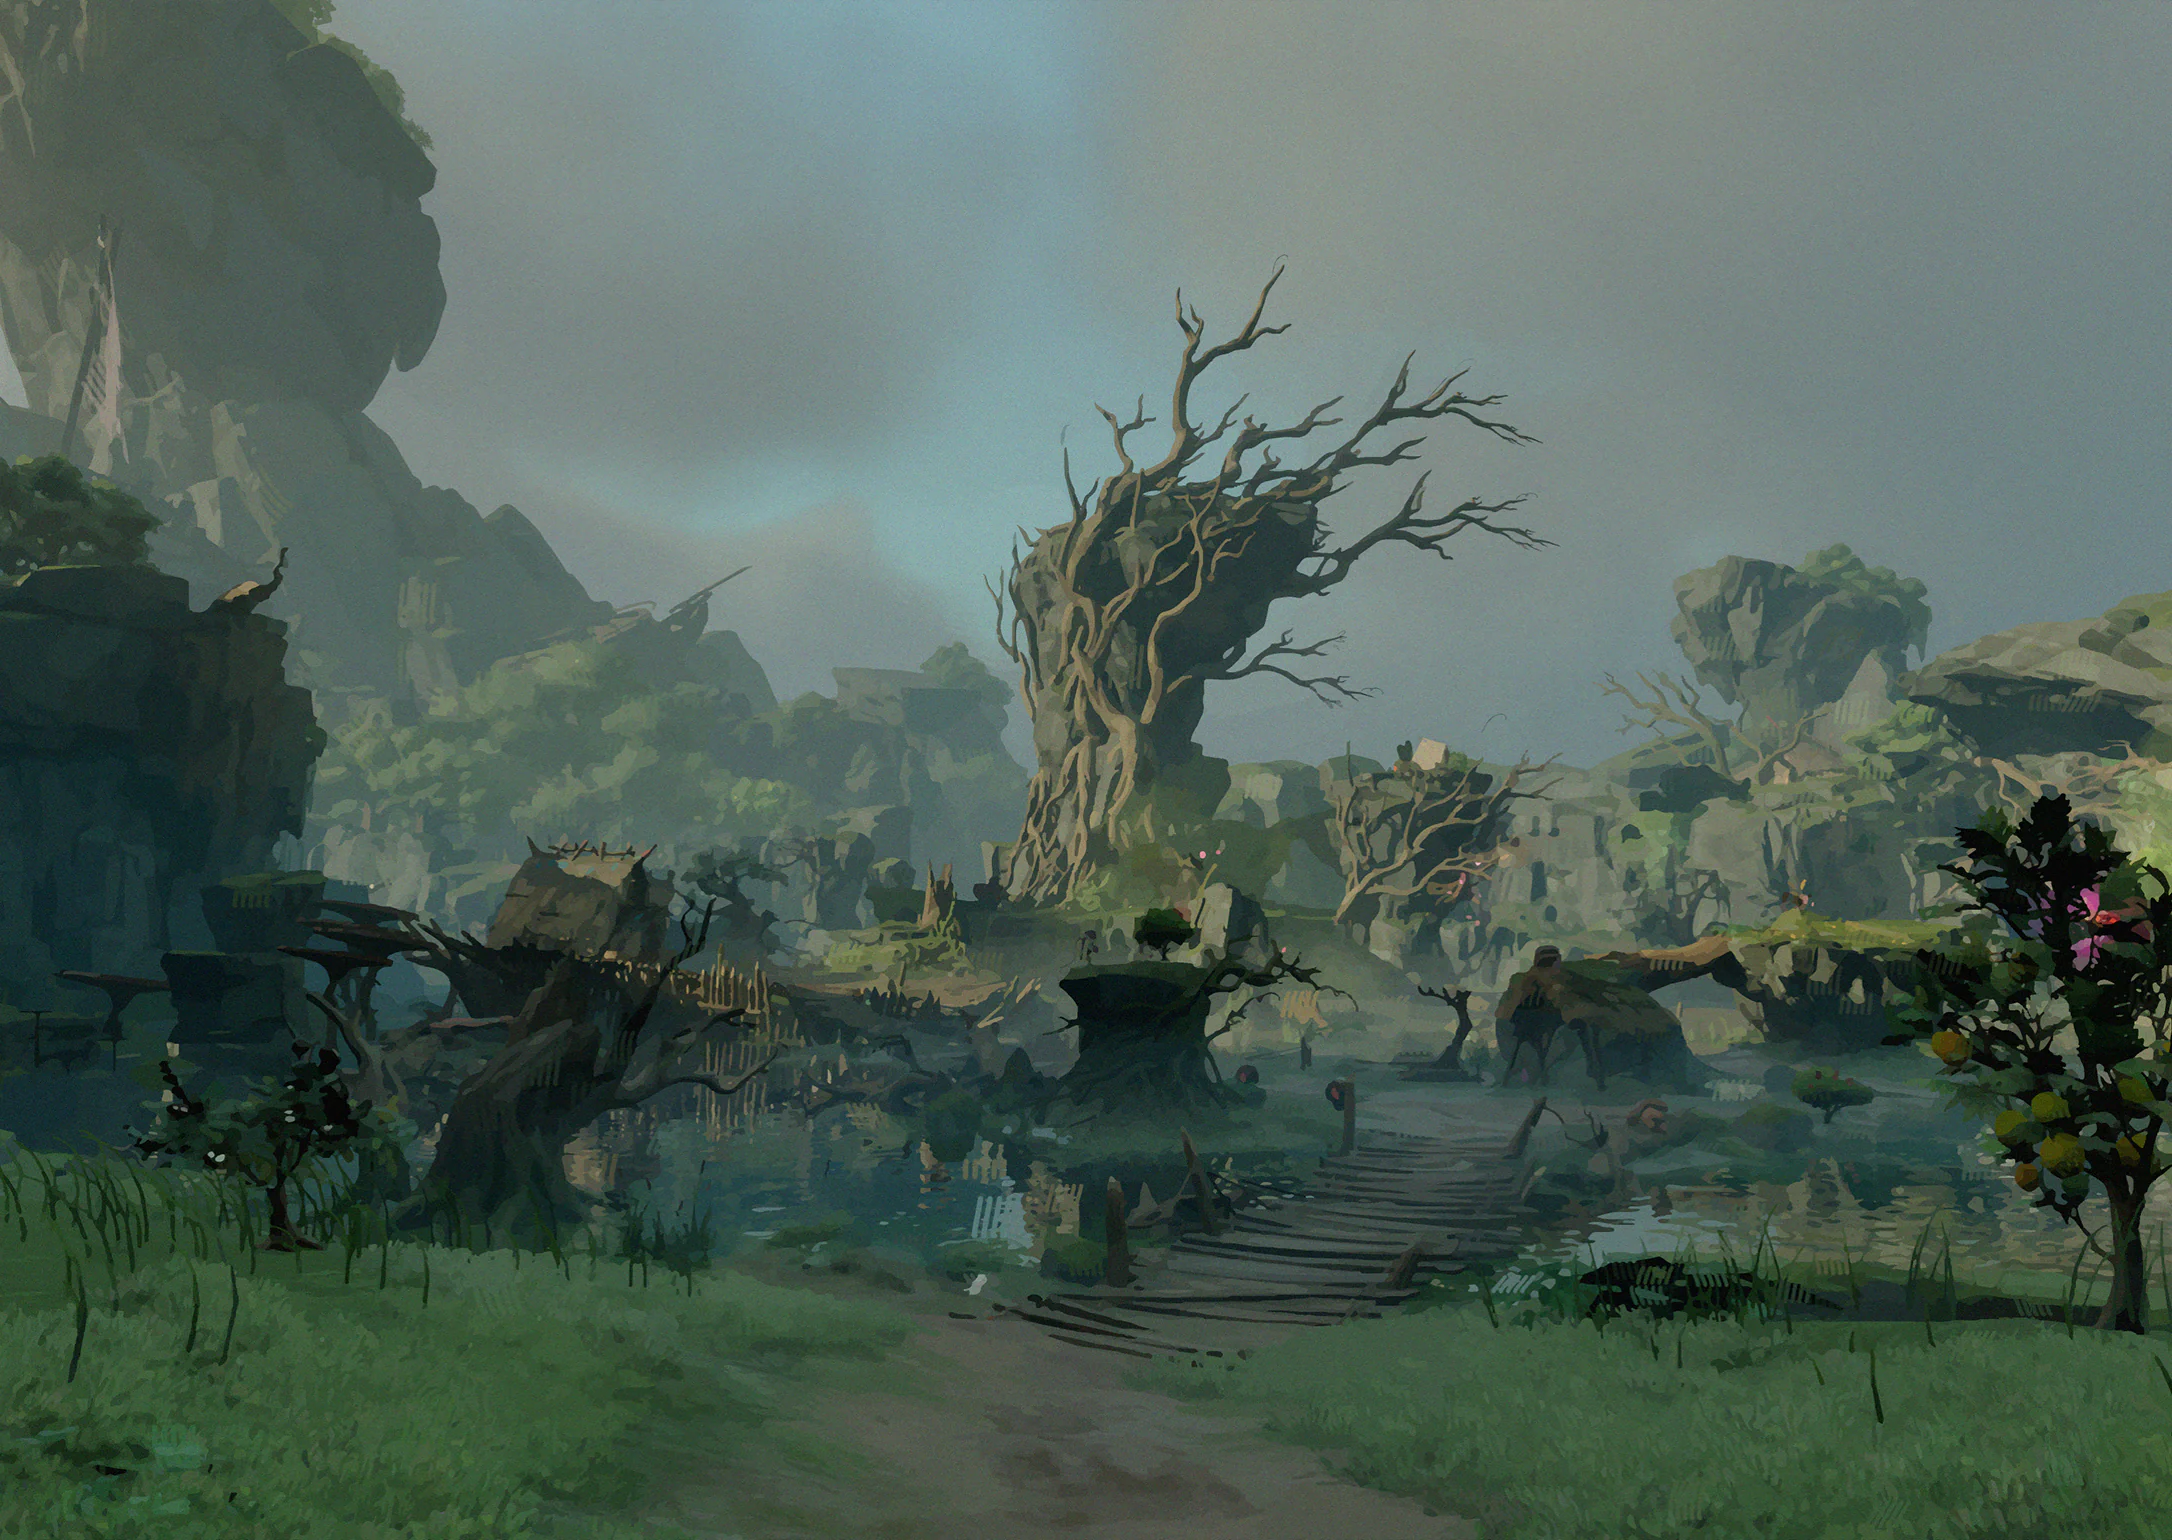
The swamp used to be clean and full of new life. Now giant flowers breathe green mist, and even birds avoid it. Islanders set up a camp to warn travelers. Ais likes hitting the flowers to clear the mist. I nearly fell in trying to stop her.
Collection tip: Visit Deepwood Island and record the sight. For caves and underground locations, check the floor.
![Stream Island · Great Owl Nest illustration]() Scenery #33Stream Island · Great Owl NestOpen
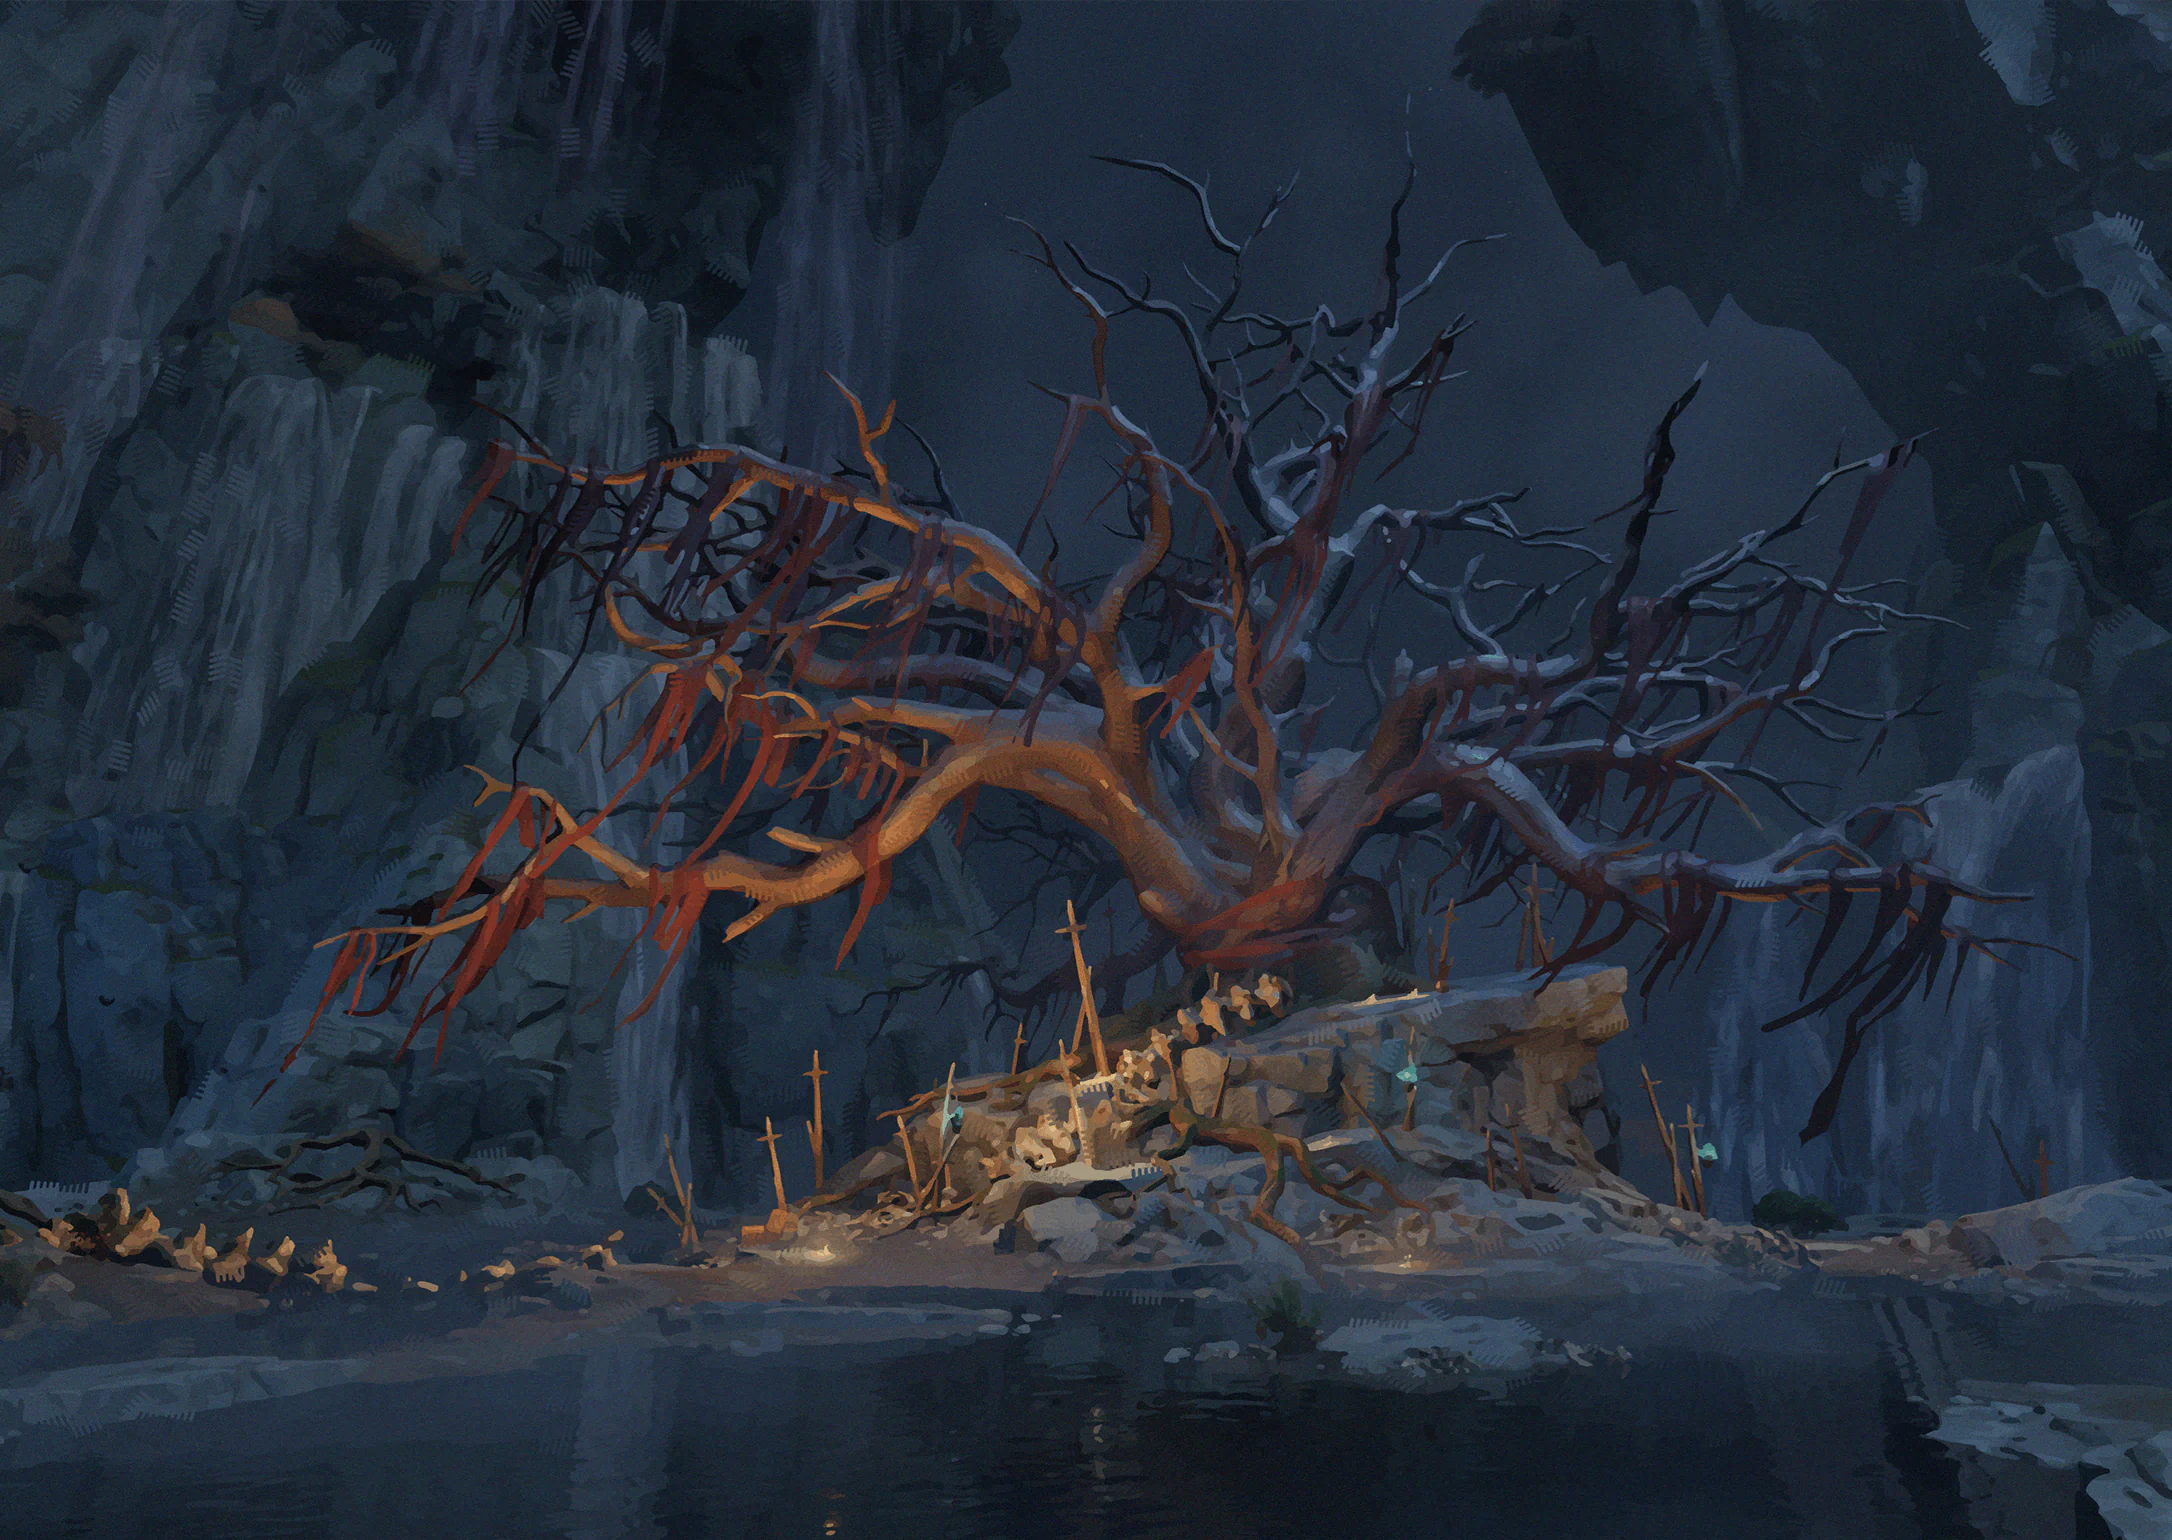
One bird witnessed this people's past. The tales we pieced together sounded disastrous to me. Ais pointed at the spears and hunting banners. She saw courage in the people who stood between their families and the great owl.
Collection tip: Visit Stream Island and record the sight. For caves and underground locations, check the floor.
![Stream Island · Bone Hunting Grounds illustration]() Scenery #34Stream Island · Bone Hunting GroundsOpen
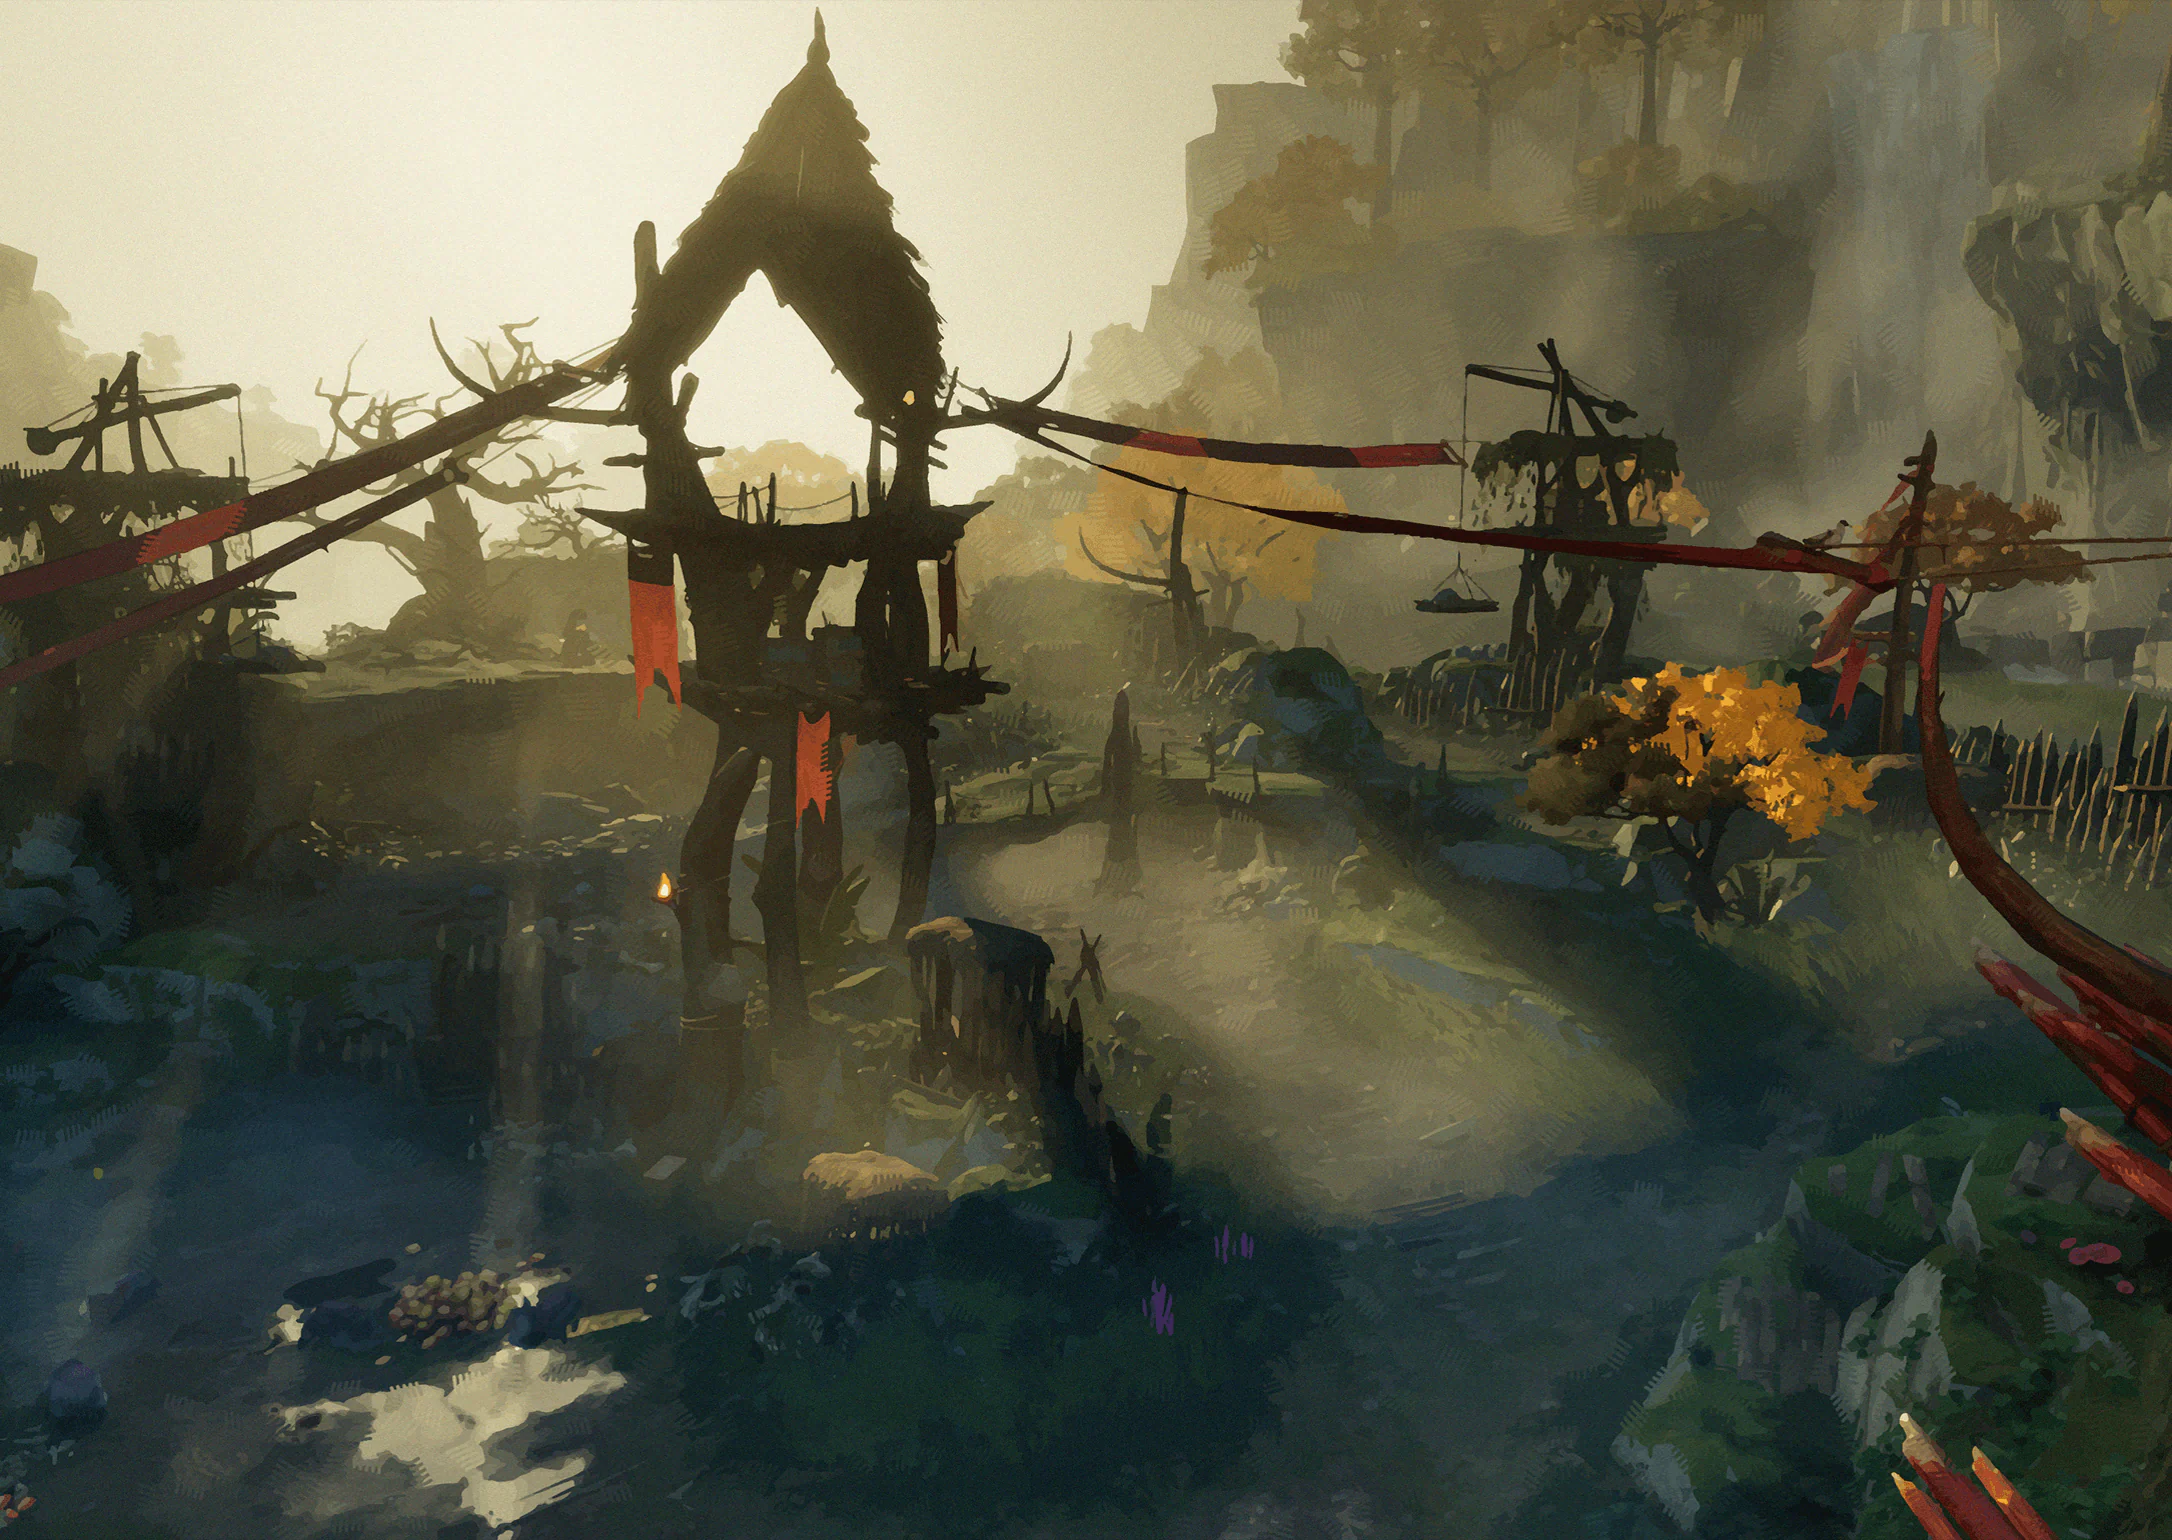
This is one of the islanders' last important hunting grounds. Ais woke me up, convinced it hid treasure. Beasts chased us half the night before a patrol took us to safety. I found no gems and nearly lost my shoes.
Collection tip: Visit Stream Island and record the sight. For caves and underground locations, check the floor.
![Stream Island · Valor Arena illustration]() Scenery #35Stream Island · Valor ArenaOpen
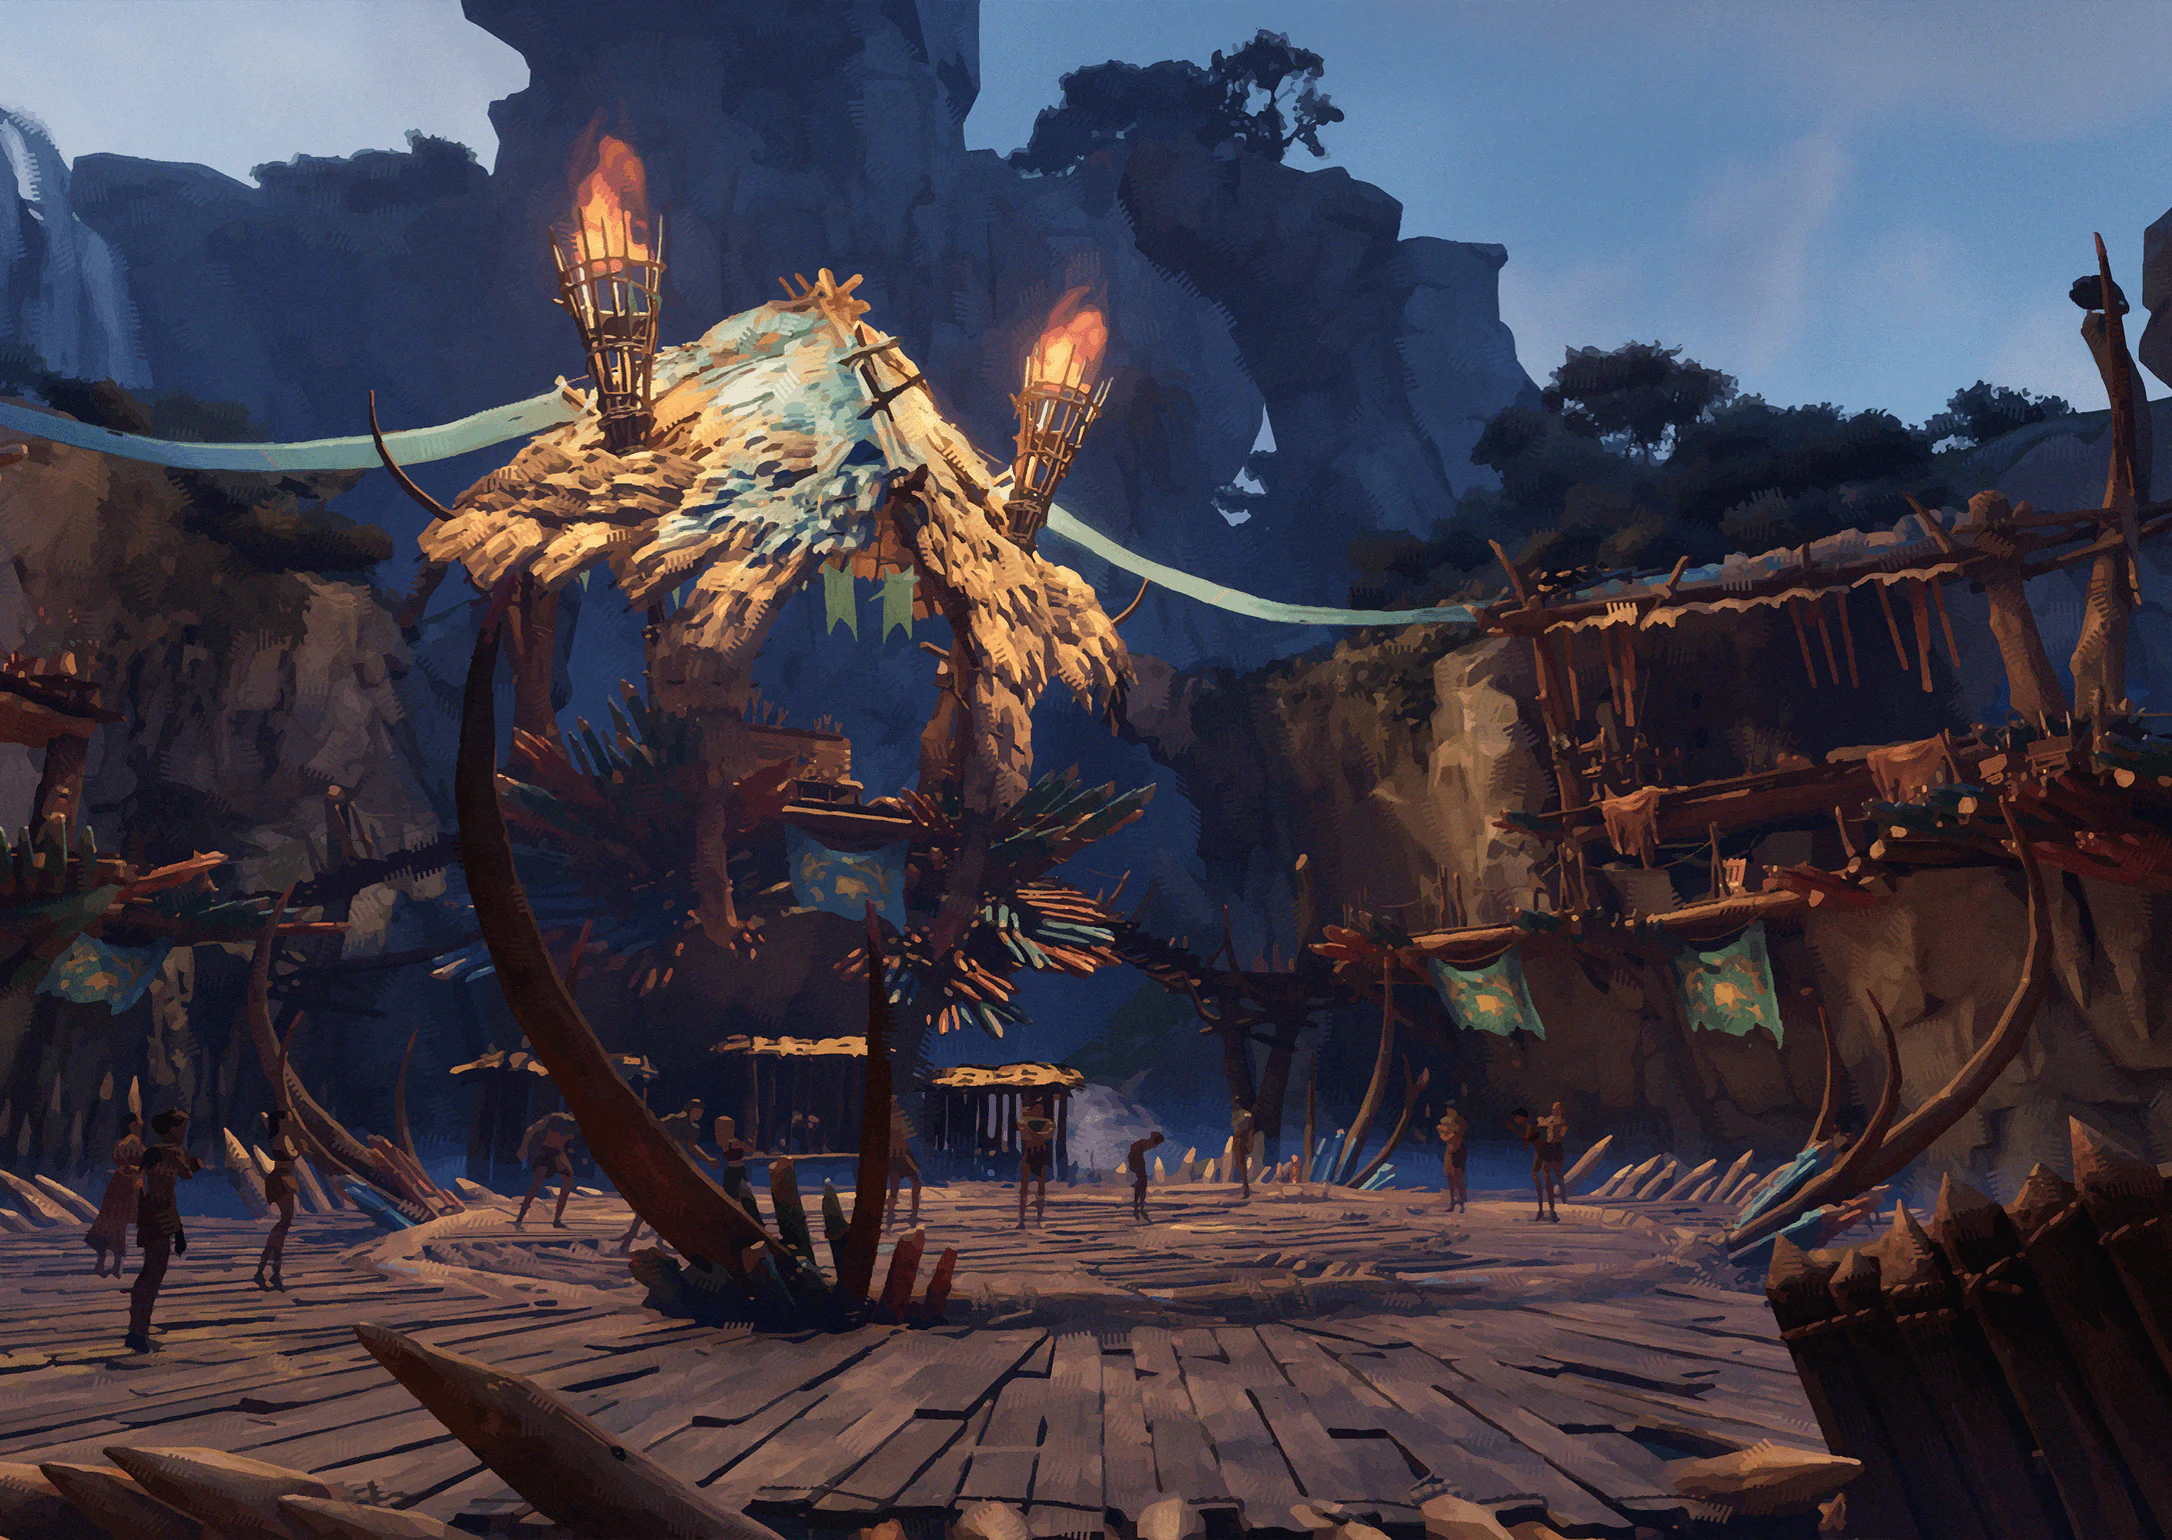
The cheering nearly burst my eardrums. Warriors show their strength here, and children challenge the people they admire most. Ais talked me into a bout. We made friends, which is what matters.
Collection tip: Visit Stream Island and record the sight. For caves and underground locations, check the floor.
![Bug Island · Summit Spider Nest illustration]() Scenery #36Bug Island · Summit Spider NestOpen
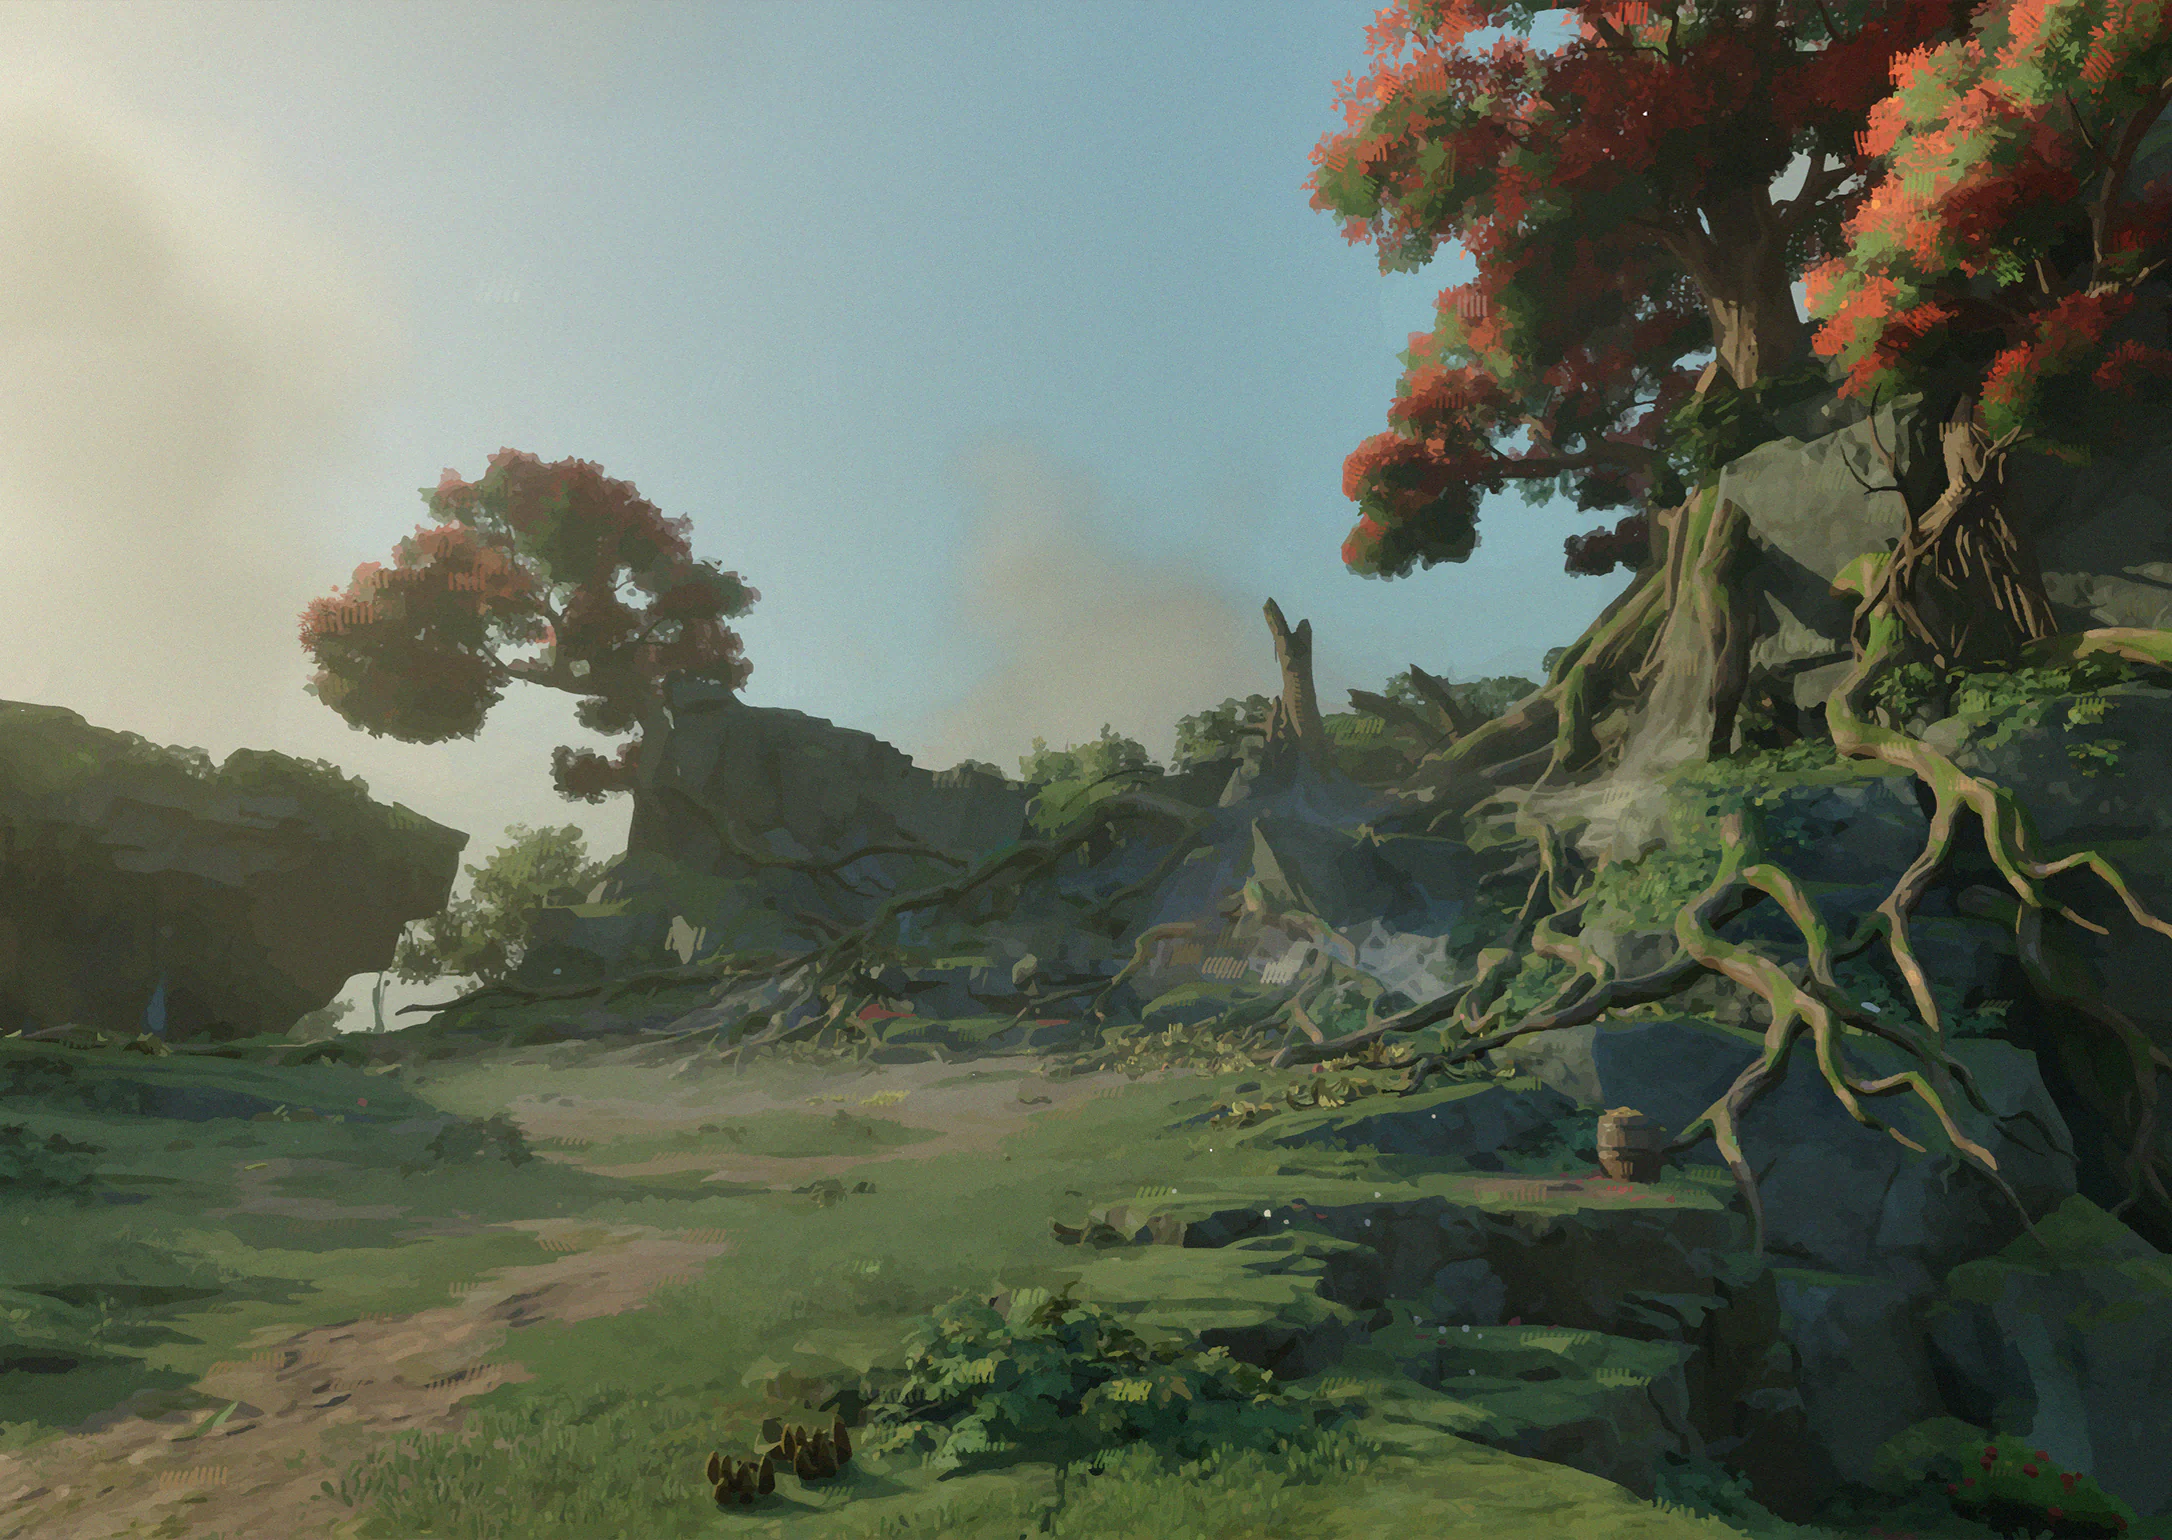
An ape and its parrot rule an island of spiders. The spiders hunt humans without mercy, then drop their prey and haul bananas to flatter the king on its throne. Absurd.
Collection tip: Visit Bug Island and record the sight. For caves and underground locations, check the floor.
![Bridgewater Sea · Giant Golden Crab illustration]() Scenery #37Bridgewater Sea · Giant Golden CrabOpen
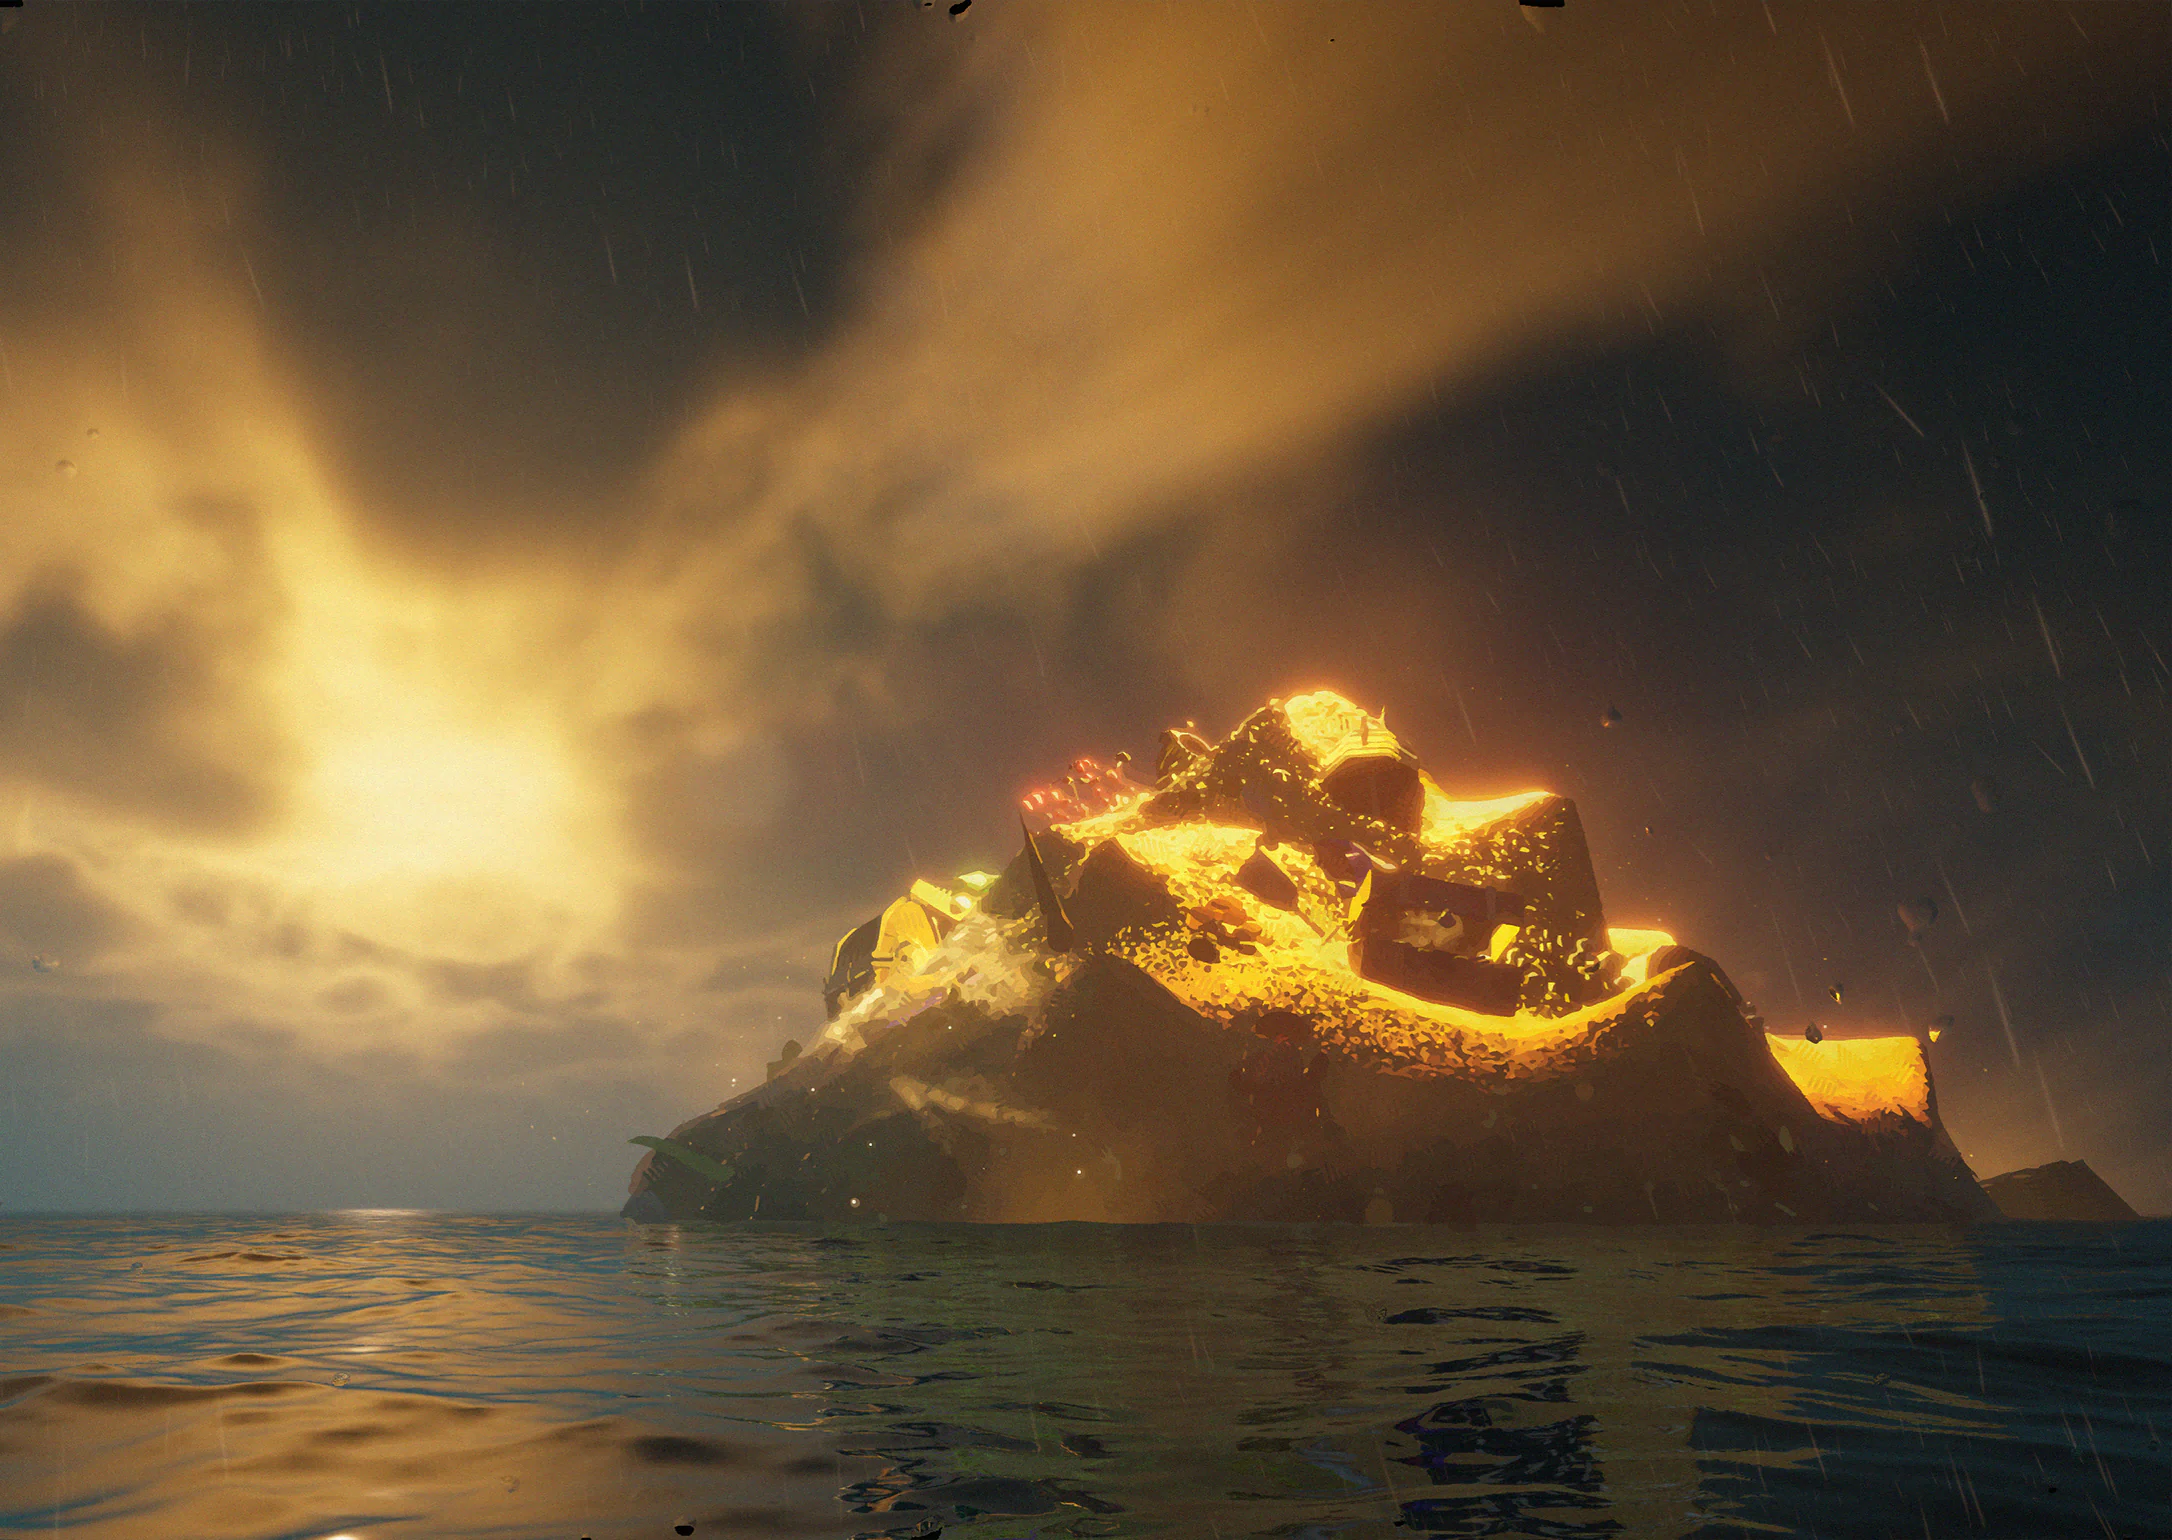
I never expected a fortune to appear at sea. This crab shone like a mountain of gold at sunset, and I almost hit it. Its waves frightened the crew enough that they didn't follow Ais up the golden mountain.
Collection tip: Visit Bridgewater Sea and record the sight. For caves and underground locations, check the floor.
![Statue Island · Storm Ring illustration]() Scenery #38Statue Island · Storm RingOpen
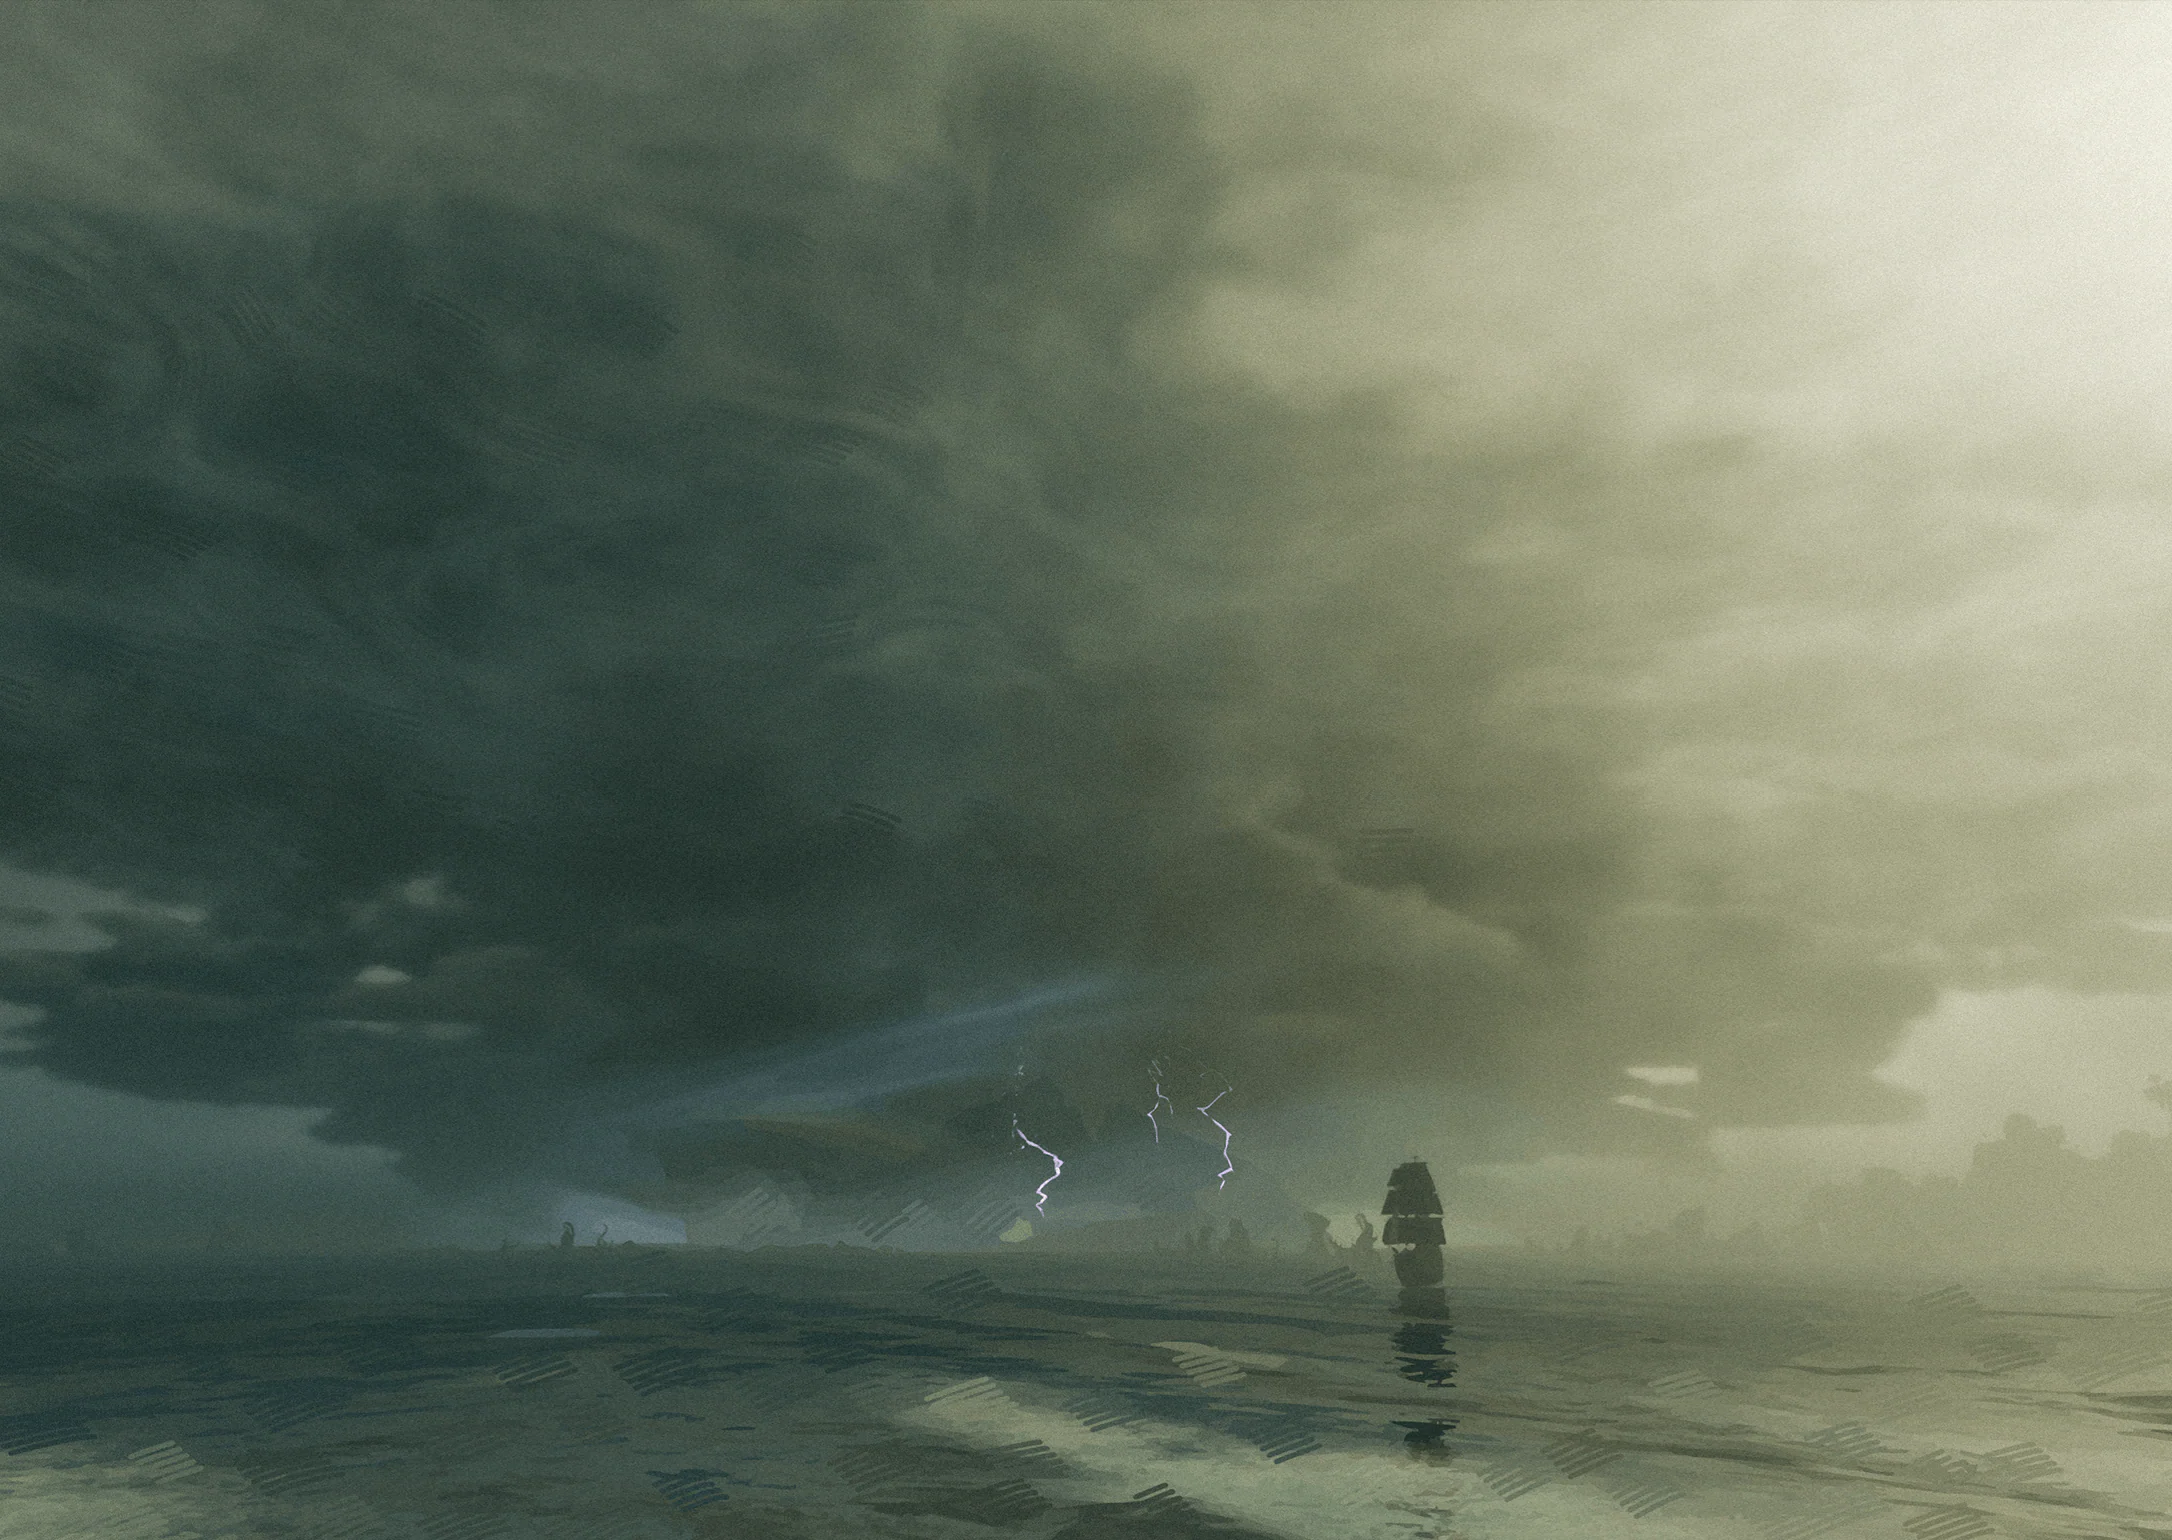
The storm ring traps people on Statue Island. Most who tried to sail out were lost beneath the clouds. Isolated and burdened by illness for generations, the islanders distrust newcomers. Ais says she'd be furious too if someone broke into her private home.
Collection tip: Visit Statue Island and record the sight. For caves and underground locations, check the floor.
![Still Sea illustration]() Scenery #39Still SeaOpen
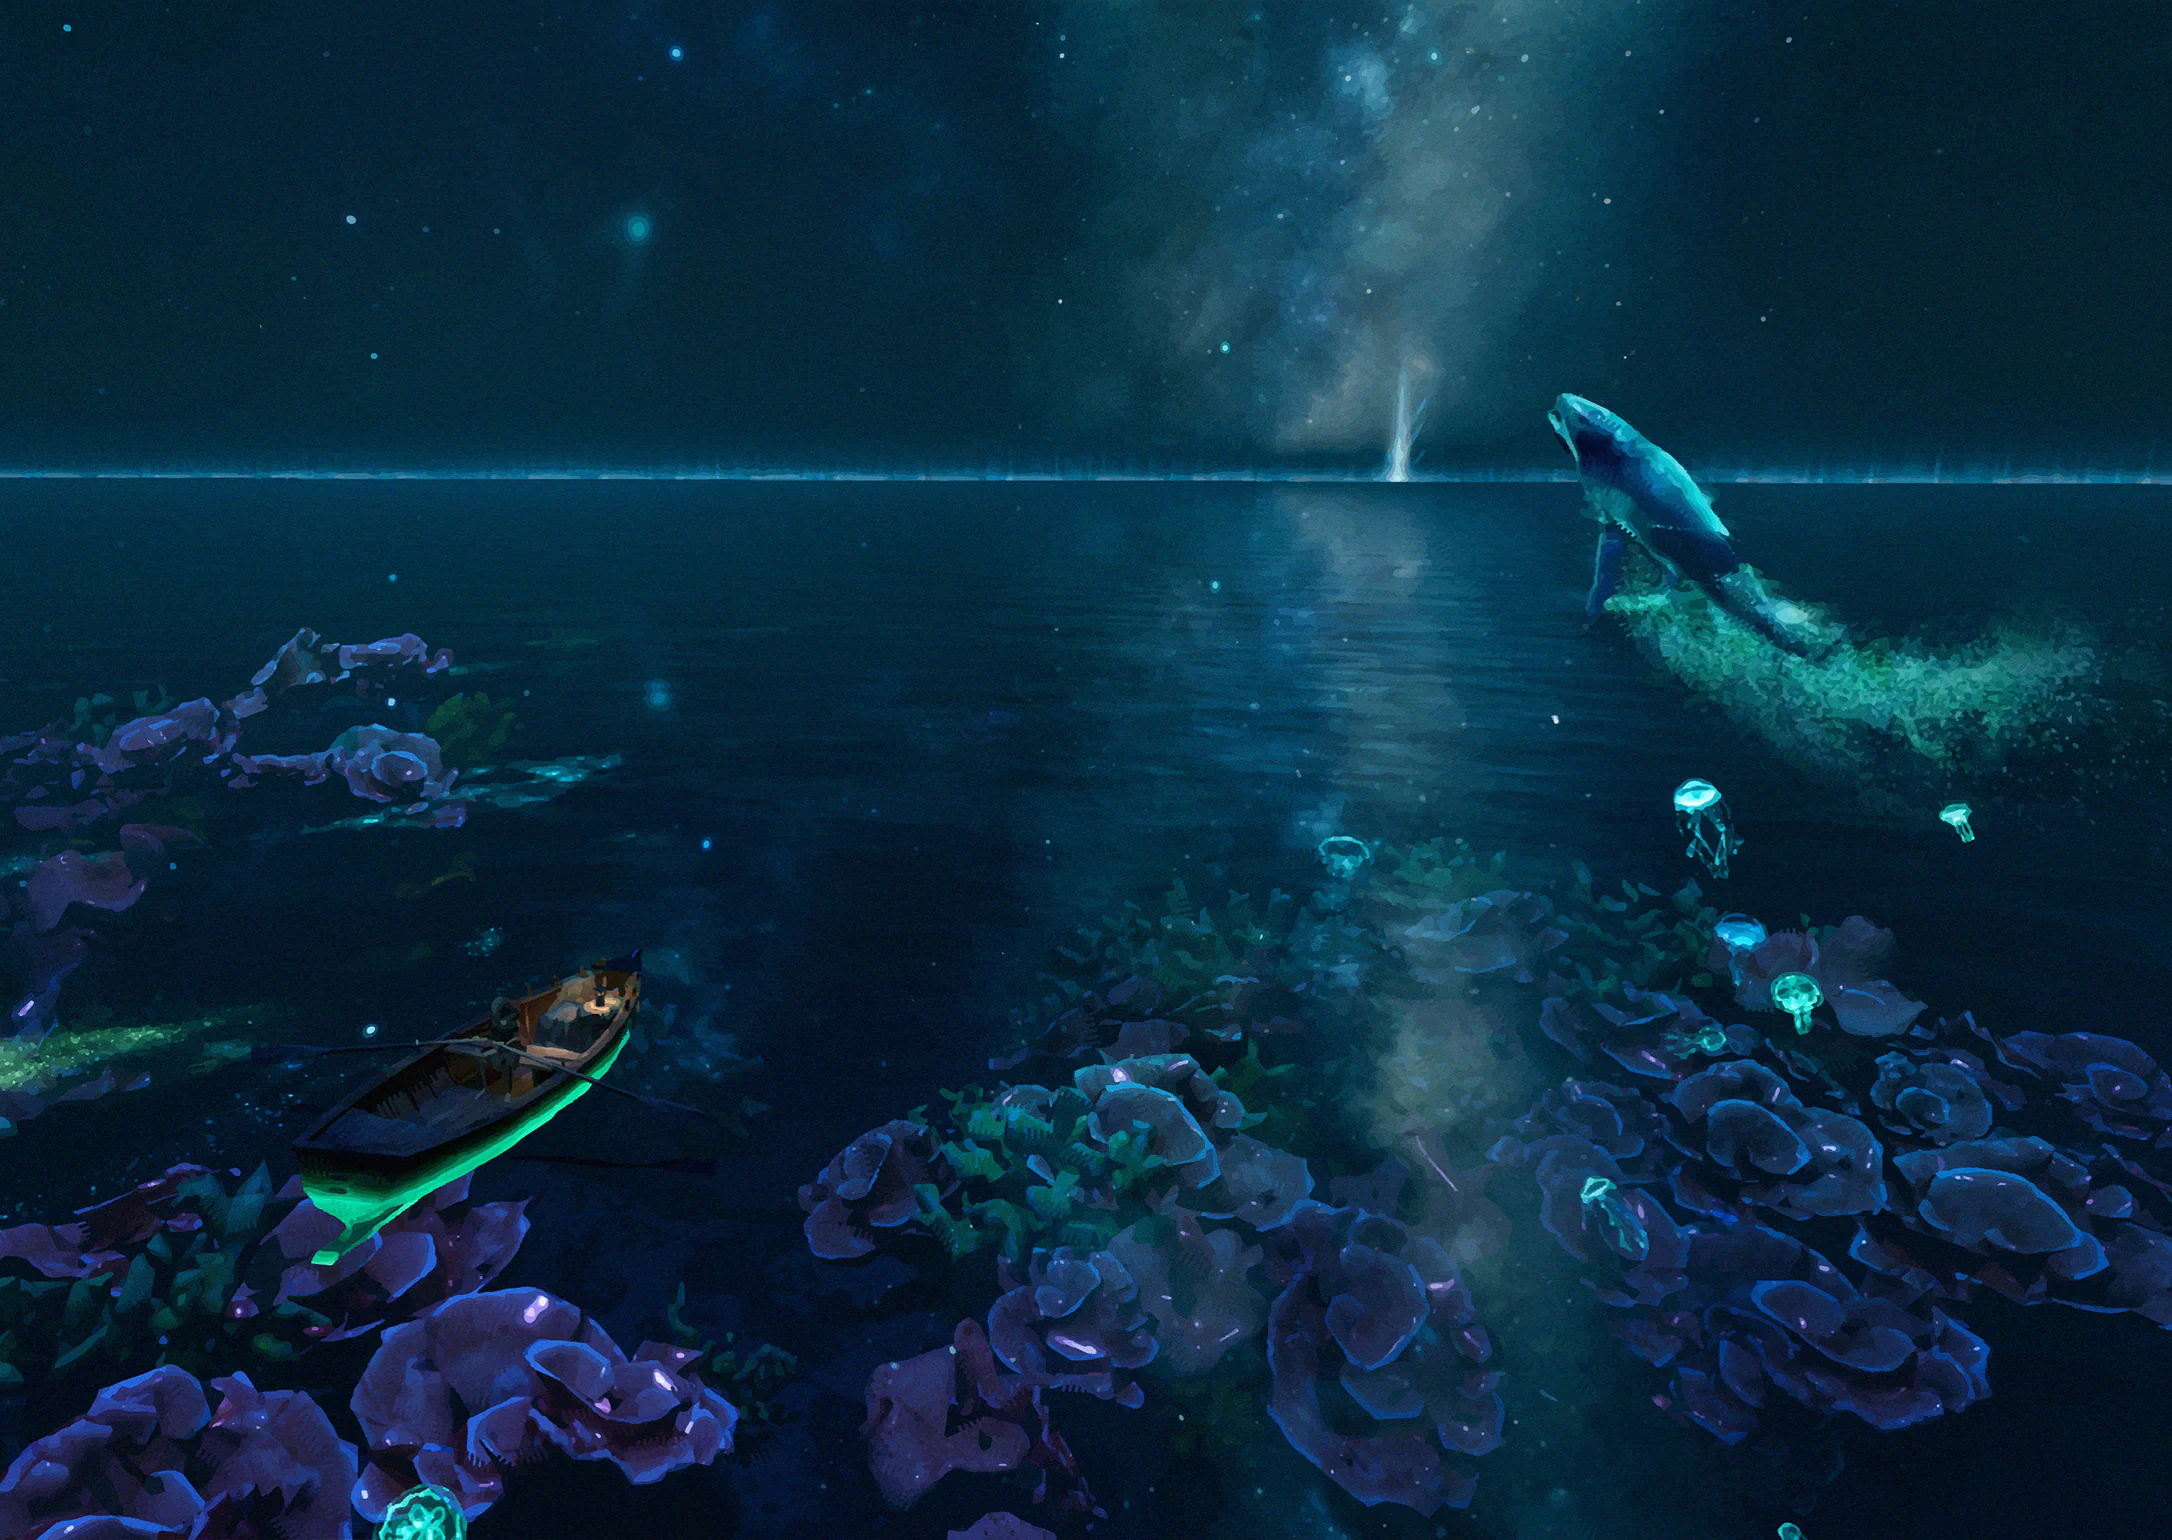
It was here when I opened the journal.
Collection tip: Visit Still Sea and record the sight. For caves and underground locations, check the floor.
![Sea of Remnants illustration]() Scenery #40Sea of RemnantsOpen
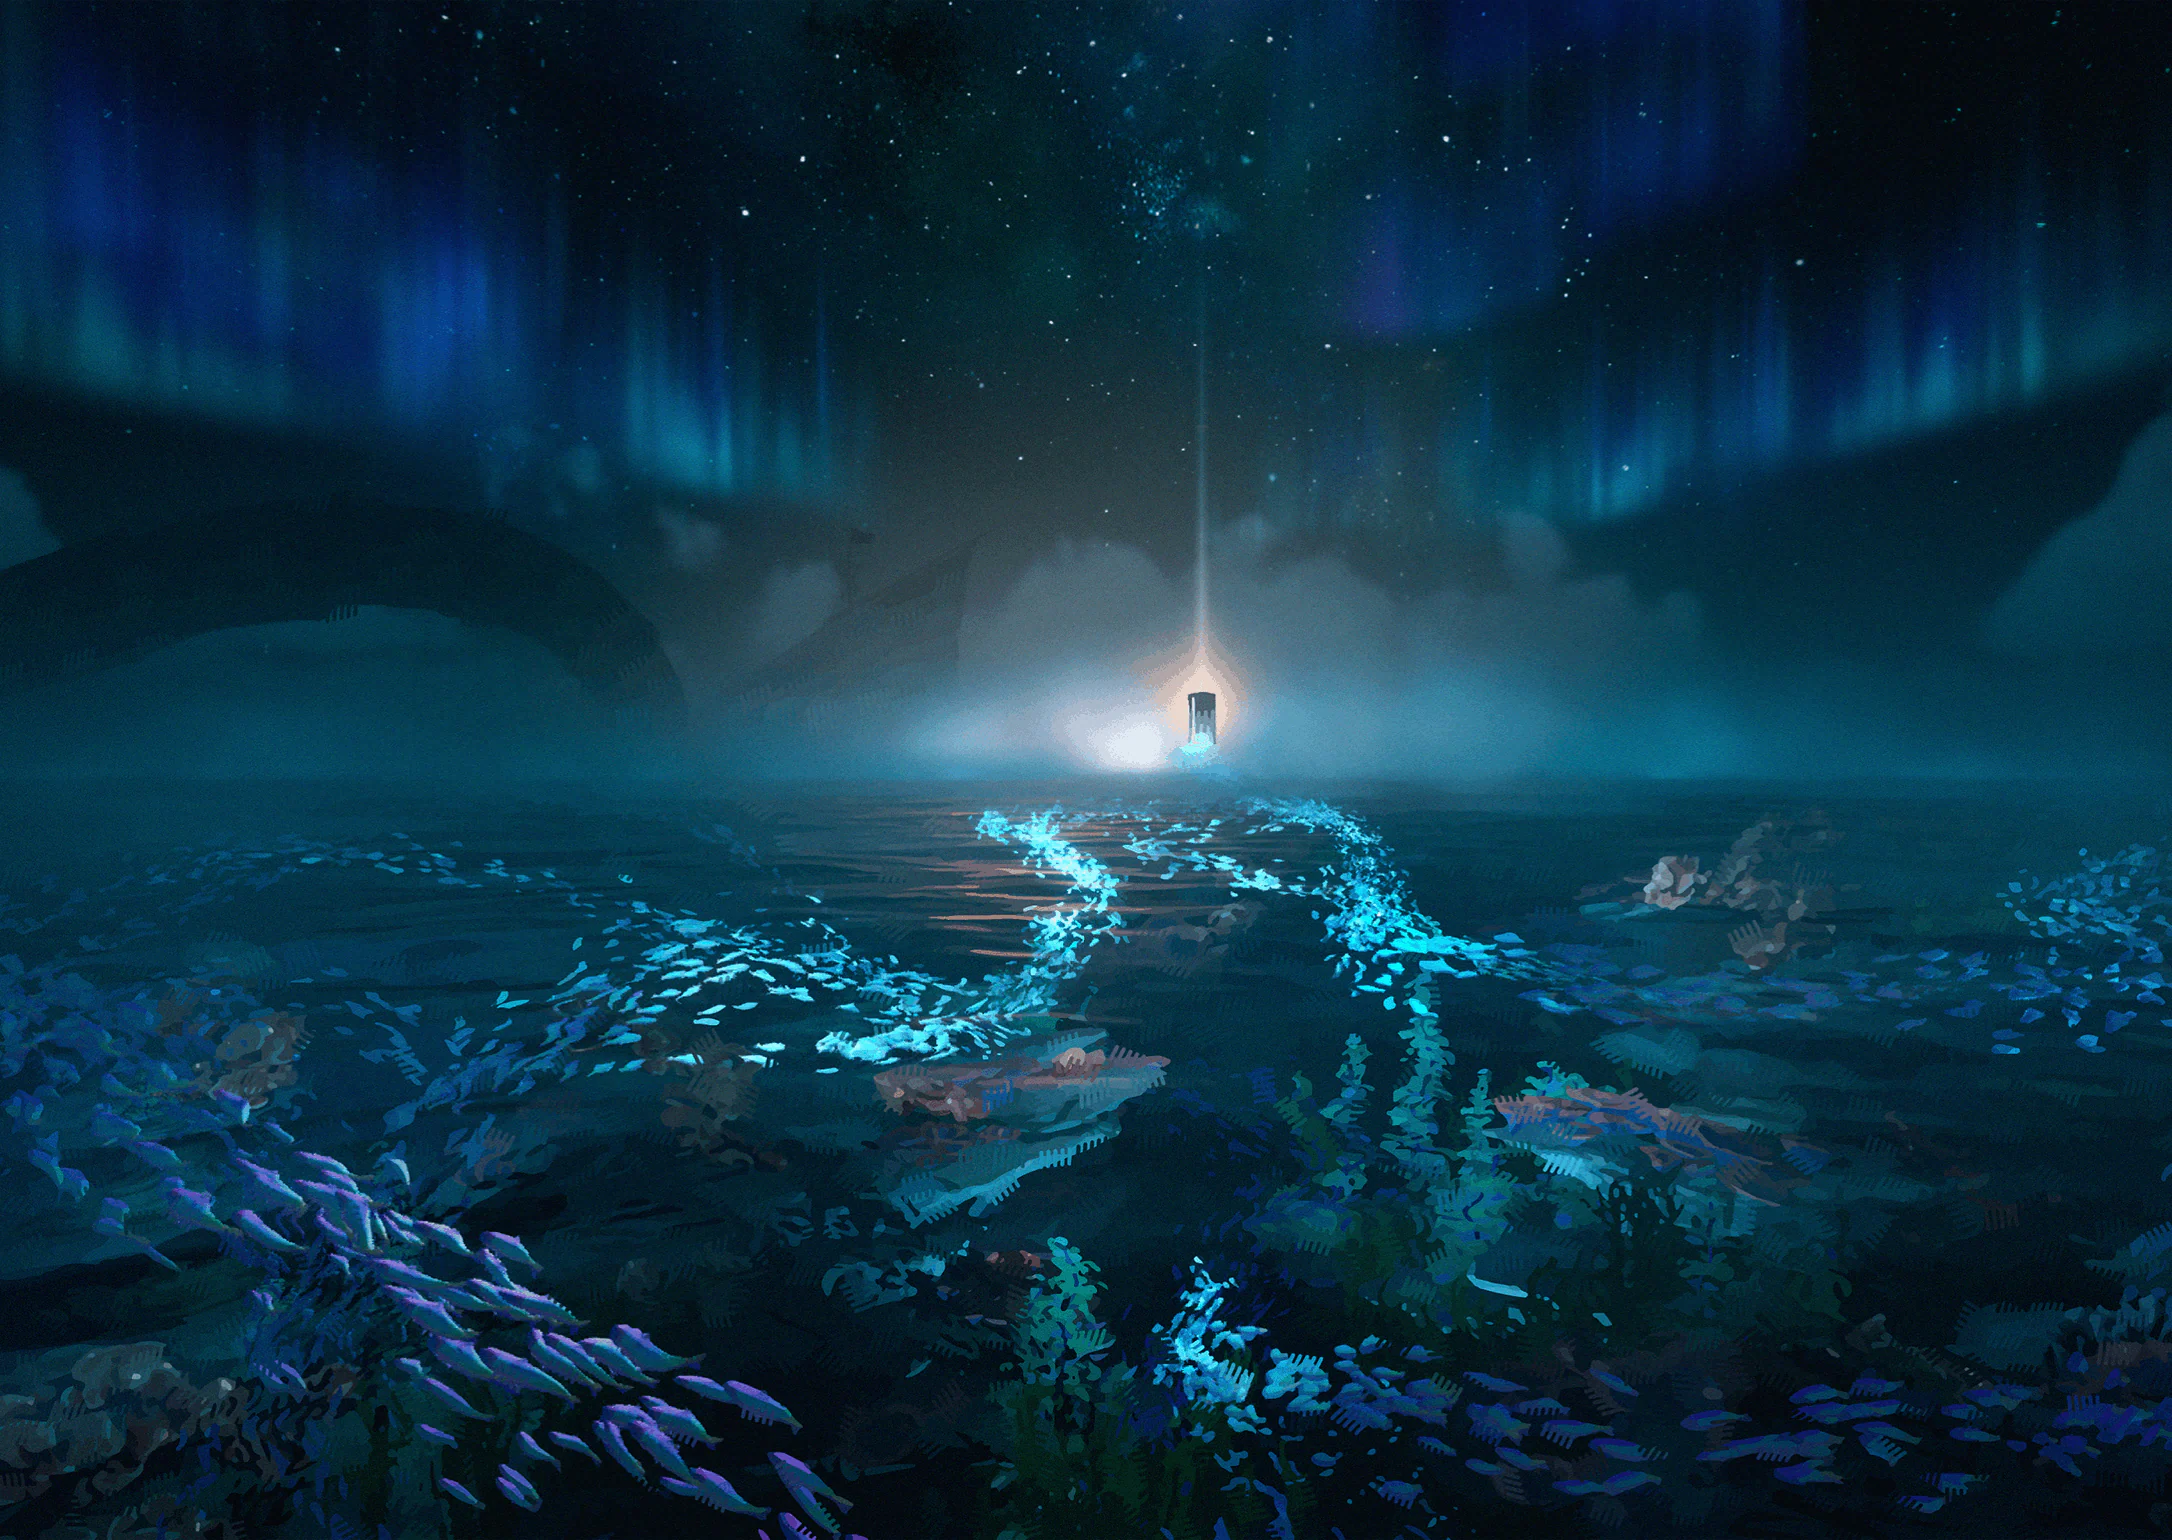
Sailing this sea, I can't even remember what I meant to record.
Collection tip: Visit Sea of Remnants and record the sight. For caves and underground locations, check the floor.
![Scarlet Baroness · Red Storm illustration]() Scenery #41Scarlet Baroness · Red StormOpen

A storm of unbroken red. Words fail when I think of the sea and its monsters. As our ship drew closer, I knew how small and fragile we and our ships are.
Collection tip: Visit Scarlet Baroness and record the sight. For caves and underground locations, check the floor.
Stories 18 entries
Show entriesHide entries
![Spinning Compass illustration]() Stories #1Spinning CompassOpen
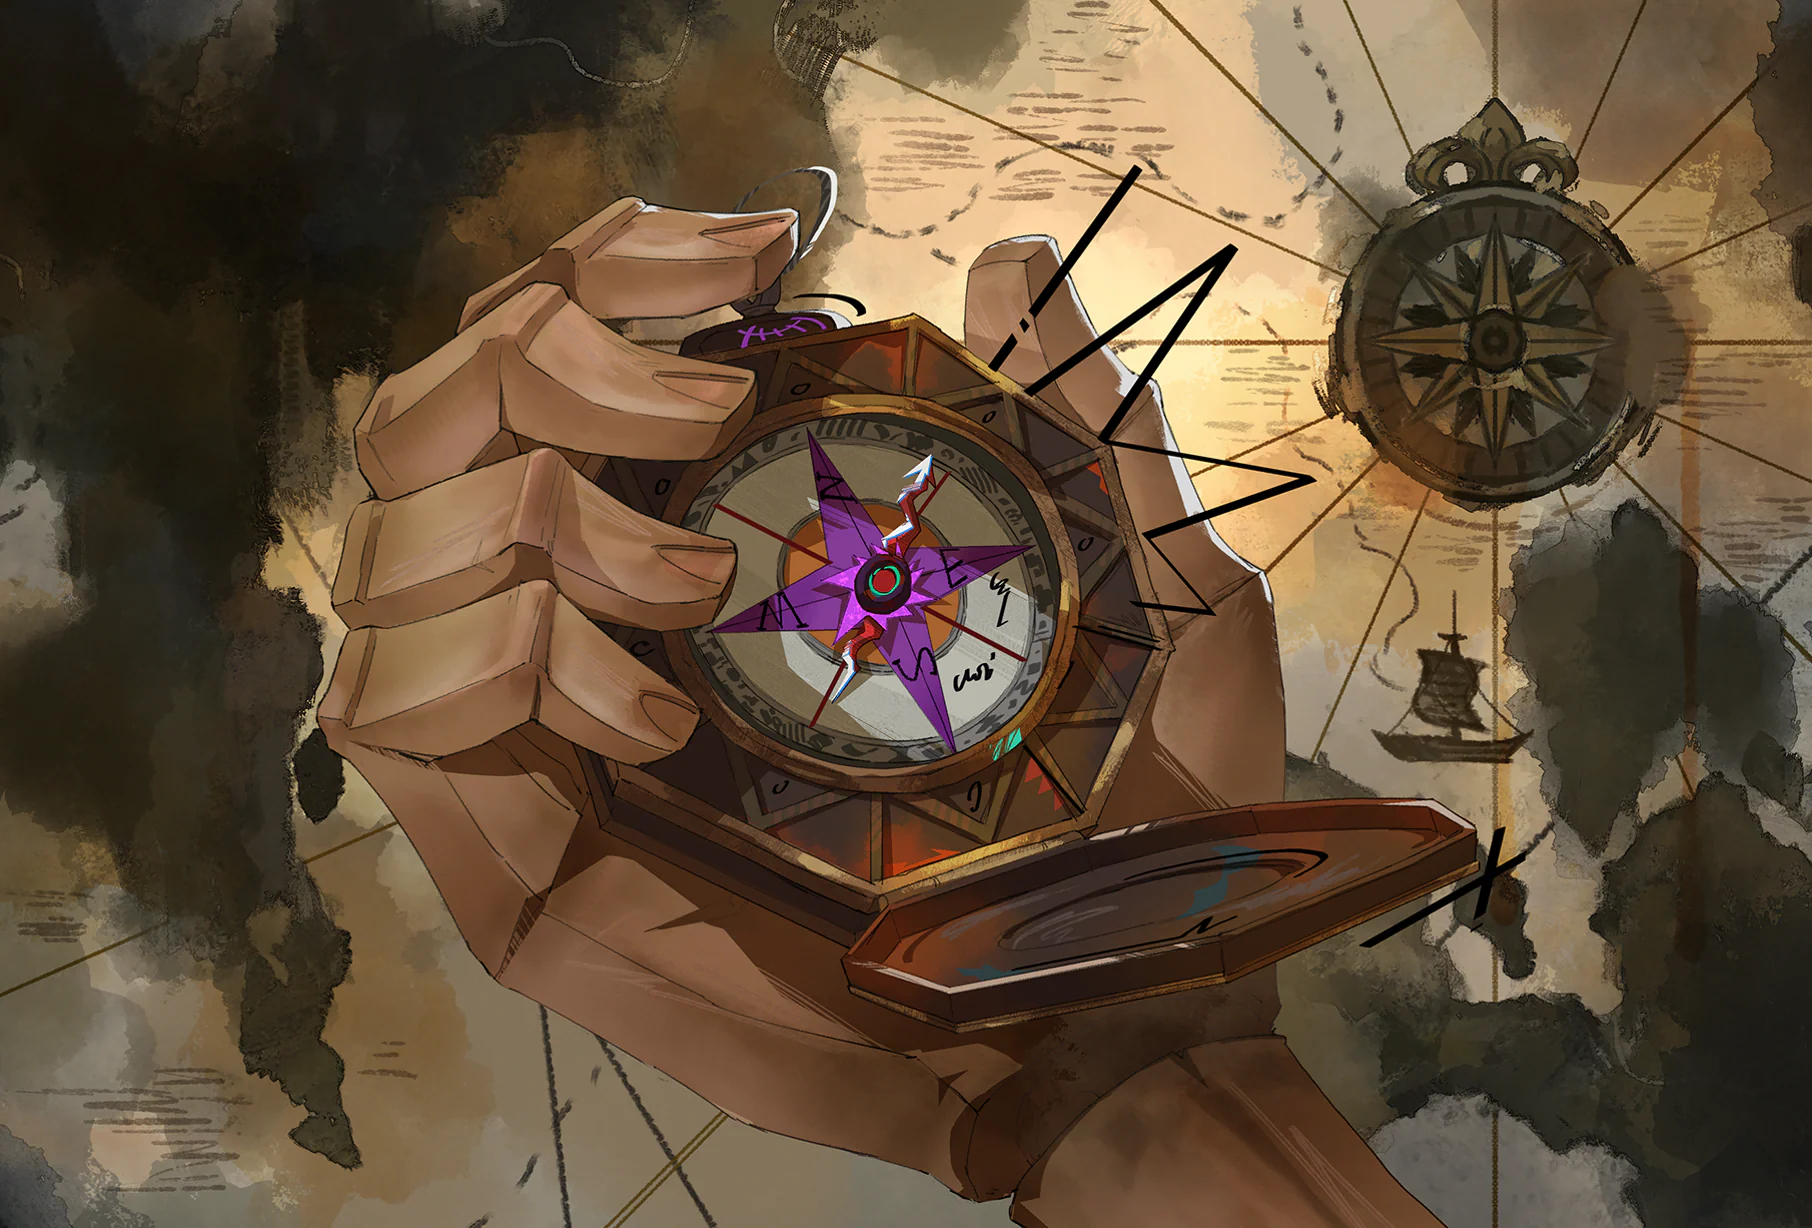
Even Sigmund thought my compass was rare. It looked fine after so long underwater, so maybe I was someone important. Before I could make sense of it, the needle started jumping toward the Closing Time drink shop in Op Port. I might as well try the iced coconut milk.
Collection tip: Complete the relevant main or side quest and check the journal by title and picture.
![Two Aises illustration]() Stories #2Two AisesOpen
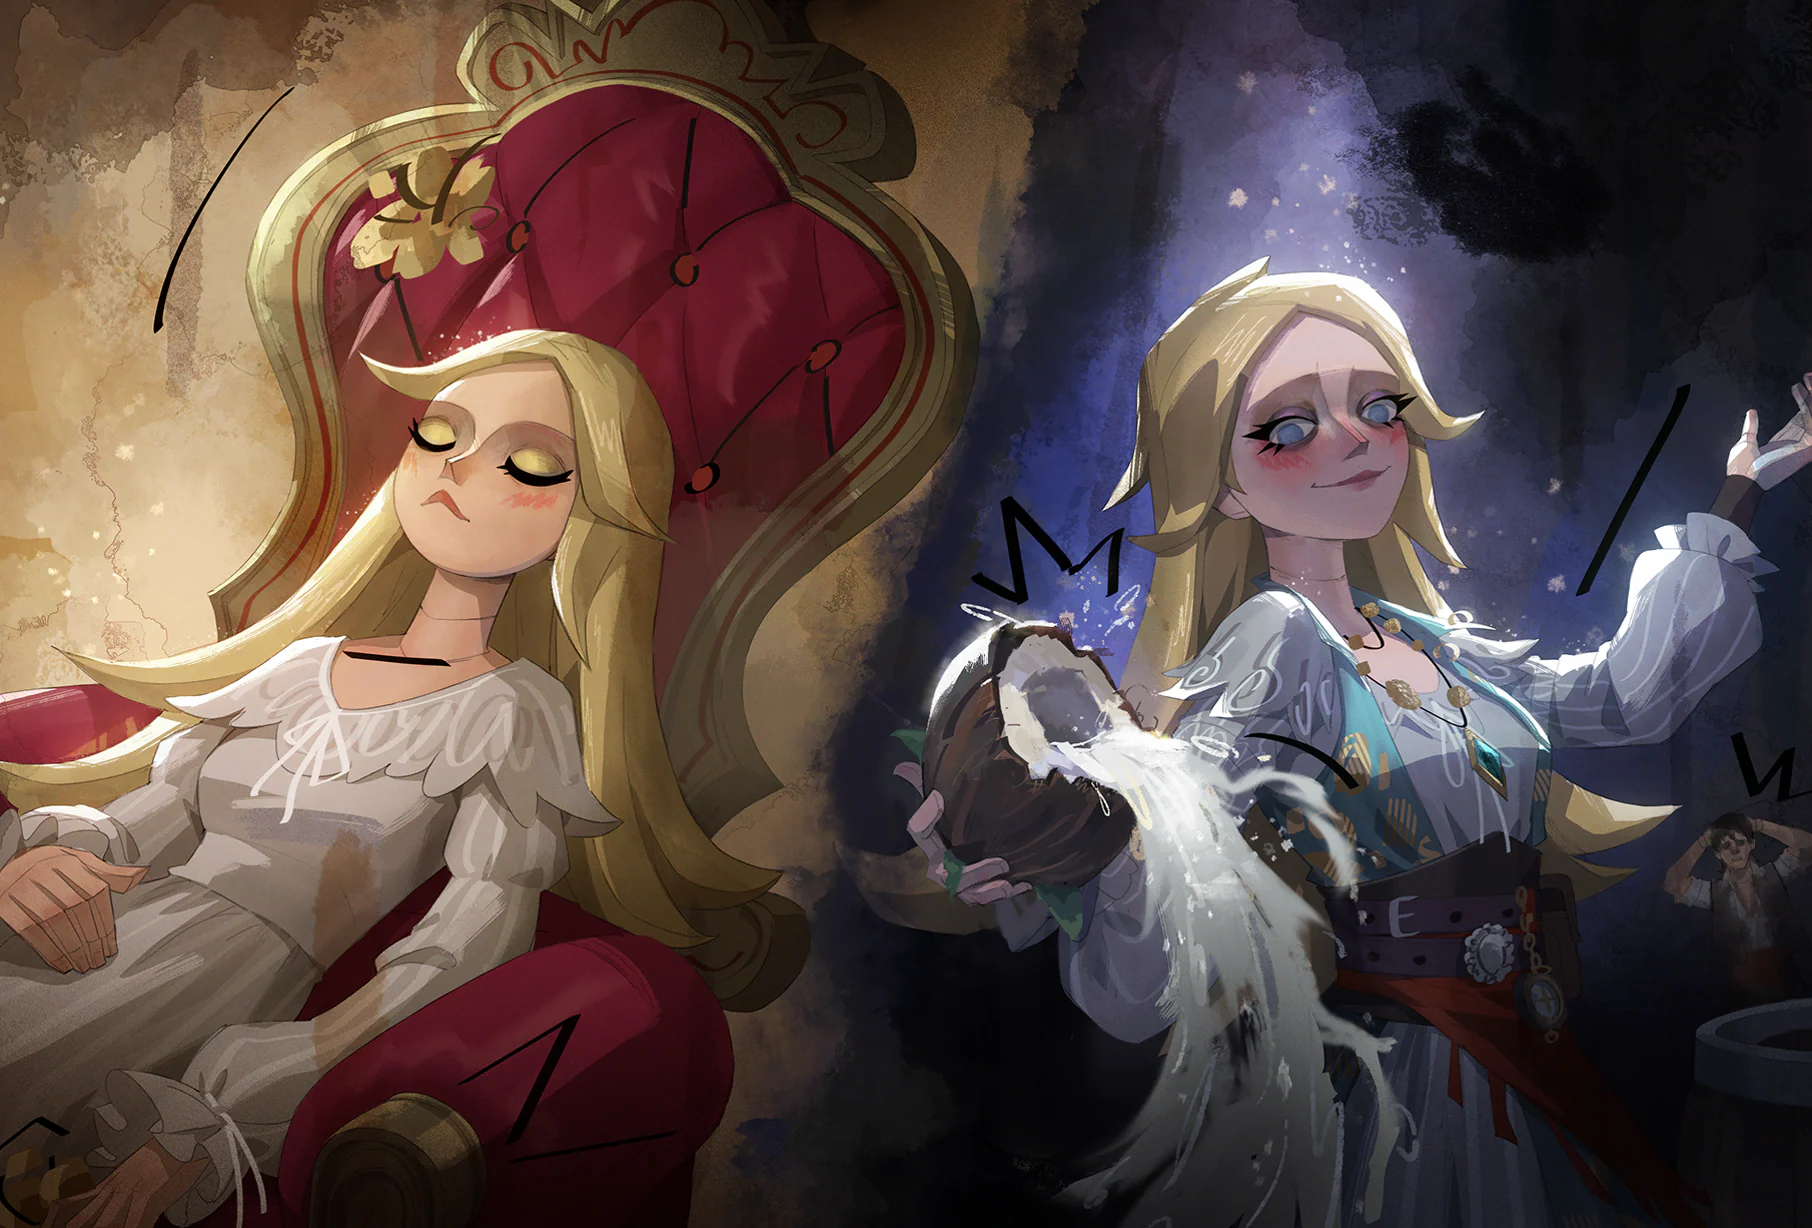
The girl in Sigmund's room looks exactly like Ais. Ais doesn't know her, and the girl is still lying motionless. Maybe the two could explain it if they ever met. When will she wake?
Collection tip: Complete the relevant main or side quest and check the journal by title and picture.
![A Talk by the Sea illustration]() Stories #3A Talk by the SeaOpen
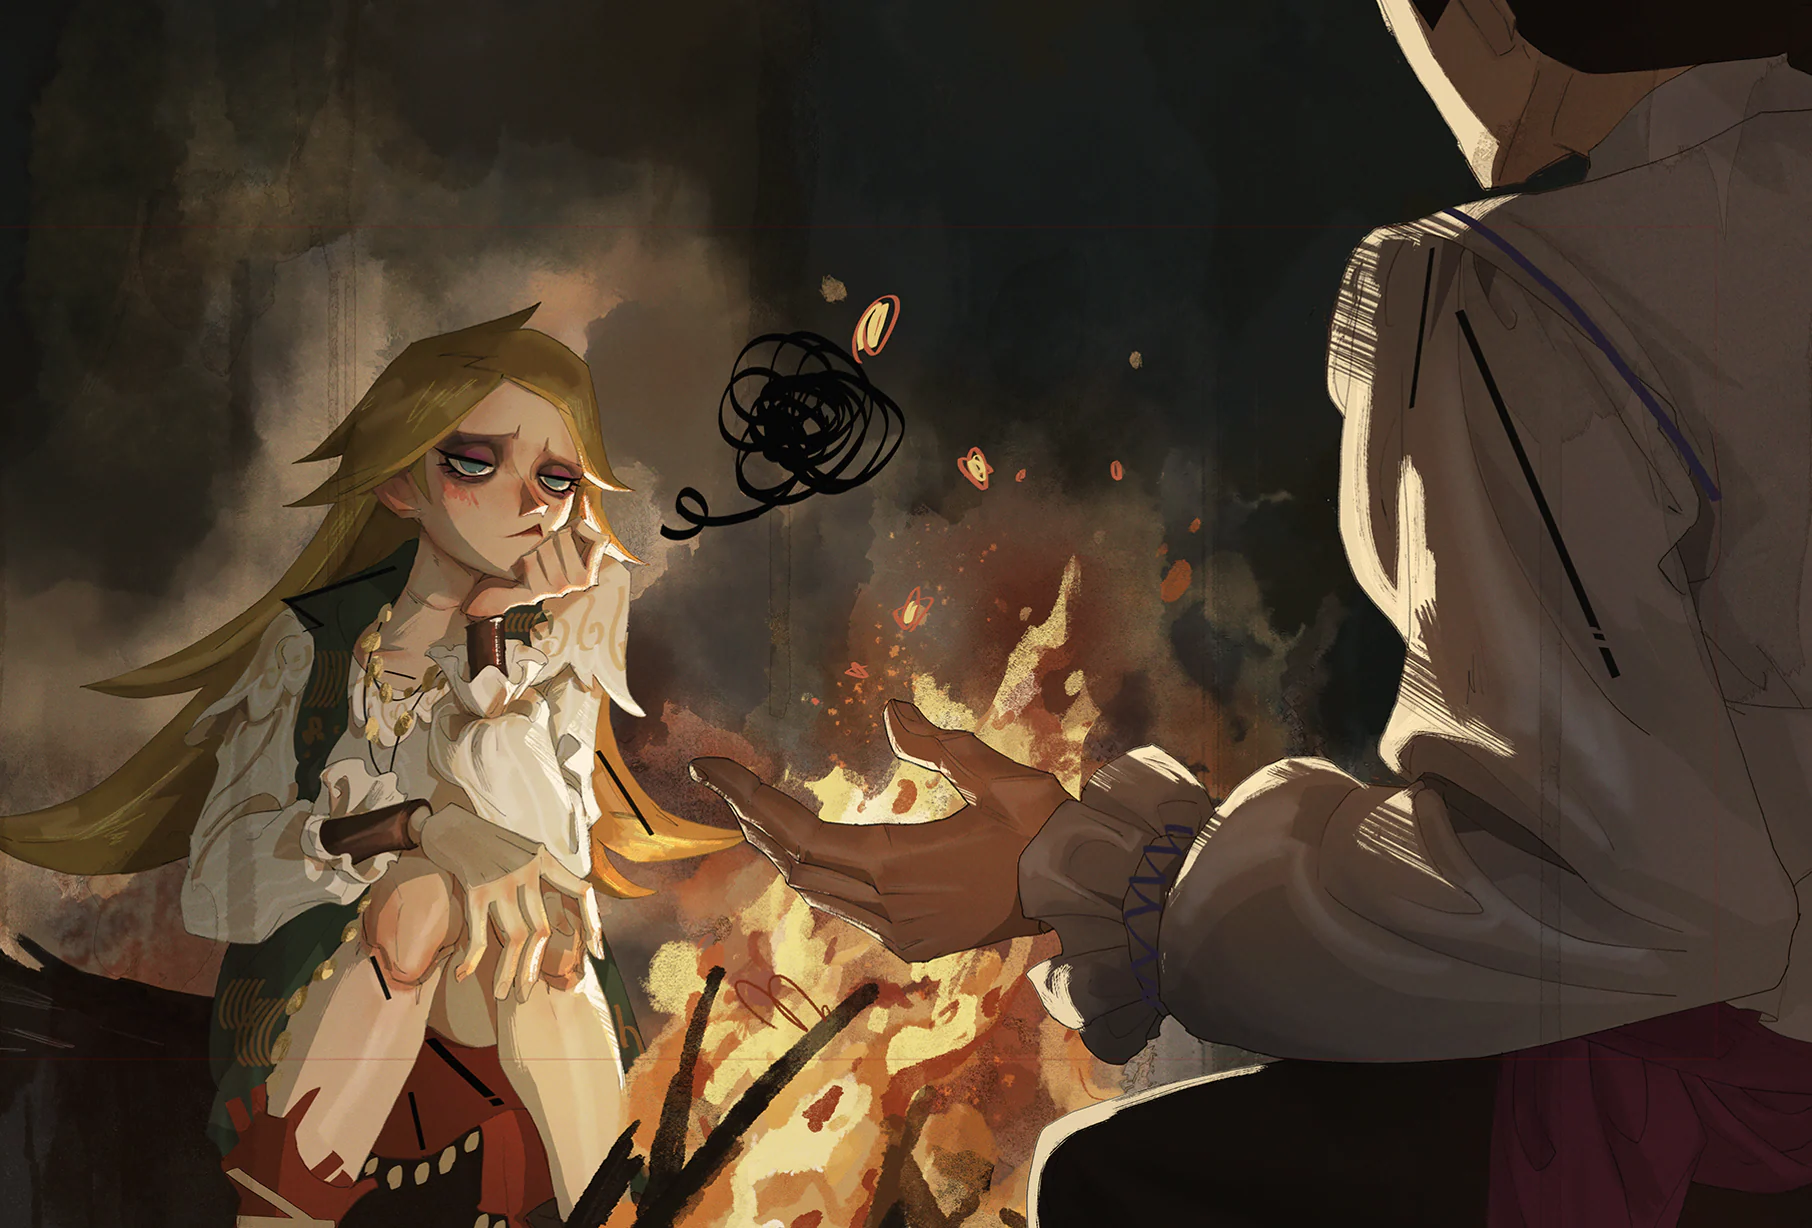
The girl looked identical but didn't know me. Sigmund says I was holding the girl in white's hand when I woke. I followed this one to the beach and learned she wasn't the one from his room. Before I finished, she got me thinking about the sunset and how to season the skewers. Was my story really that dull?
Collection tip: Complete the relevant main or side quest and check the journal by title and picture.
![Beach Barbecue illustration]() Stories #4Beach BarbecueOpen
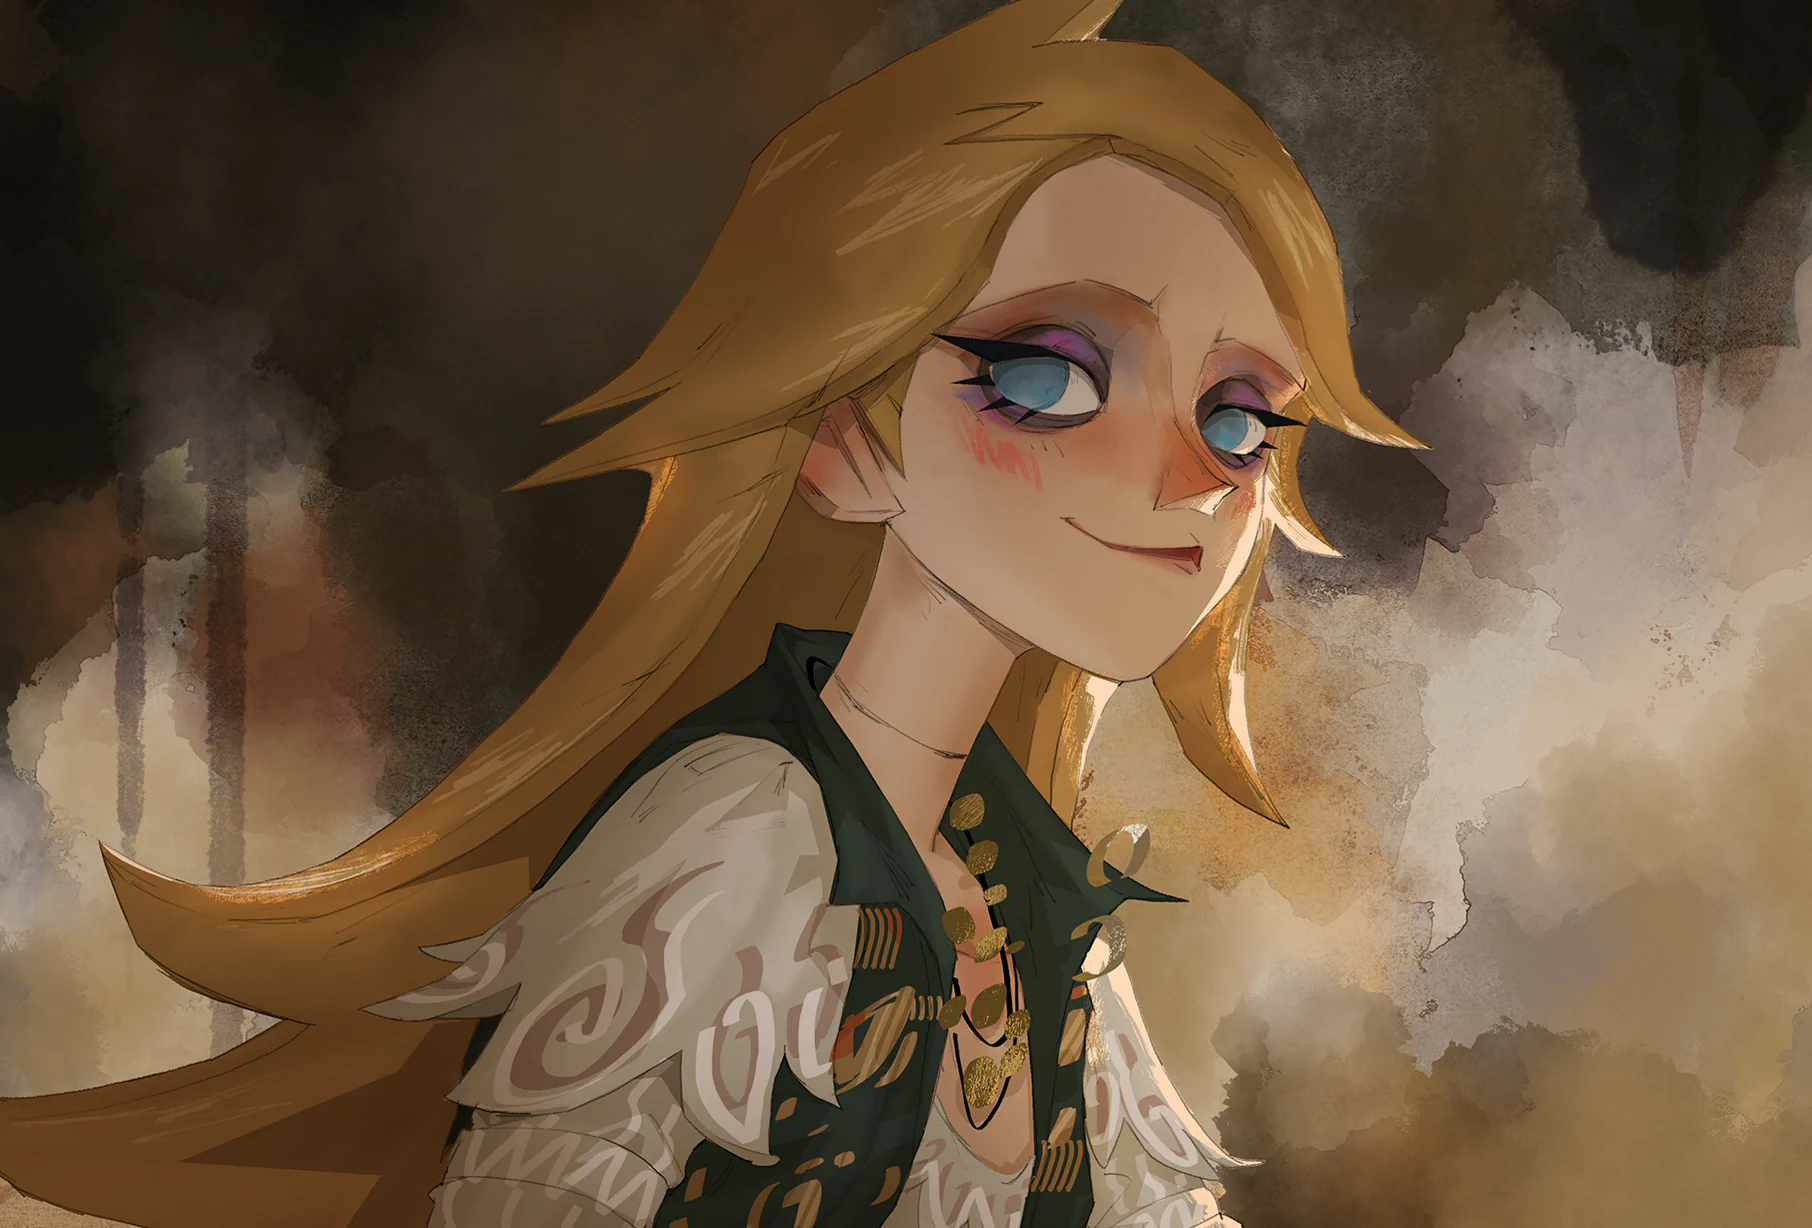
She said her name was Ais. She looked proud to be a sea hamster, cheeks full of skewer, enjoying the world. With her, the breeze and the smell of barbecue made things feel a little better.
Collection tip: Complete the relevant main or side quest and check the journal by title and picture.
![Patchwork Flag illustration]() Stories #5Patchwork FlagOpen
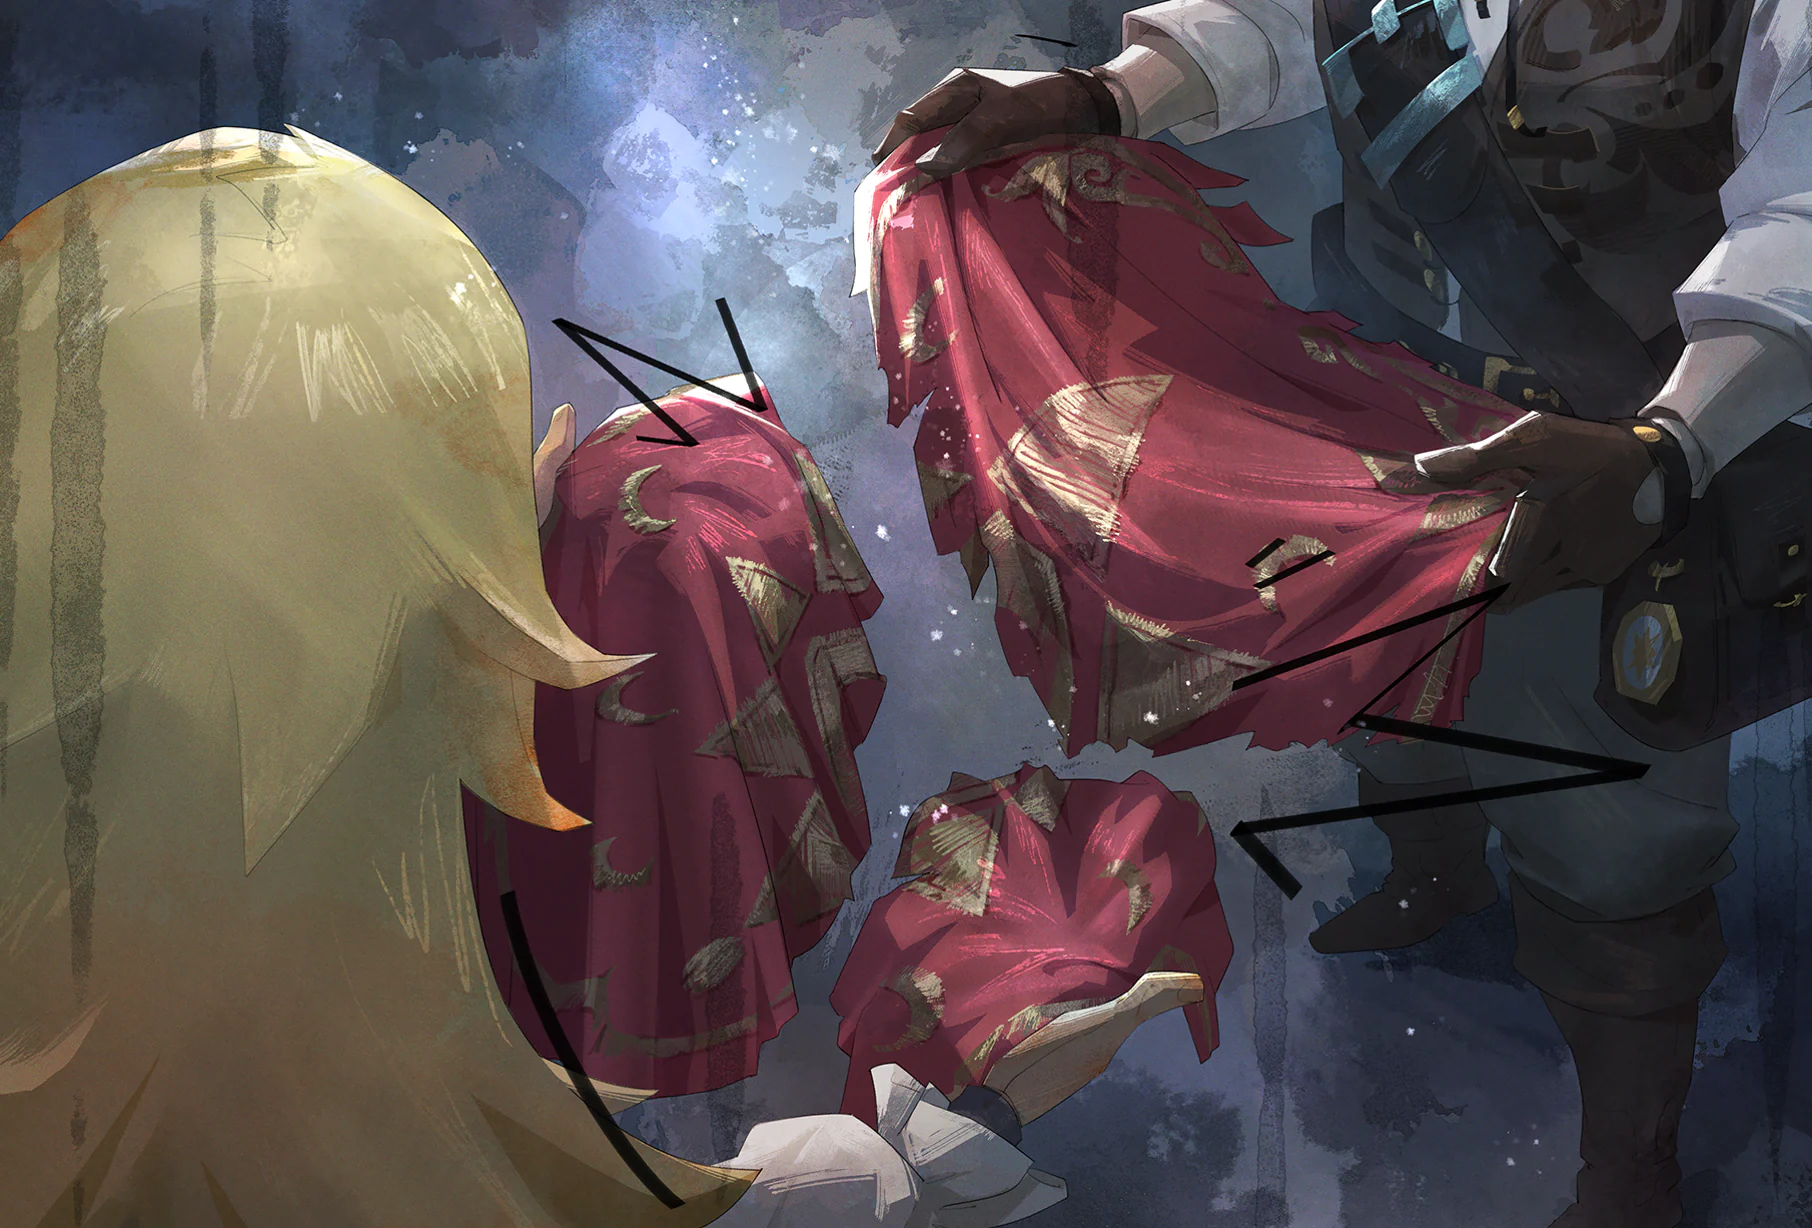
We finally put the flag back together. Its strange moon phases seem tied to Ais, my past and our lost memories. Bird and Sigmund want us to keep looking. Perhaps the sea will give us an answer.
Collection tip: Complete the relevant main or side quest and check the journal by title and picture.
![Memories of the Loud Kid illustration]() Stories #6Memories of the Loud KidOpen
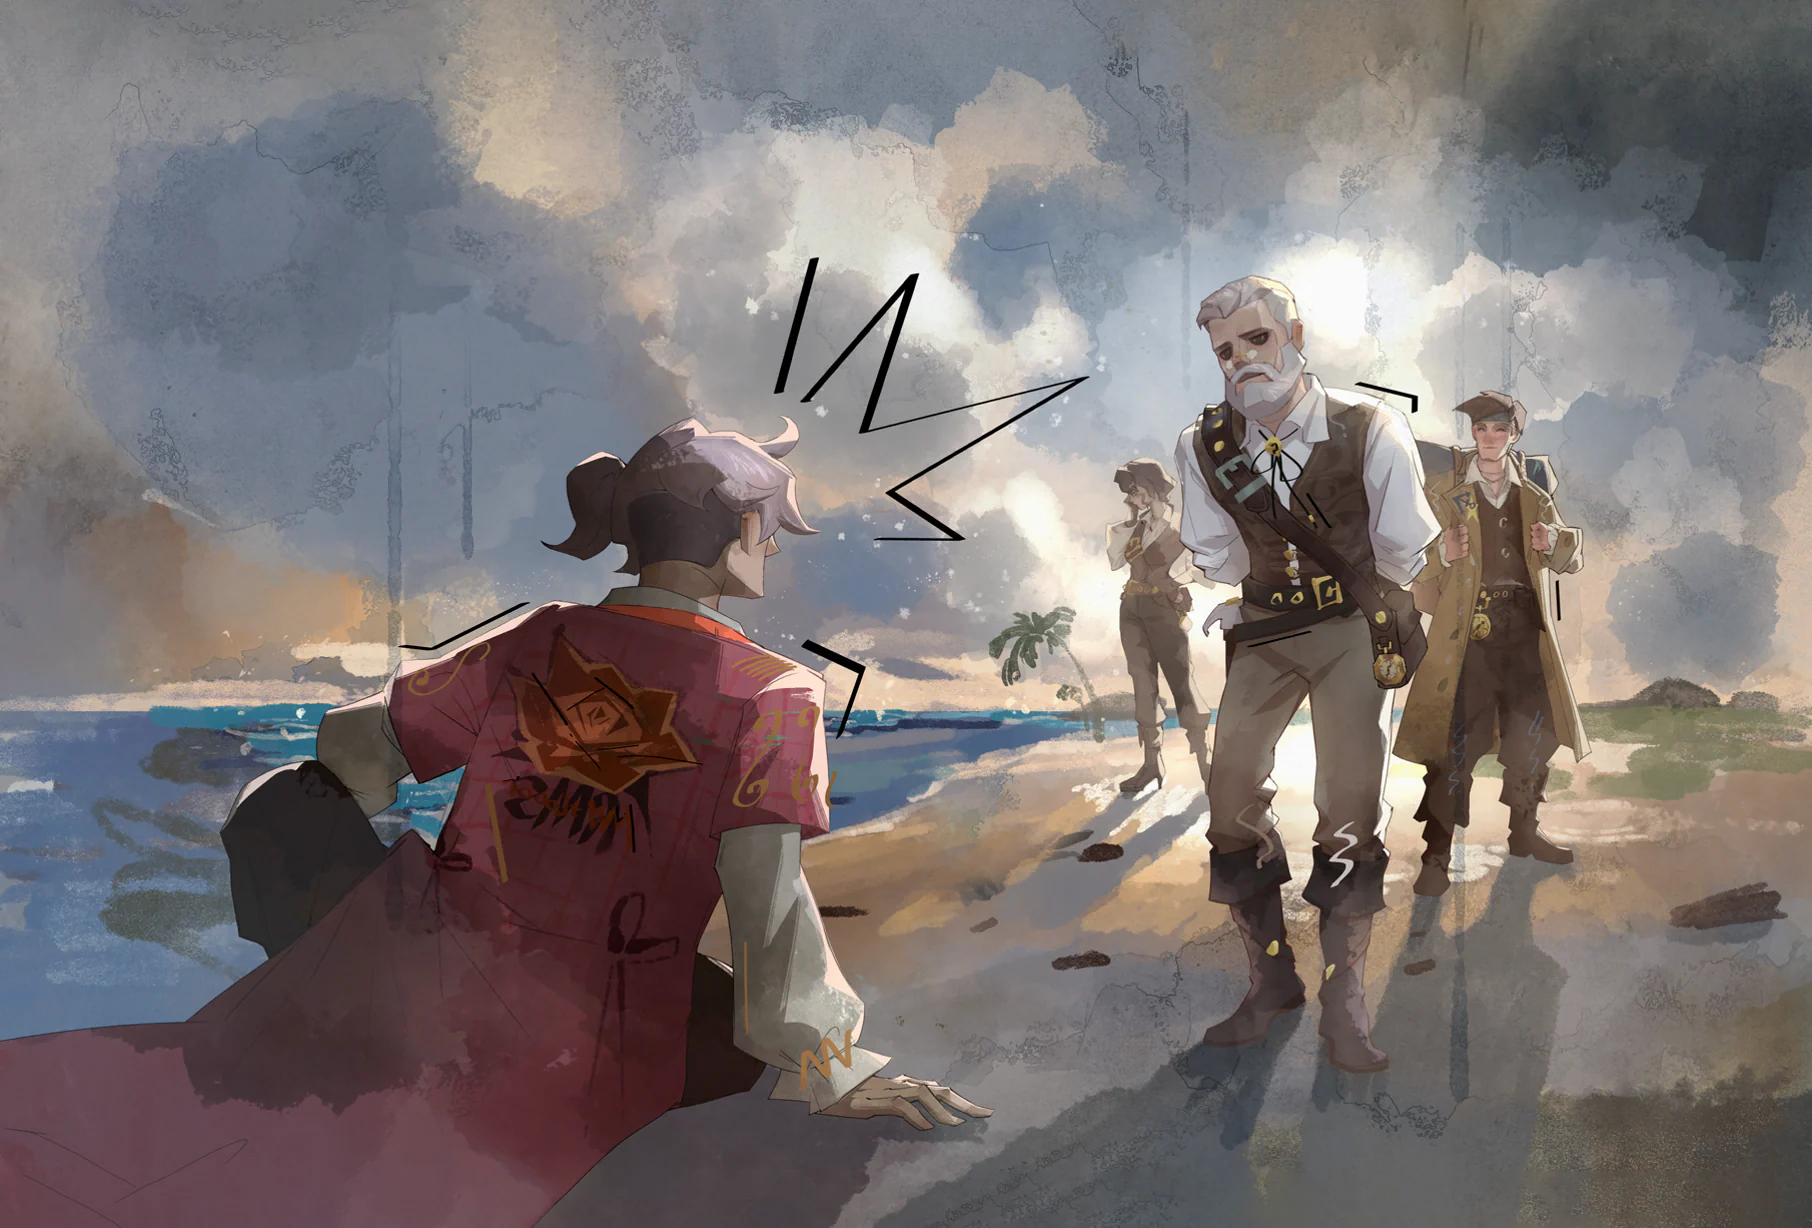
Bird rescued the loud kid and the old stickler. The kid remembered Bird approaching with two stern, heavily laden companions, probably Anna and Abel. In return, Bird asked them to lock his party inside the ruins and never let them out, whatever happened. They owed him their lives, so they agreed.
Collection tip: Complete the relevant main or side quest and check the journal by title and picture.
![The Old Stickler’s Notes I illustration]() Stories #7The Old Stickler’s Notes IOpen
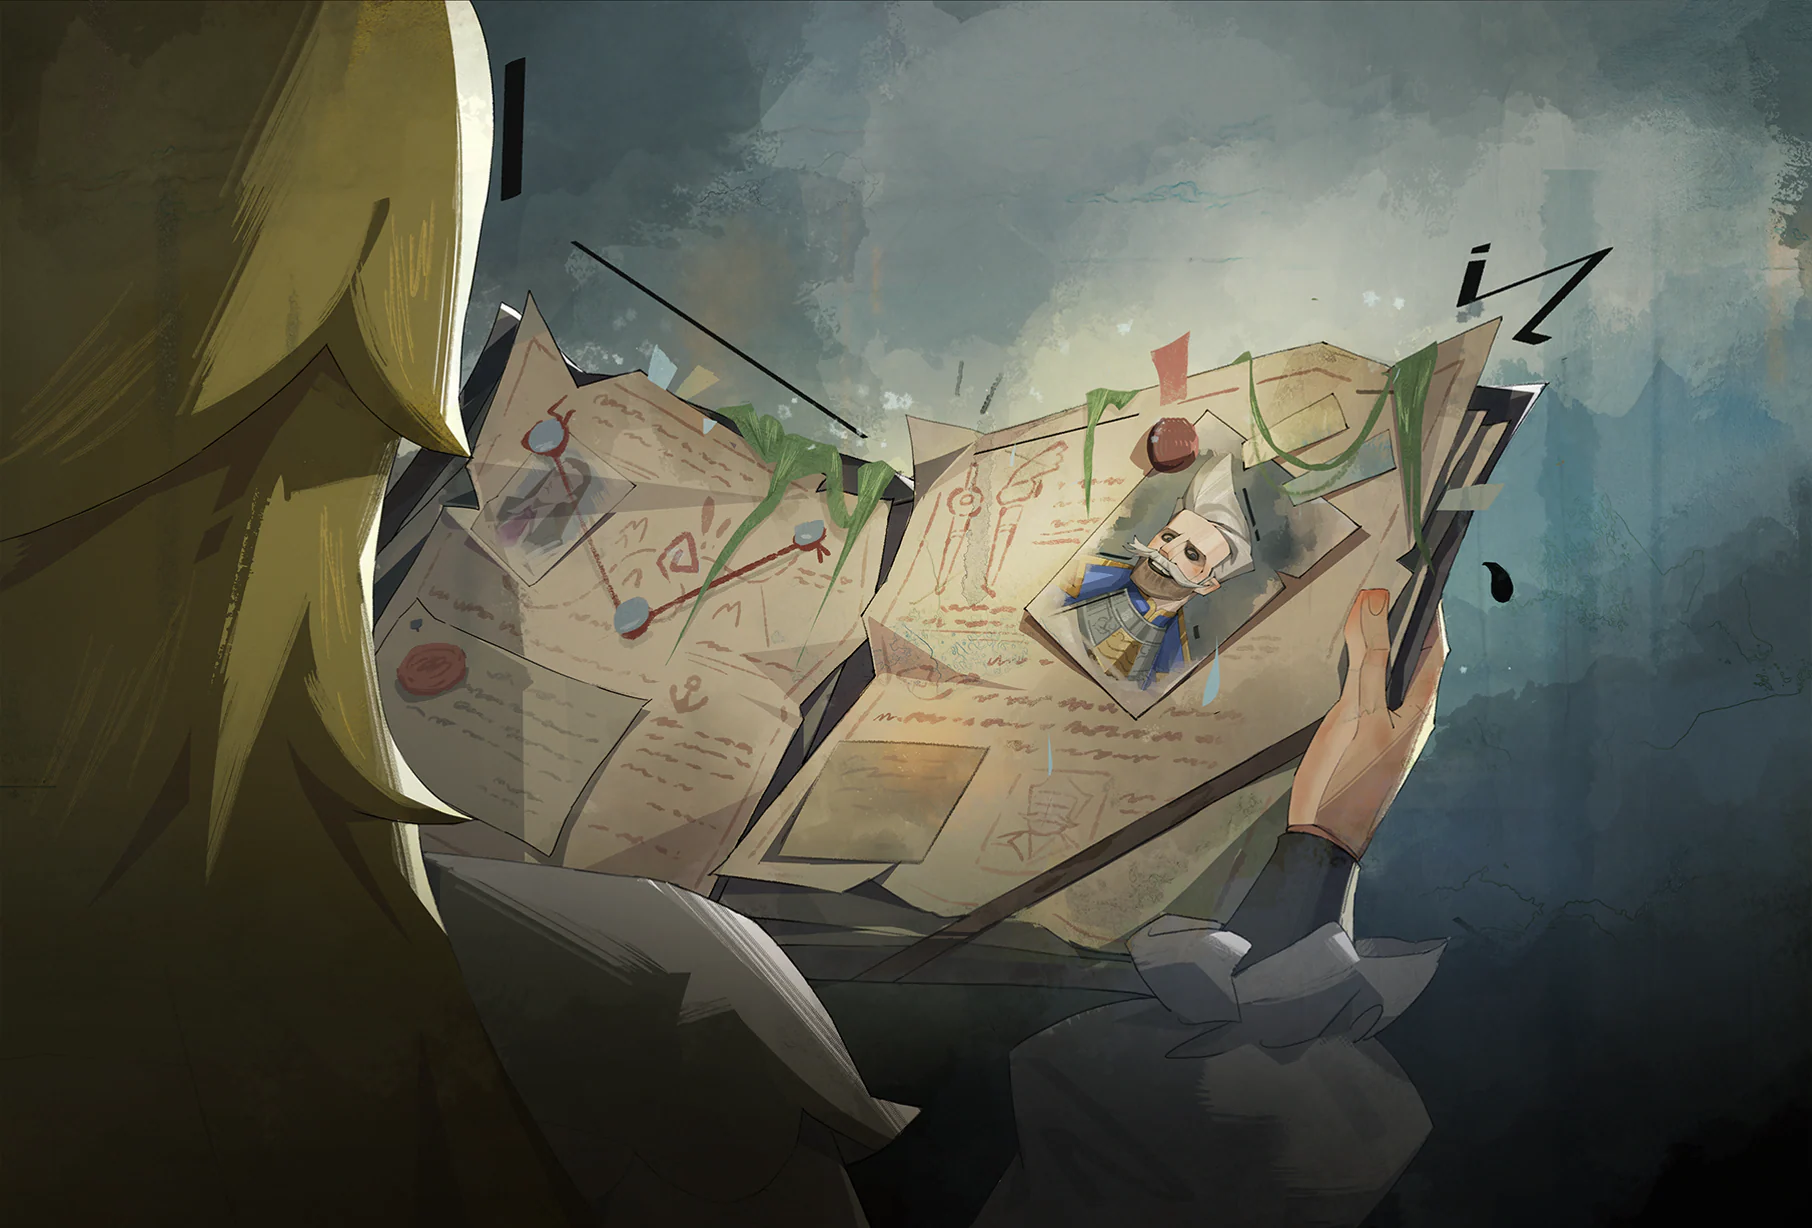
Ais worked hard to fish this notebook out of the sea. The old man in the grass skirt wrote about everything and decorated even his timetable with petals. Then we turned a few more pages. Sea Eagles? A battle plan?
Collection tip: Complete the relevant main or side quest and check the journal by title and picture.
![The Old Stickler’s Notes II illustration]() Stories #8The Old Stickler’s Notes IIOpen
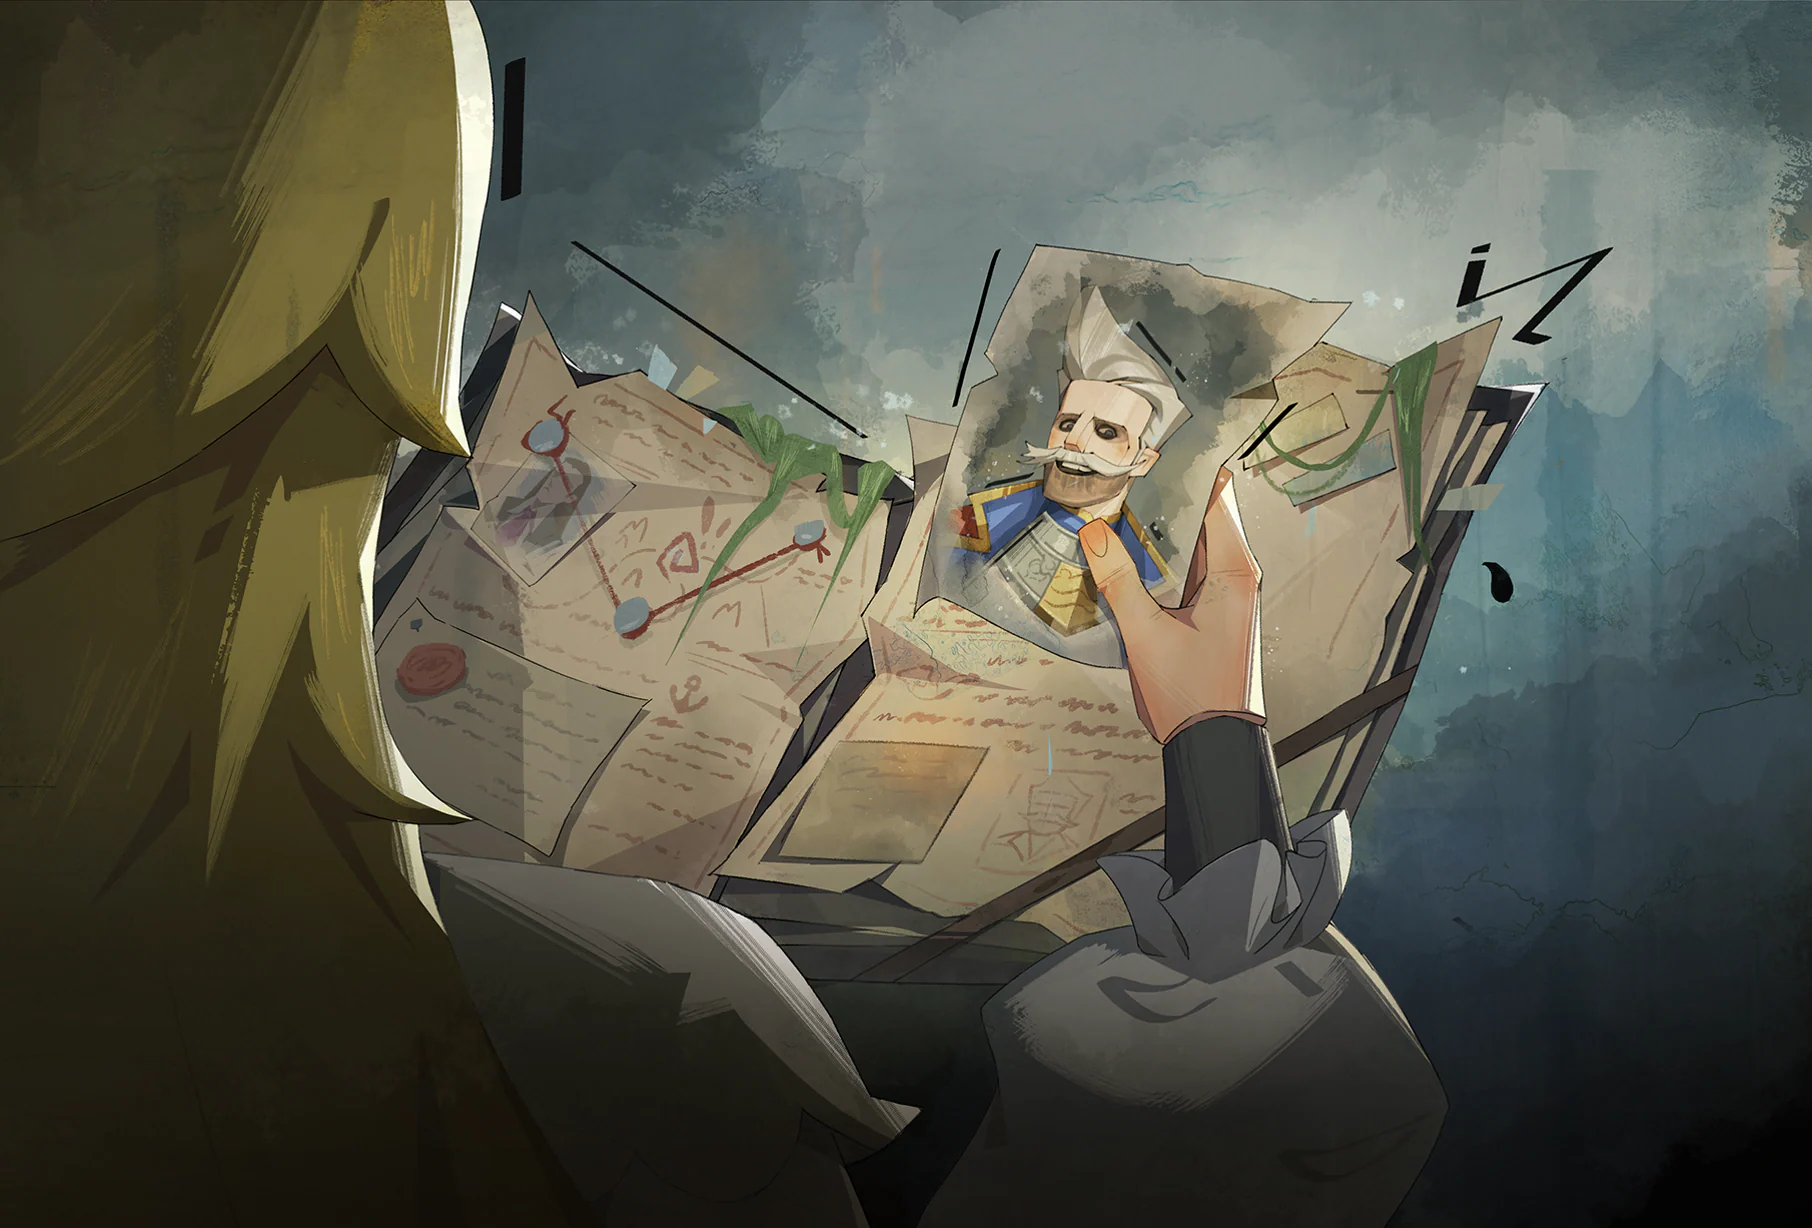
The soaked notebook details Sea Eagle operations down to the time, personnel and weapons. A portrait at the end identifies the old stickler as Wyndham, the officer in command on the island. He was confident in his plan. With his memory intact he must have been formidable.
Collection tip: Complete the relevant main or side quest and check the journal by title and picture.
![The Ranbo Band’s Lead Singer illustration]() Stories #9The Ranbo Band’s Lead SingerOpen
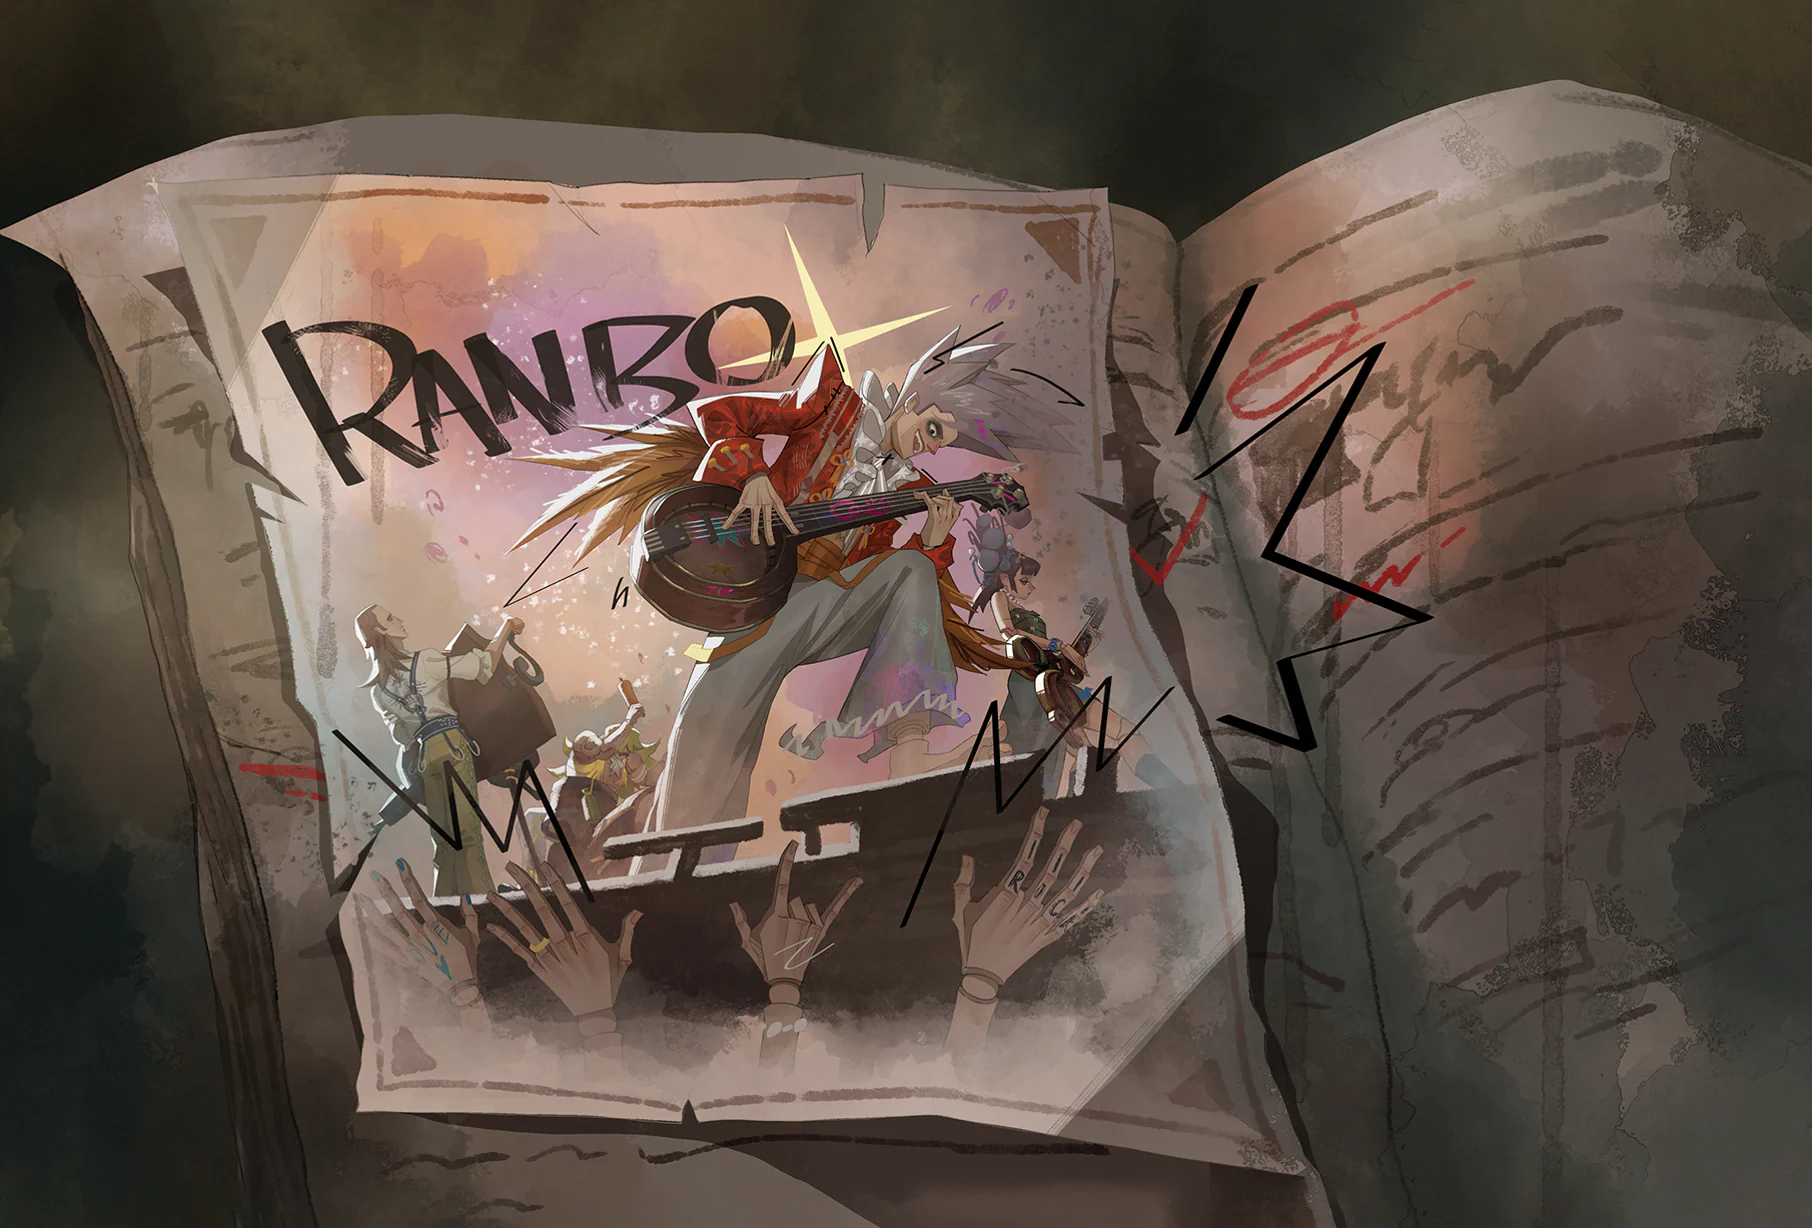
The disheartened boy who wanted to sing was Gale of the Ranbo Band. Even when he forgot himself, he never gave up on singing. The loud kid we tried to encourage shone onstage. The old stickler had kept Ranbo Band posters. Was he really just a fan?
Collection tip: Complete the relevant main or side quest and check the journal by title and picture.
![The Truth About the Collision I illustration]() Stories #10The Truth About the Collision IOpen
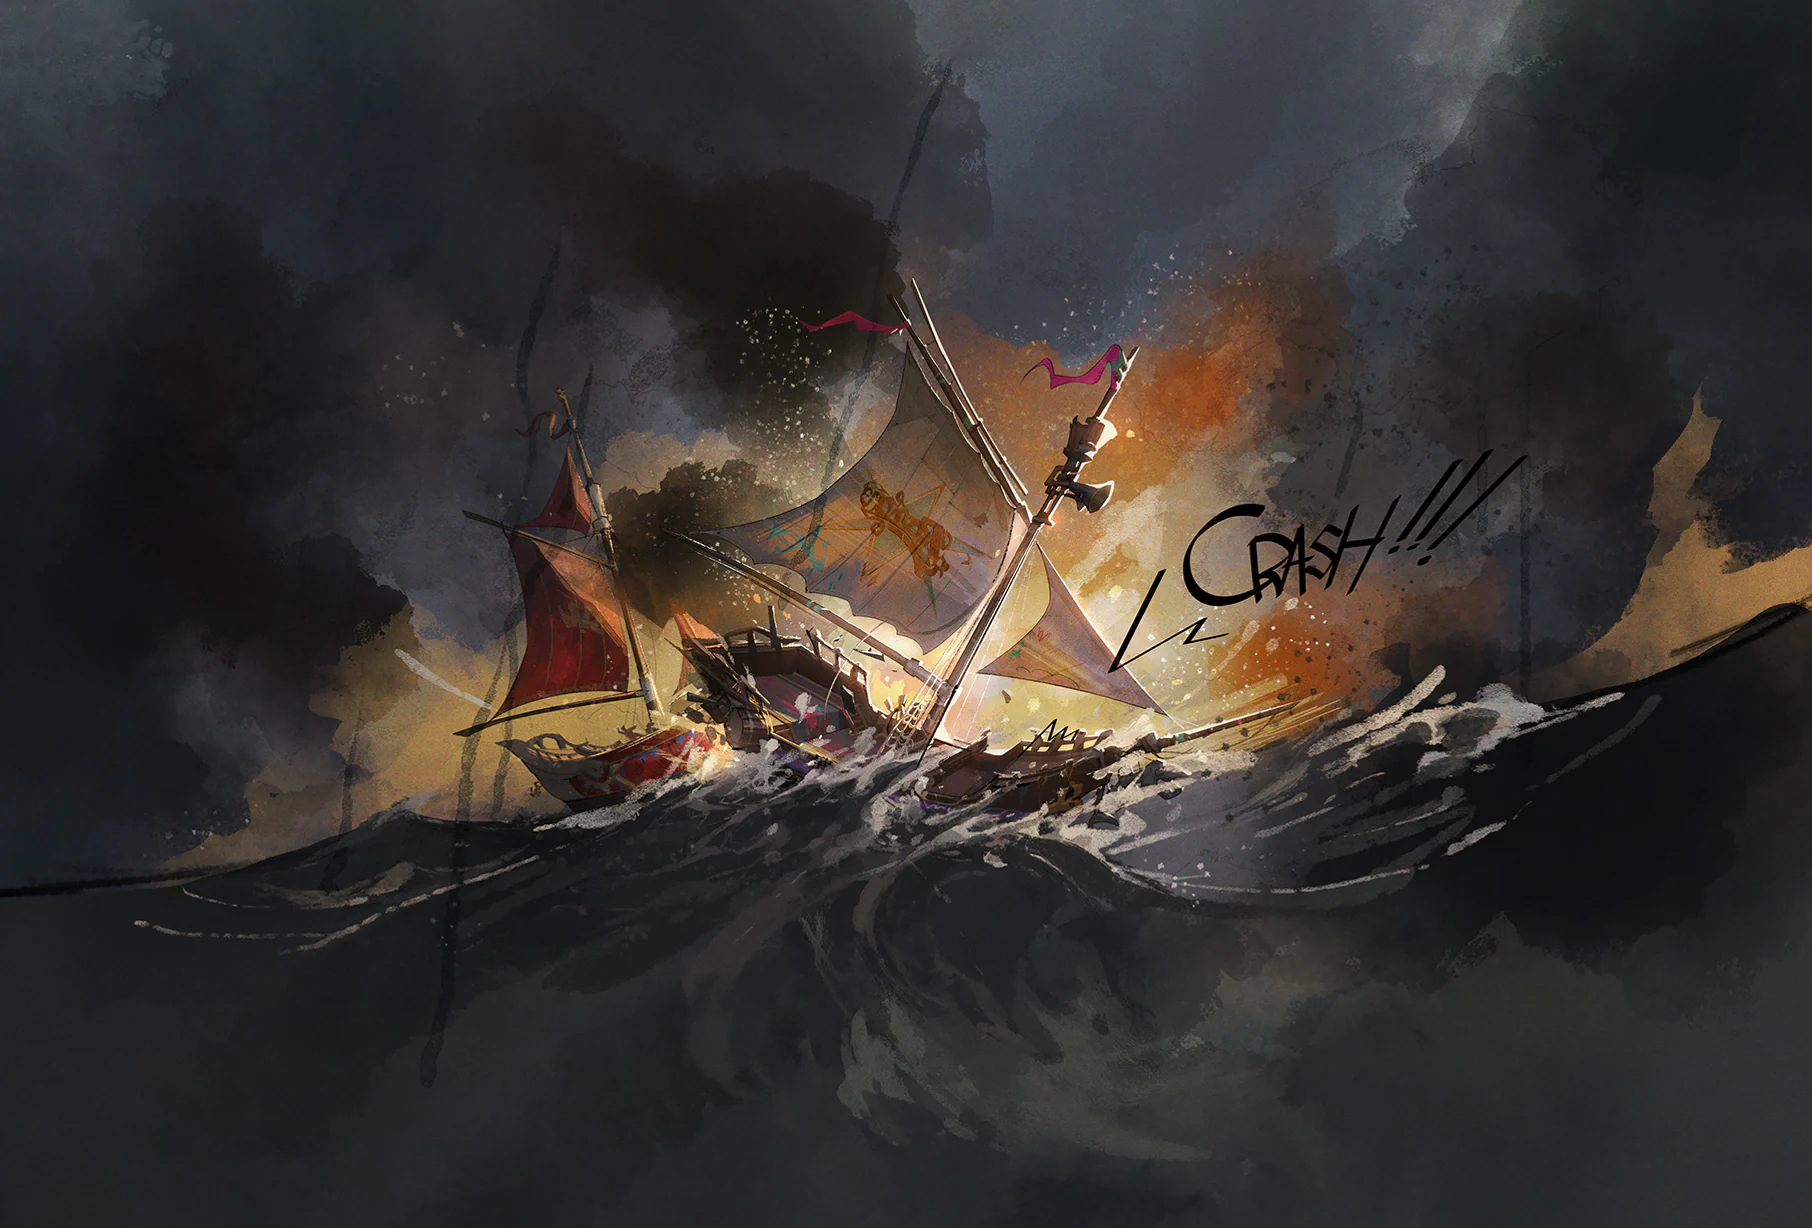
Kaguask of Redleaf Village told me how the ships collided. Months before the Traveler arrived, Wyndham timed an interception of the Ranbo Band's ship, hoping to use the band to catch disobedient sea hamsters. The wind and angle shifted, and the collision was much harder than planned.
Collection tip: Complete the relevant main or side quest and check the journal by title and picture.
![The Truth About the Collision II illustration]() Stories #11The Truth About the Collision IIOpen
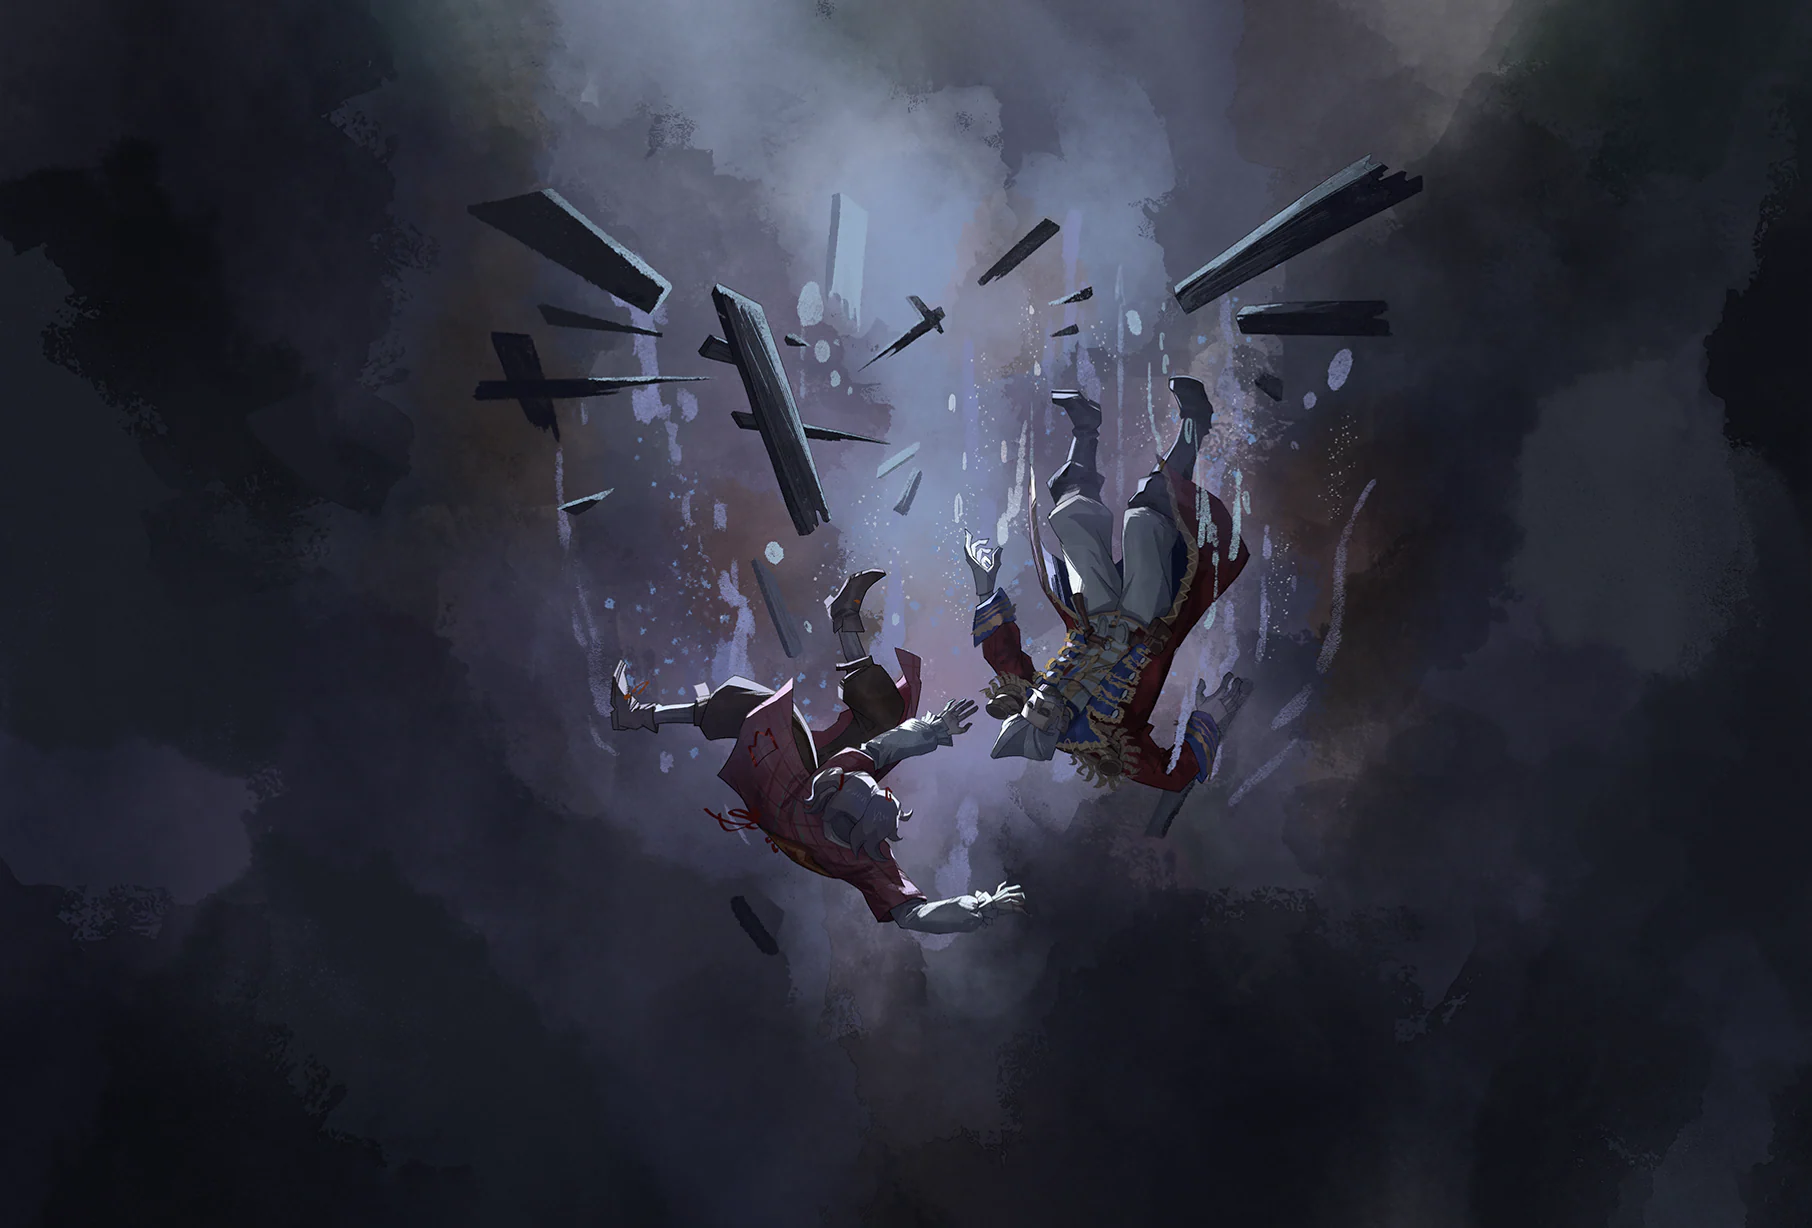
Someone rescued Gale and the people from the other ship. They forgot everything in the collision. Wyndham and Gale got along in peace. Kaguask made the village keep quiet to preserve it, and the Sea Eagles kept quiet too. The island went on partying amid the people who refused to tell.
Collection tip: Complete the relevant main or side quest and check the journal by title and picture.
![The Power of Music illustration]() Stories #12The Power of MusicOpen
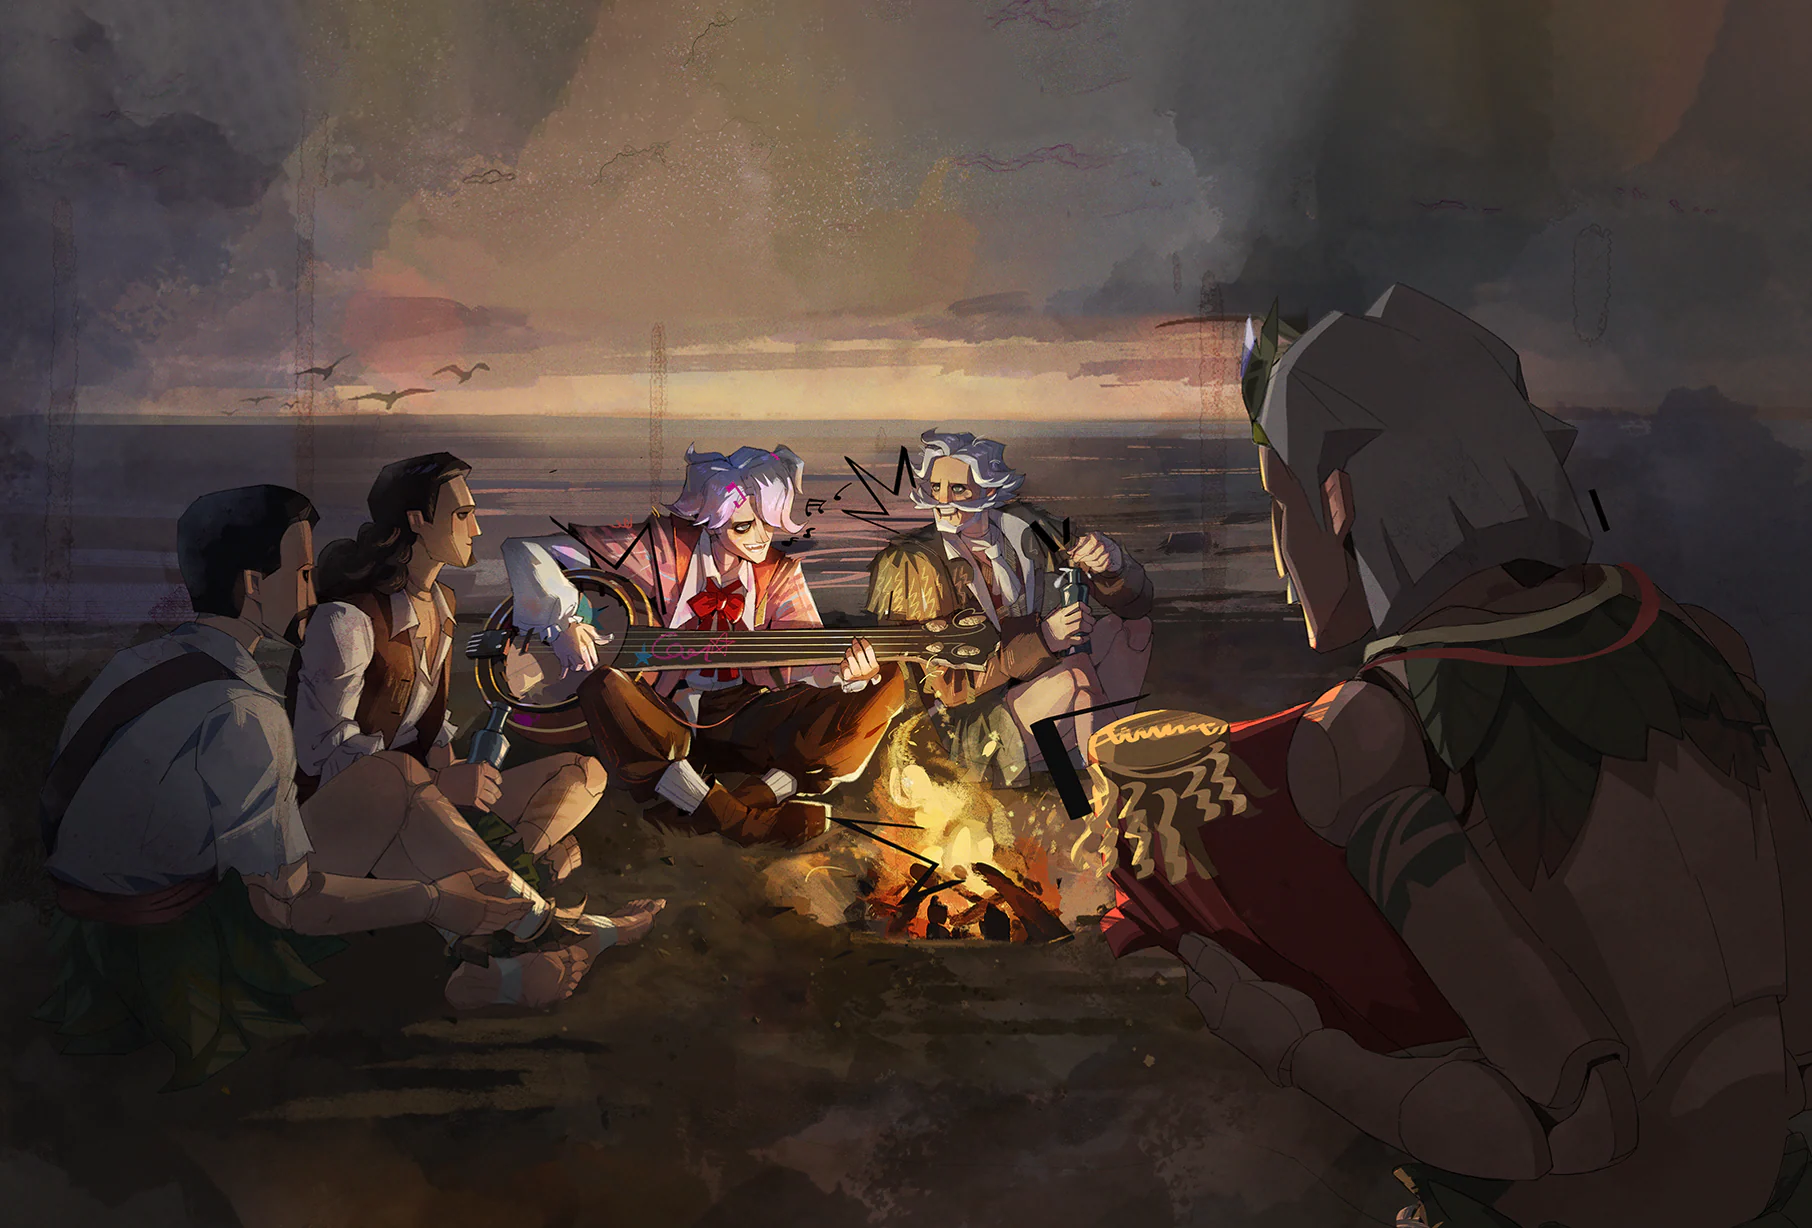
Gale and Wyndham's people sang familiar songs around a fire on the shore. They didn't remember names or care about uniforms. For a night there was only music. Who would interrupt that?
Collection tip: Complete the relevant main or side quest and check the journal by title and picture.
![The Ranbo Band Performs illustration]() Stories #13The Ranbo Band PerformsOpen
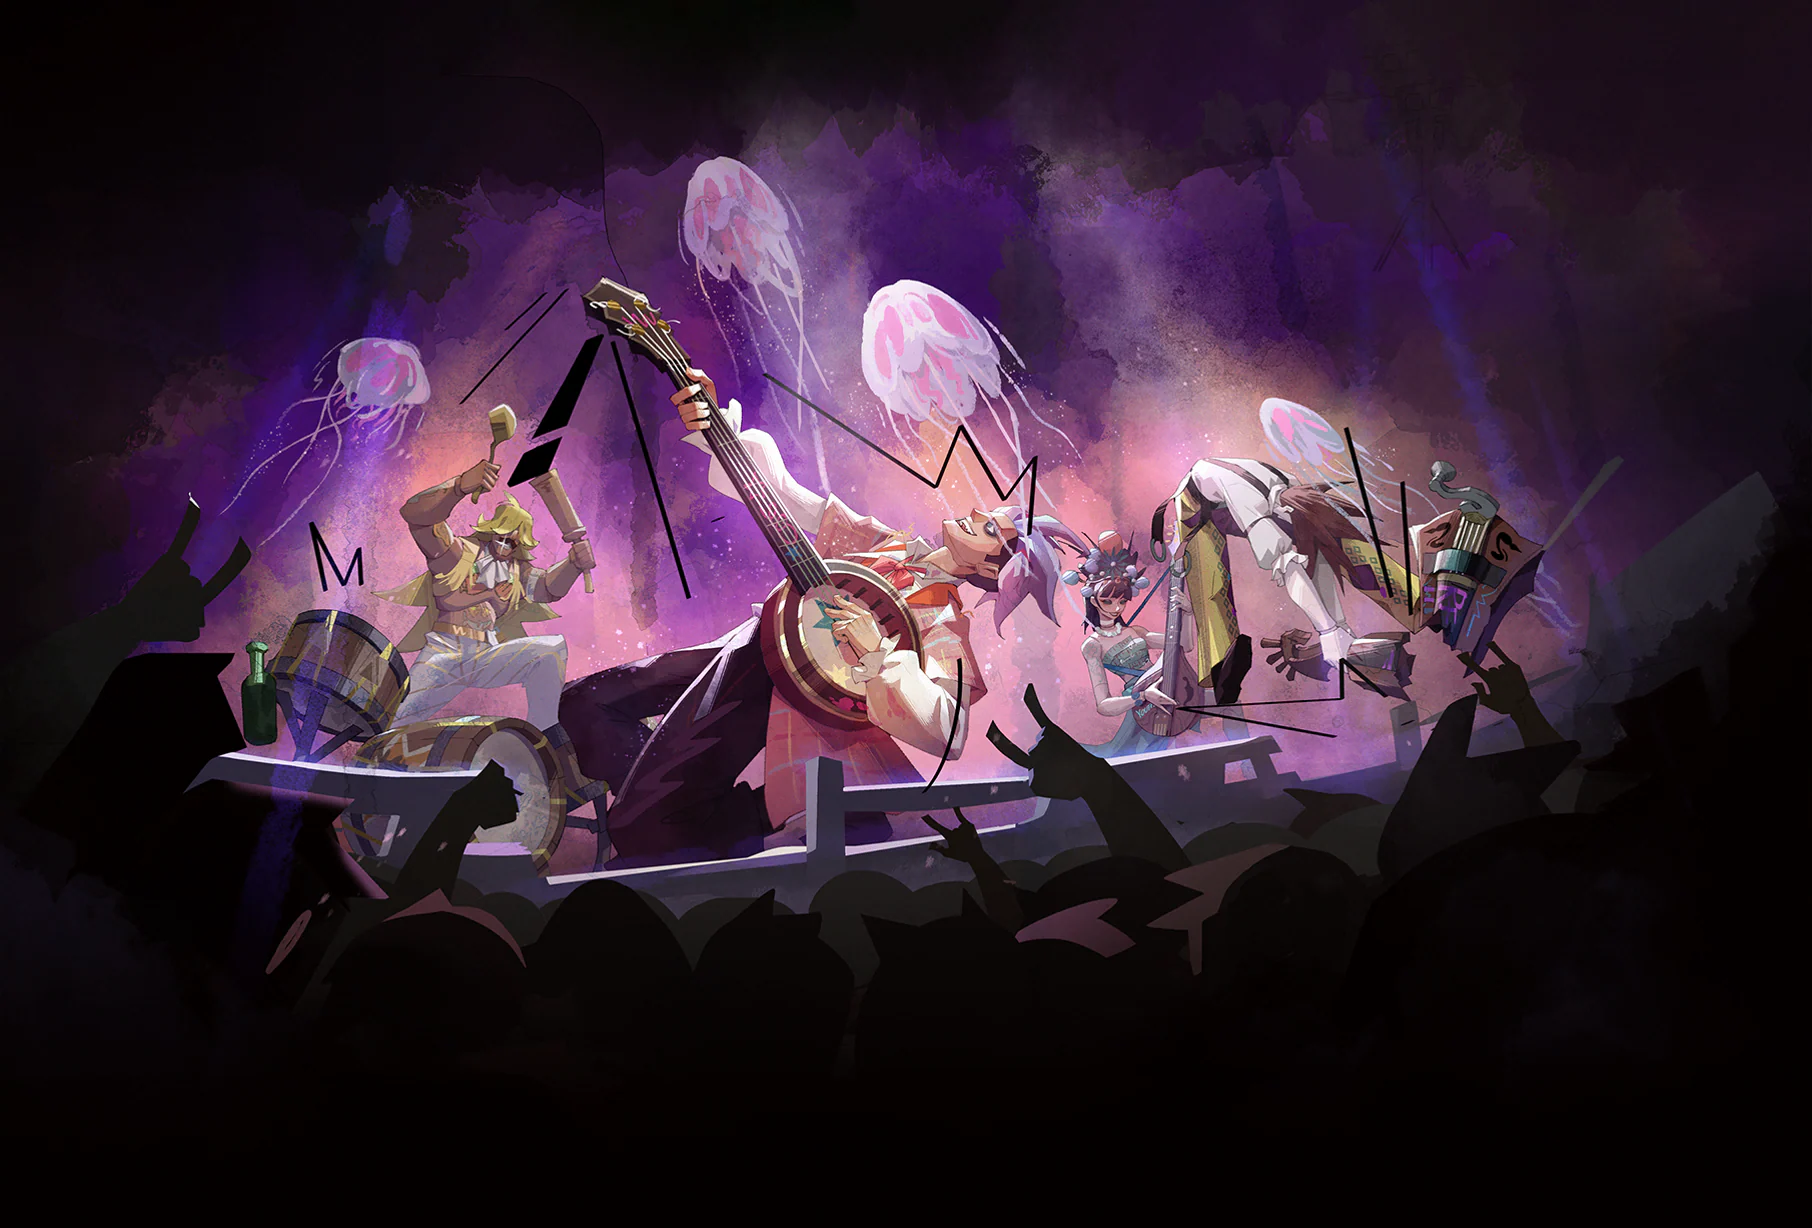
Gale wrote songs that set the sea alight. “We're the Ranbo Band,” he used to say. After the wreck he kept singing even as a nobody. “I don't sing so people remember the name.” Onstage again, he said, “Ranbo Band or not, tonight belongs to all of us.”
Collection tip: Complete the relevant main or side quest and check the journal by title and picture.
![Back to the Sea Once More illustration]() Stories #14Back to the Sea Once MoreOpen
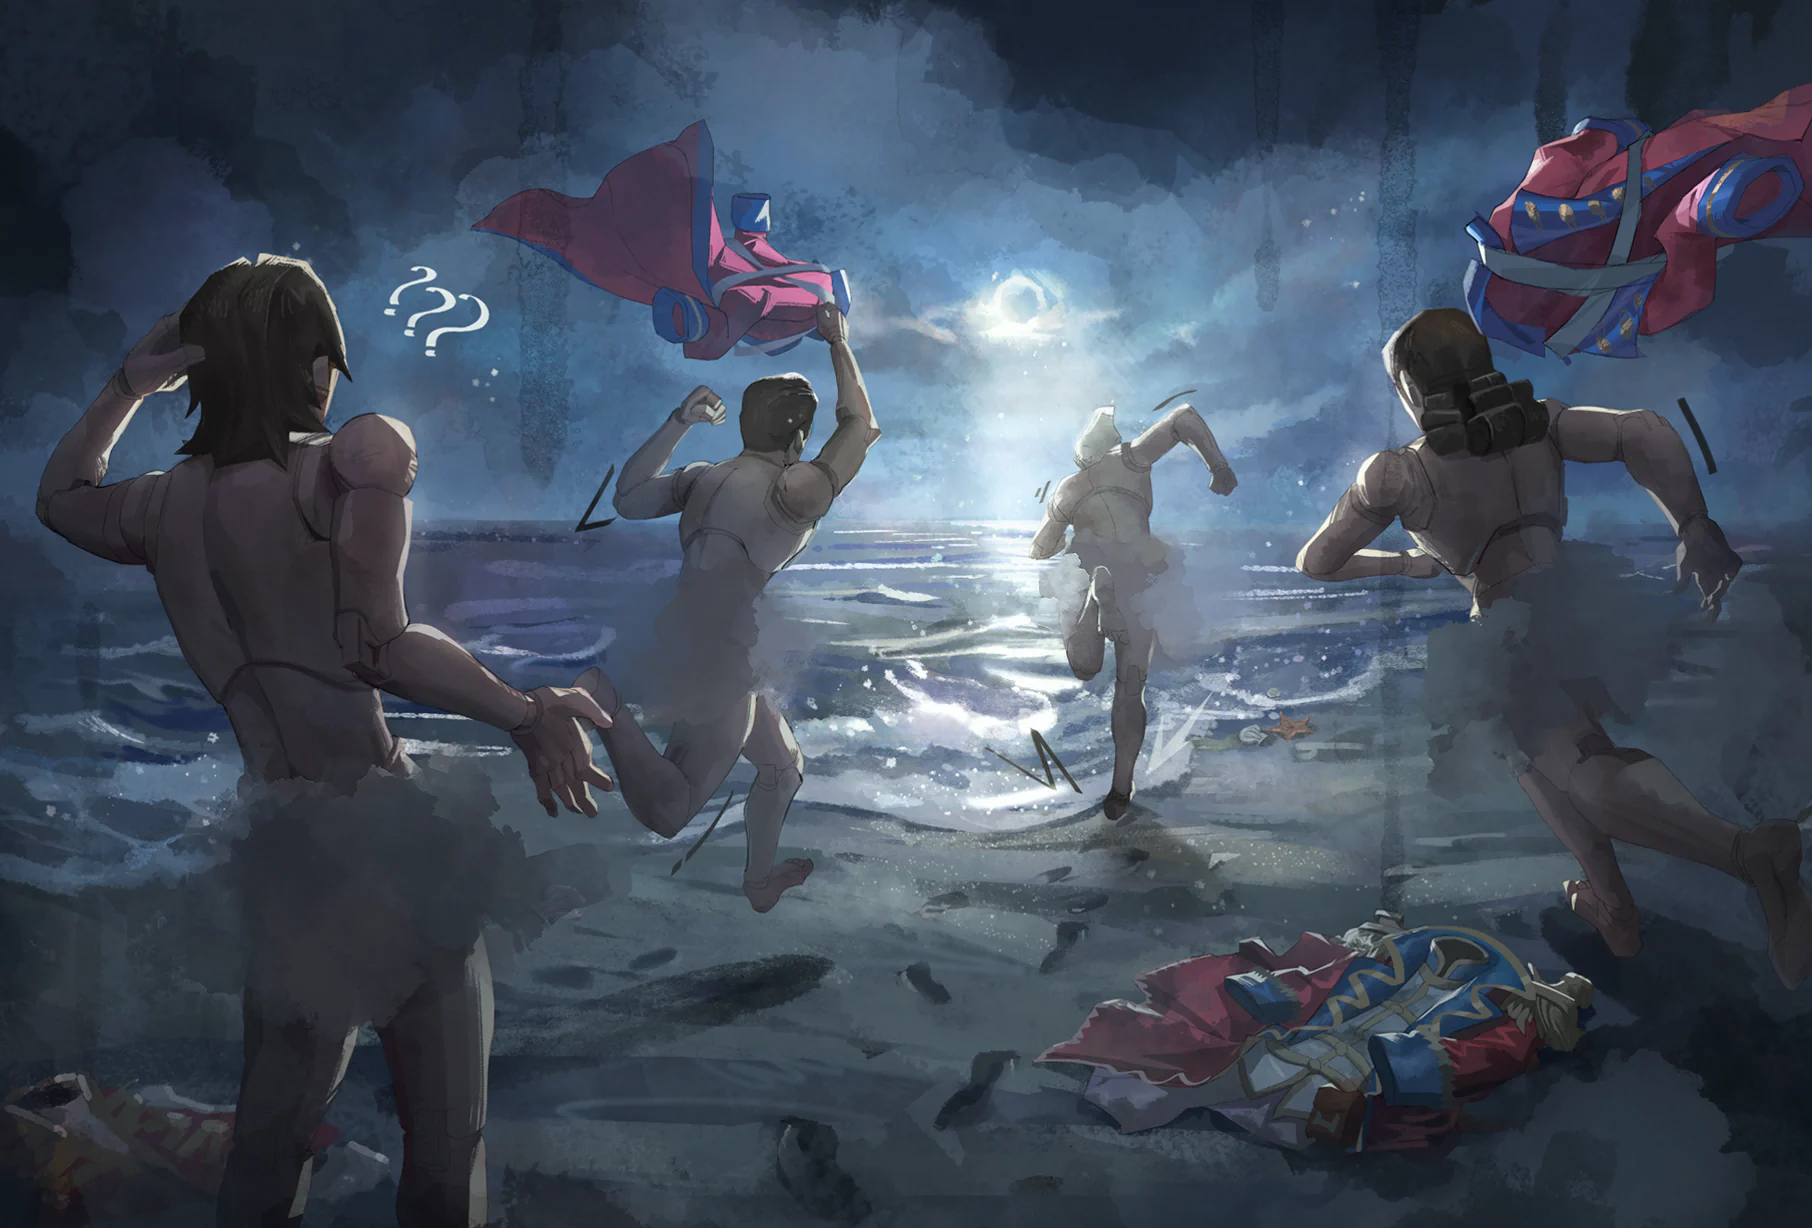
After the show, we found Wyndham on the shore. We couldn't read his face. “Forty years, from youth to gray hair…” he said, then rushed back into the sea with his mahjong-playing subordinates.
Collection tip: Complete the relevant main or side quest and check the journal by title and picture.
![Wyndham’s Memento illustration]() Stories #15Wyndham’s MementoOpen
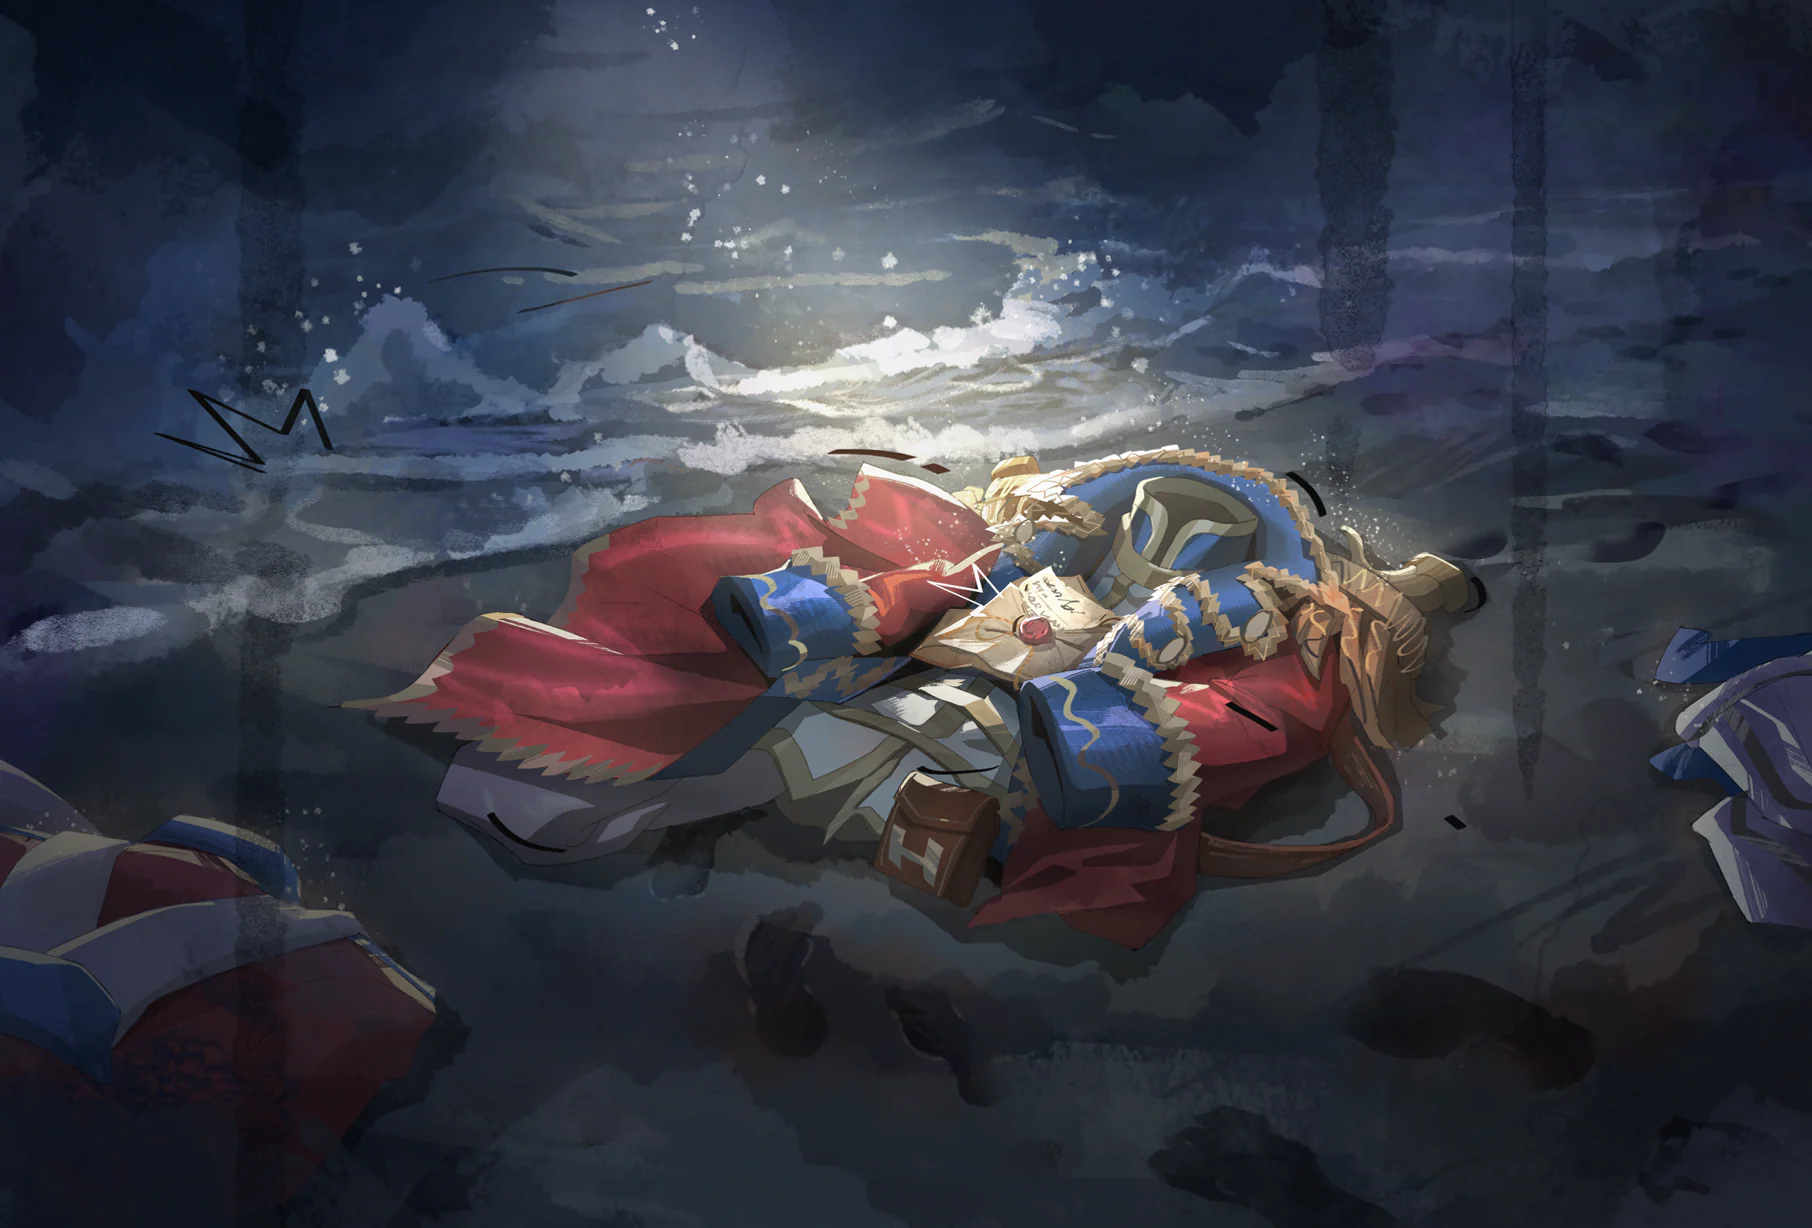
Wyndham left his uniform on the shore and a letter that would get us into the ruins. Ais realized he meant it for us. Why does the old stickler always do things this way?
Collection tip: Complete the relevant main or side quest and check the journal by title and picture.
![Ingram’s Signed Photo illustration]() Stories #16Ingram’s Signed PhotoOpen
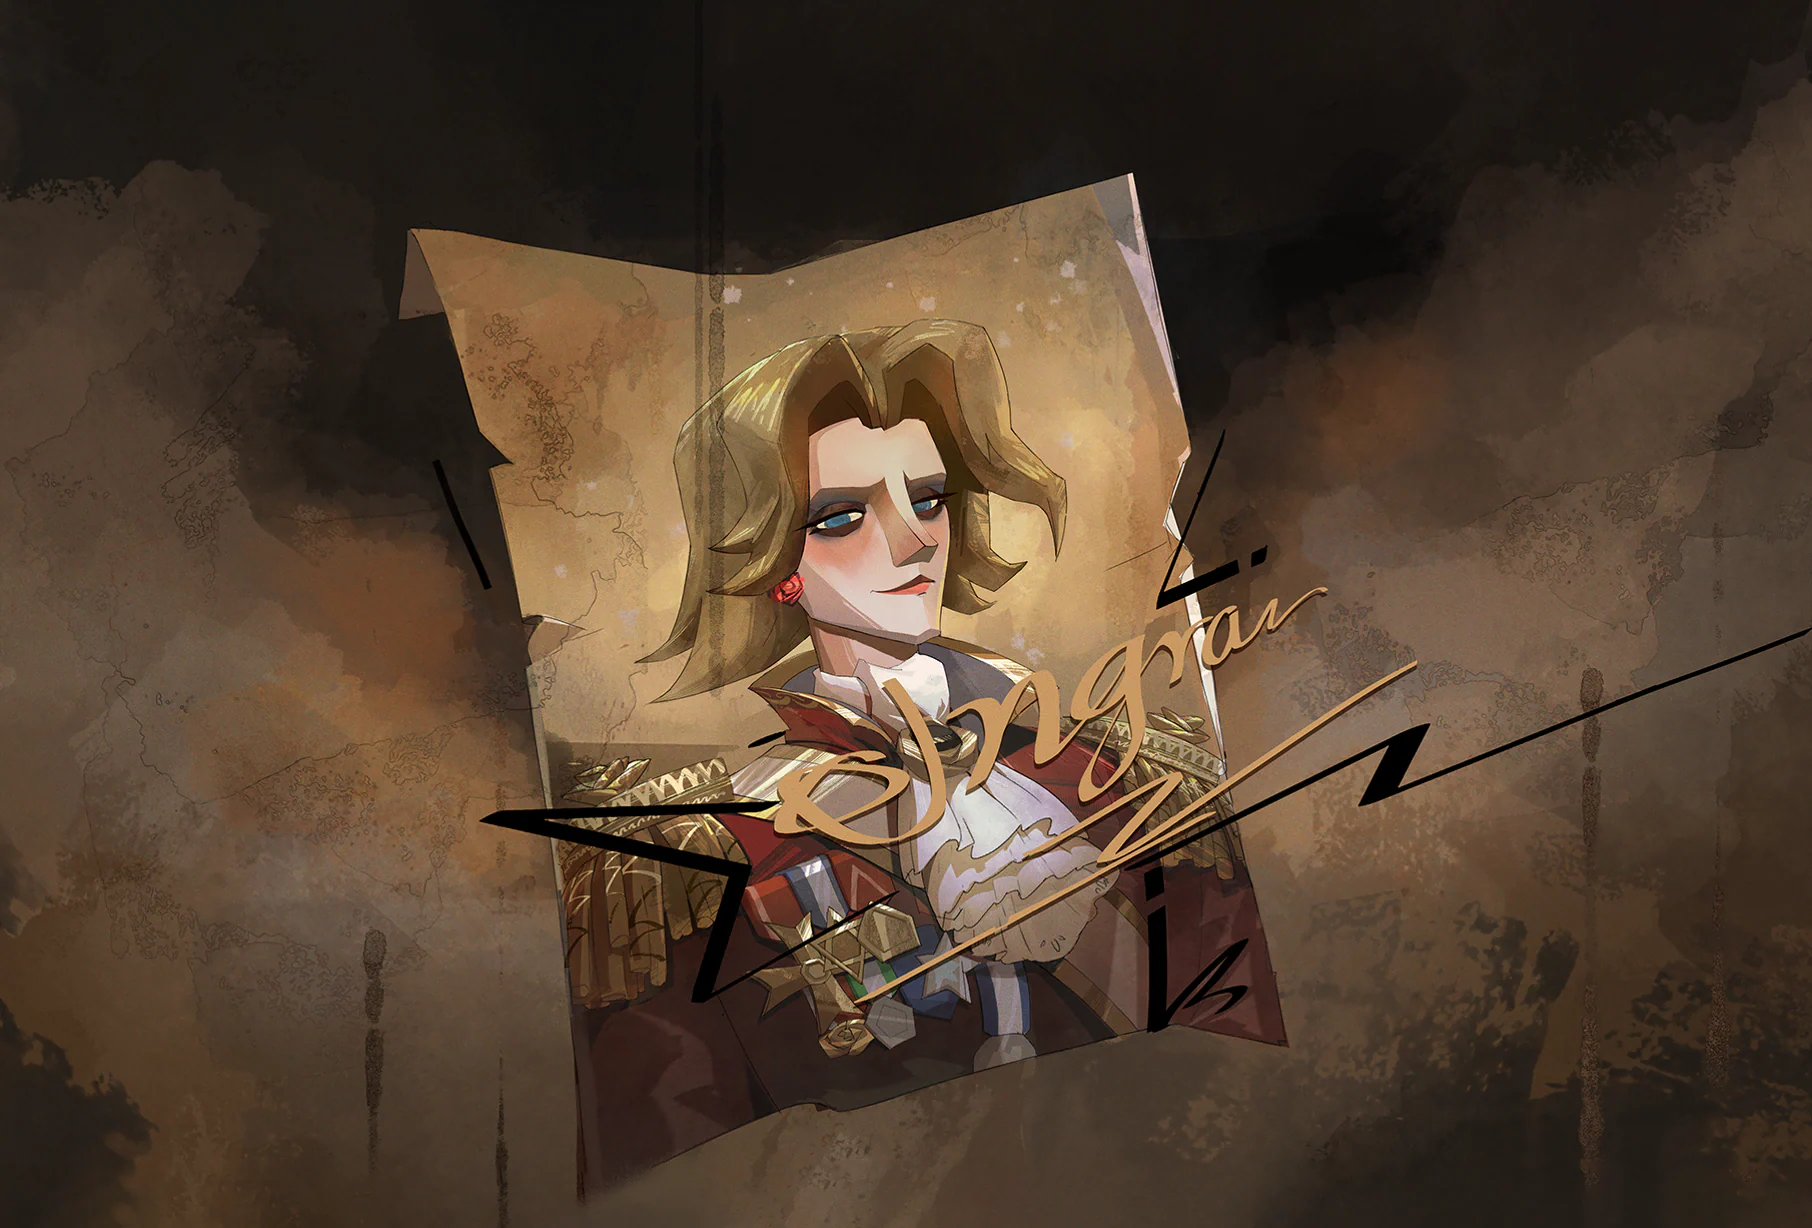
Ingram's signature sweeps across a carefully posed portrait. He looks ready to inherit the Rayne family name, famous since the Mad King's time. Surrounded by admirers, he has no interest in finding out who means it.
Collection tip: Complete the relevant main or side quest and check the journal by title and picture.
![Johannes’s Whale illustration]() Stories #17Johannes’s WhaleOpen
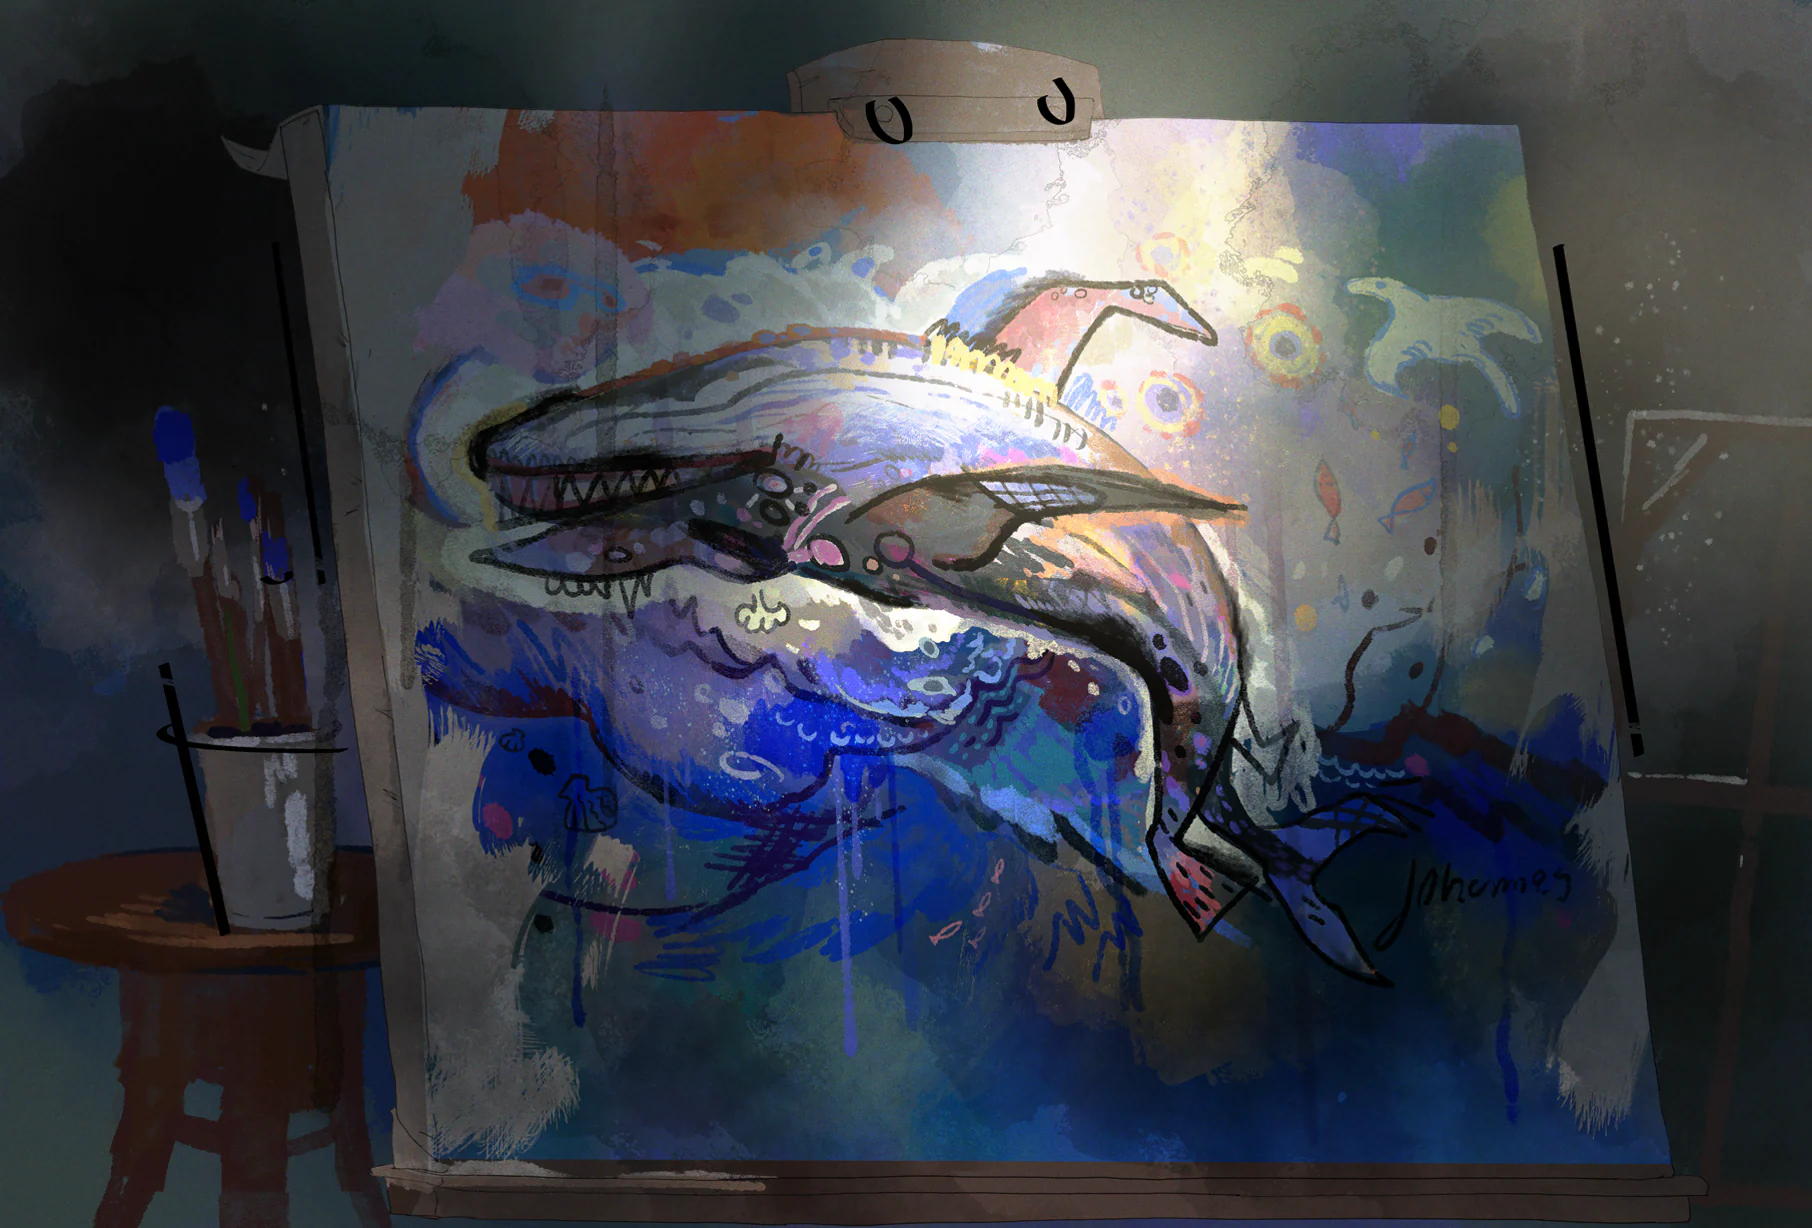
Johannes had lost his inspiration like a whale stranded in the shallows. The Traveler helped the whale back to sea, and Johannes painted again. His quiet picture feels alive, a song for a free spirit that echoes in the deep.
Collection tip: Complete the relevant main or side quest and check the journal by title and picture.
![The Naturalist’s Signature illustration]() Stories #18The Naturalist’s SignatureOpen
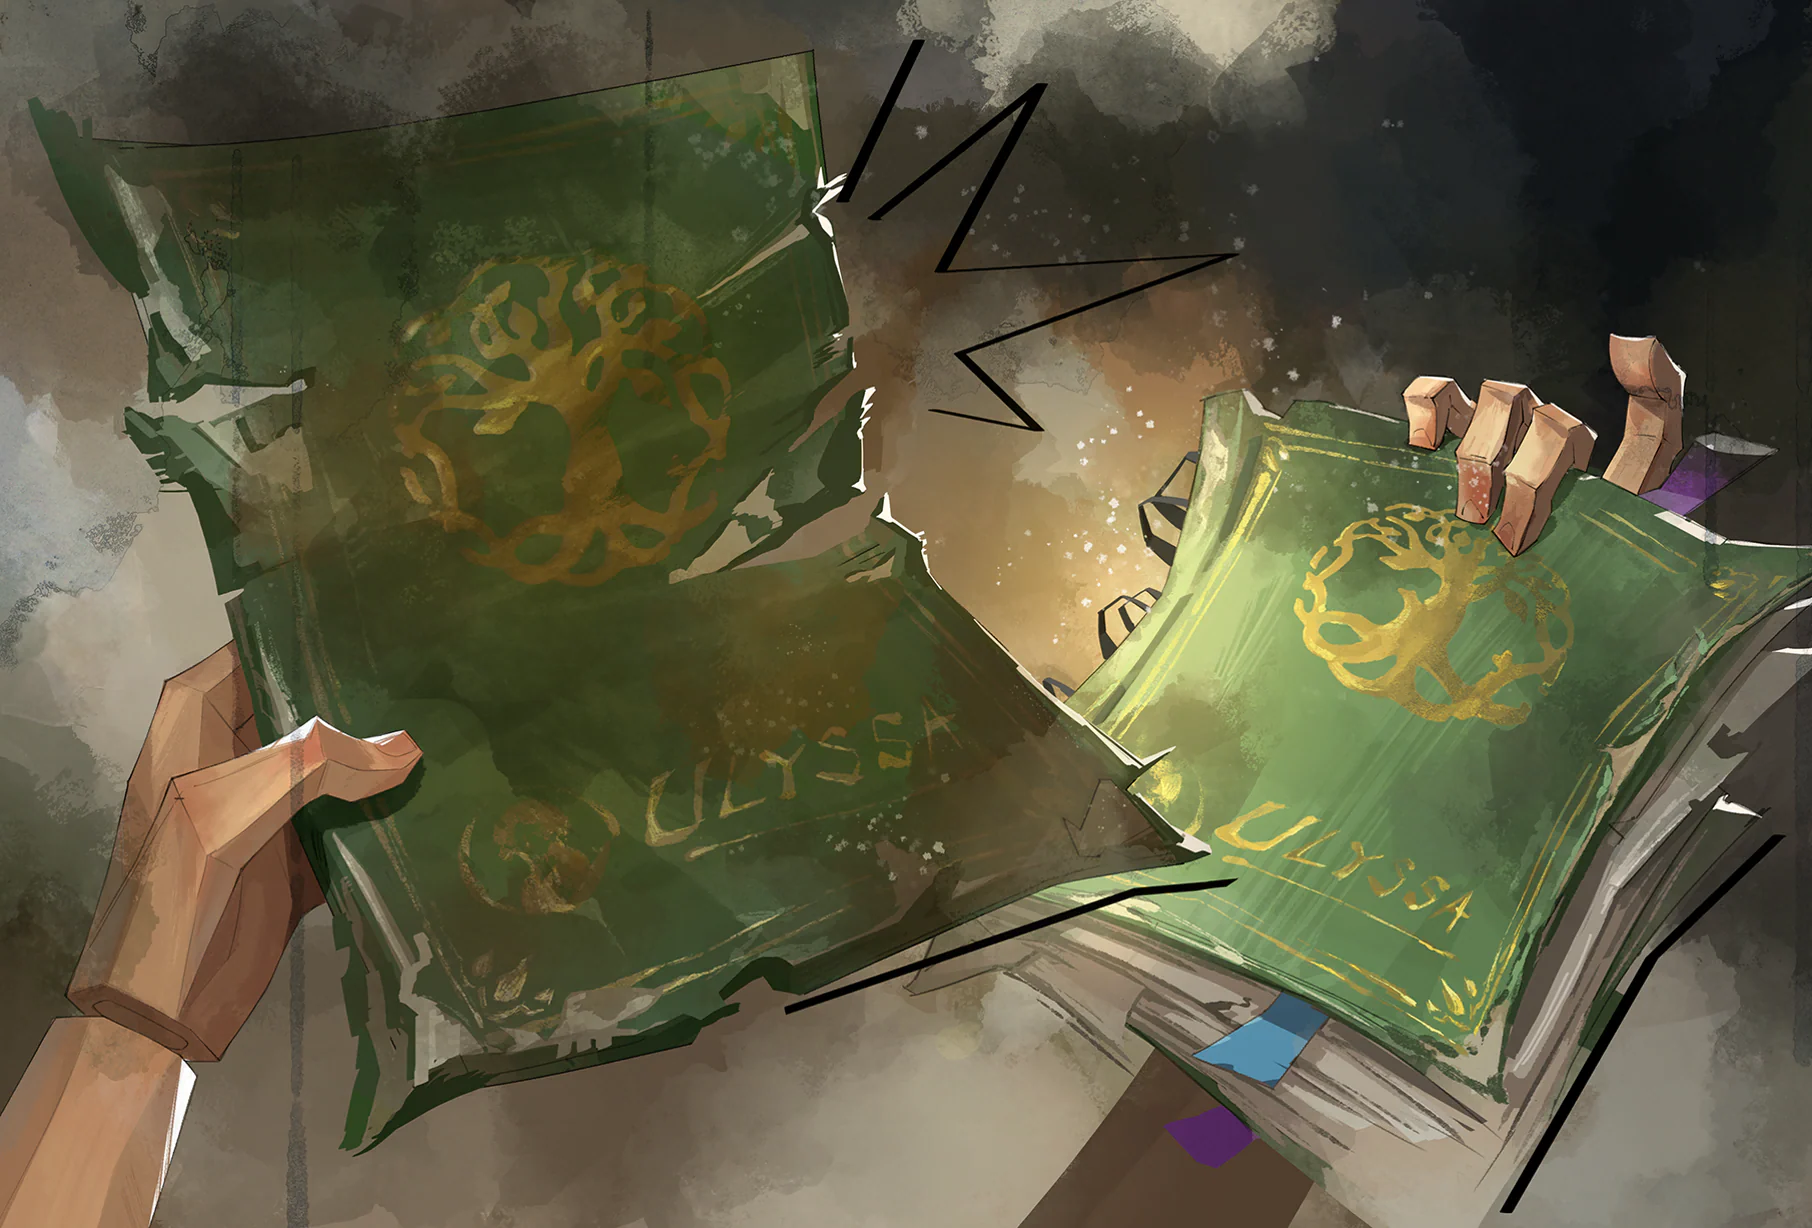
The young naturalist set off to find a legendary book of plants and their uses. As she studied, she realized that discovery itself kept her passion alive. The familiar seal and signature remind her that she's on the right path, putting her own name to the work she loves.
Collection tip: Complete the relevant main or side quest and check the journal by title and picture.